Citrix SD-WAN Platforms
To install or replace an AC power supply on a Citrix SD-WAN 4000/5000 appliance
1. Align the semicircular handle perpendicular to the power supply. Loosen the thumbscrew and
press the lever toward the handle and pull out the existing power supply, as shown in the fol-
lowing figure.
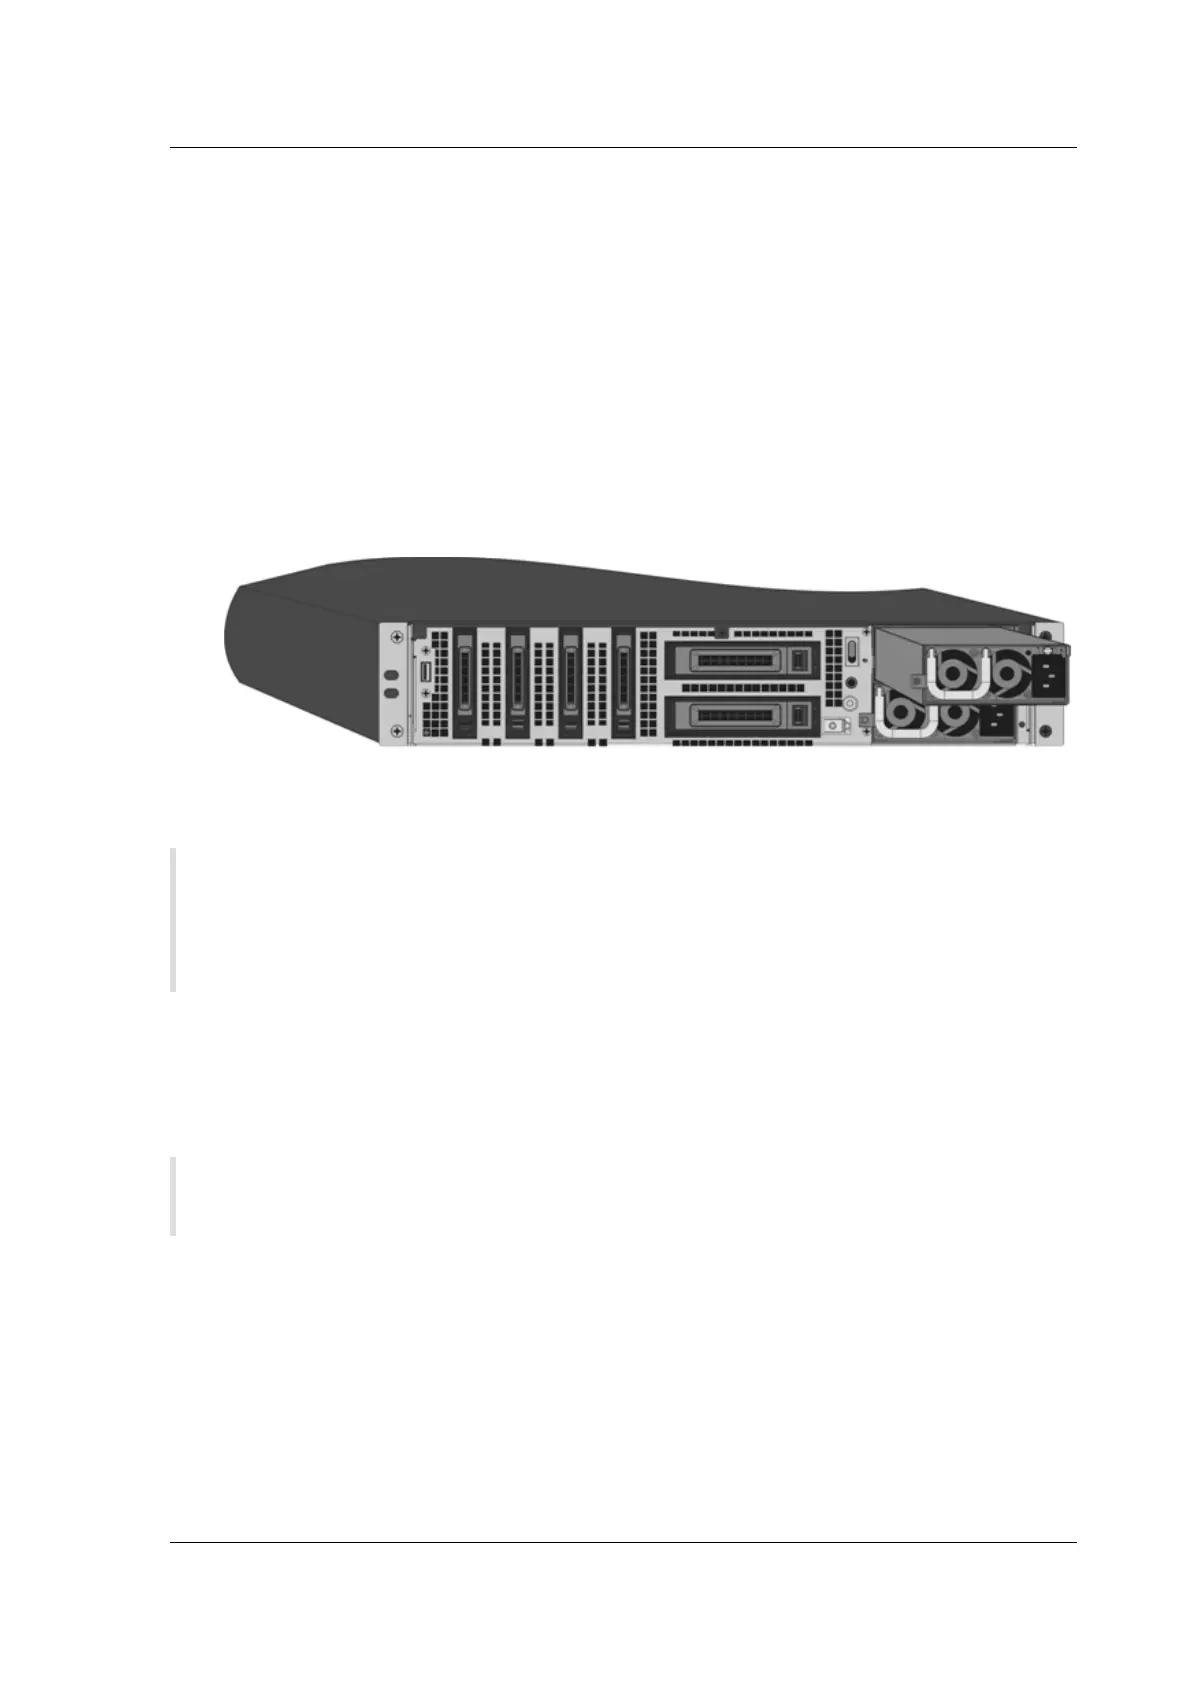
Figure 1. Removing the Existing AC Power Supply
localized image
2. Carefully remove the new power supply from its box.
3. On the back of the appliance, align the power supply with the power supply slot.
4. Insert the power supply into the slot and press against the semicircular handle until you hear
the power supply snap into place.
Figure 2. Inserting the Replacement AC Power Supply
5. Connect the power supply to a power source. If connecting all power supplies, plug separate
power cords into the power supplies and connect them to separate wall sockets.
Note: SD-WAN 4000/5000 appliances emit a high-pitched alert if one power supply fails or if you
connect only one power cable to an appliance in which two power supplies are installed. To
silence the alarm, press the small red button on the back panel of the appliance. The disable
alarm button is functional only when the appliance has two power supplies.
Replacing a DC Power Supply
Replace a DC power supply with another DC power supply. All power supplies must be of the same
type (AC or DC).
Note: You can replace one power supply without shutting down the appliance, provided the
other power supply is working.
To install or replace a DC power supply on a Citrix SD-WAN 4000/5000 appliance
1. Loosen the thumbscrew and press the lever towards the handle and pull out the existing power
supply, as shown in the following figure.
Figure 3. Removing the Existing DC Power Supply
© 1999-2021 Citrix Systems, Inc. All rights reserved. 414
 Loading...