Introduction Getting Ready
Taking Pictures
Playback Set Up
EN-101
NEXTBACK
Contents Glossary Index Nomenclature Menus and Settings Troubleshooting
4 Press the 4-way button left or right to select the image you
want to erase.
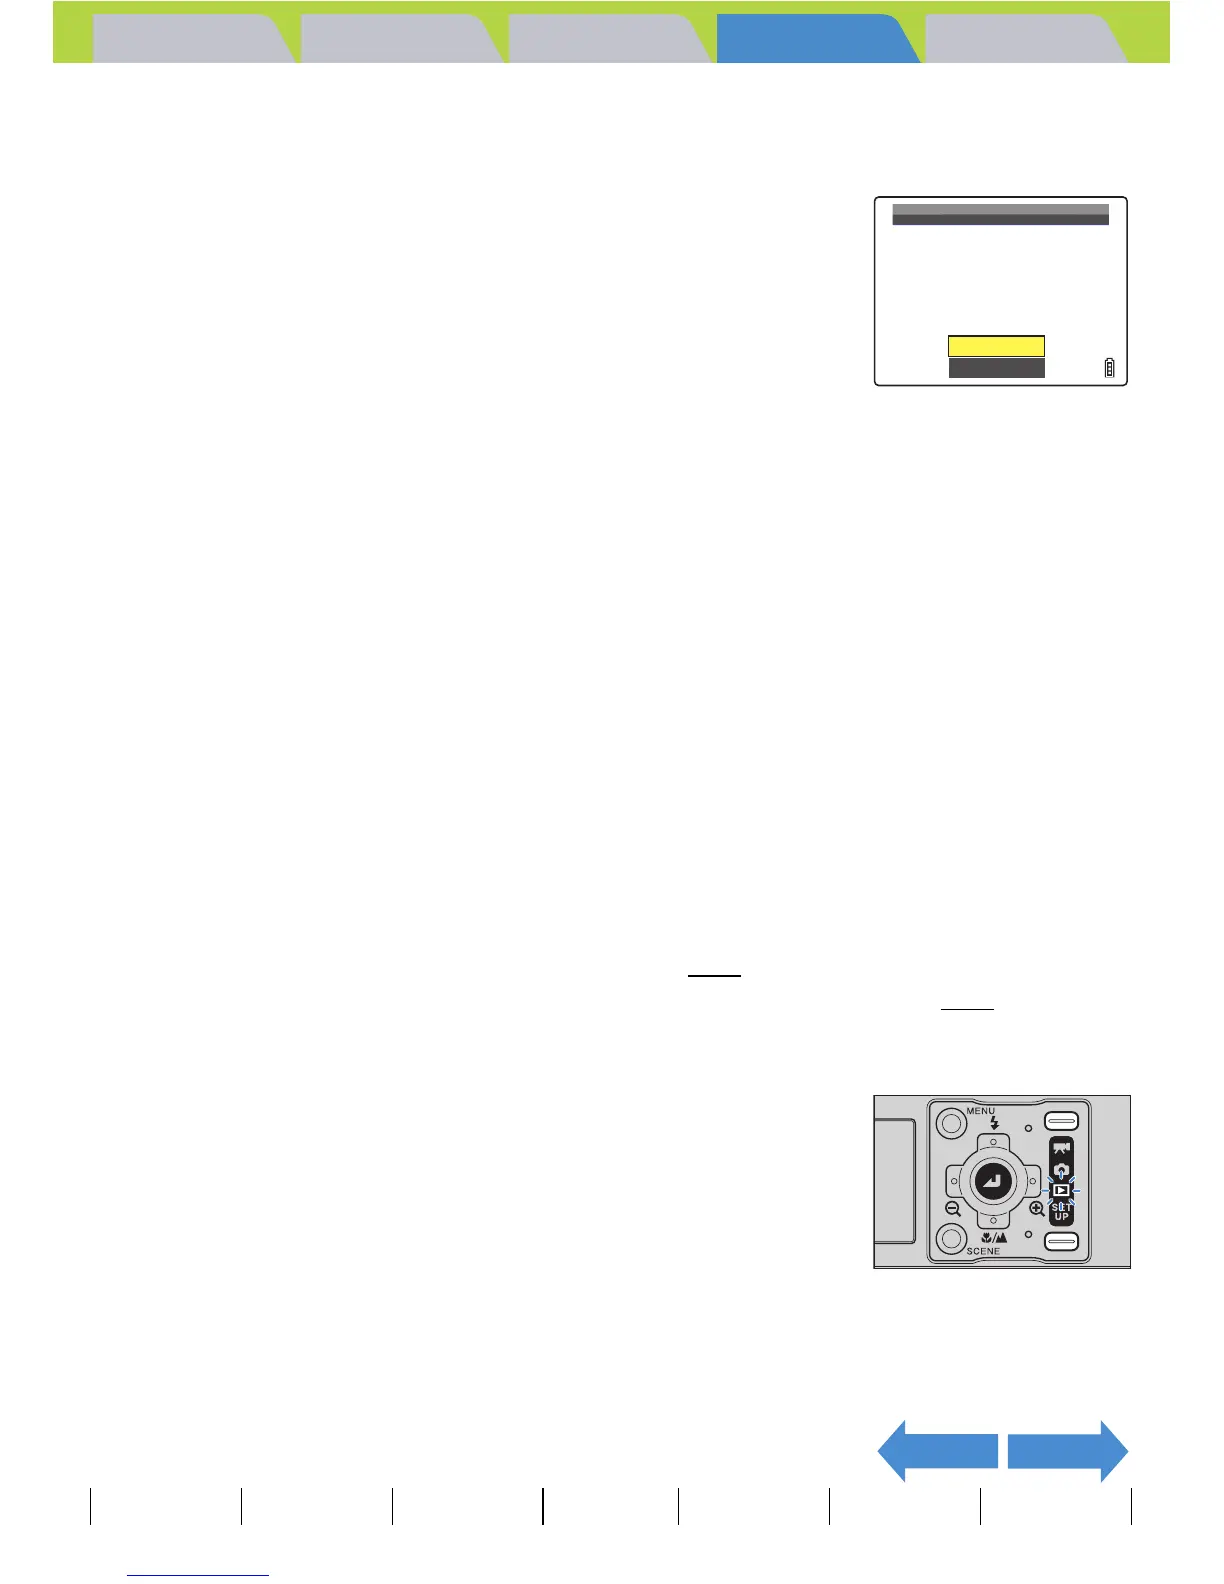
5 Press the 4-way button up to select
[EXECUTE], then press the OK button E.
The image is erased and the next image appears.
If there are no further images, the "NO IMAGE" message appears.
6 Press the MENU button K.
Erasing a selection of images (SELECT AND ERASE)
You can use this function to select images and then erase them
collectively.
1 Turn the camera on and press the mode
button until "P" lights up on the mode
select LED.
2 Press the MENU button K to display the menu icons.
BNote
• To erase another image, repeat steps 4 and 5.
• When you select an image from a group of
continuous shots, a screen is displayed to
confirm that you want to erase the group. Press
the 4-way button up to select [EXECUTE], then
press the OK button E to erase all the images
from within the group of continuous shots.
BNote
In SINGLE playback mode, the erase confirmation screen is displayed when you
press the 4-way button down, even if you did not choose ERASE [J] from the menu.
Press the 4-way button up to select [EXECUTE] and press the OK button E to erase
the currently displayed image.
A Important
• You cannot erase protected images (Æ p.104).
• When you erase an image with a postrecorded voice message (Æ p.107
), the sound
file is also erased.
ERASE
IMAGE?
EXECUTE
CANCEL