Introduction Getting Ready
Taking Pictures
Playback Set Up
EN-163
NEXT
Contents Glossary Index Nomenclature Menus and Settings Troubleshooting
Setting the Date
[DATE] Setting the Date and Time
Setting the Date and Time. Refer to p.34 for details.
[INSERT DATE] Adding the Date to Images
You can choose to imprint the date on images.
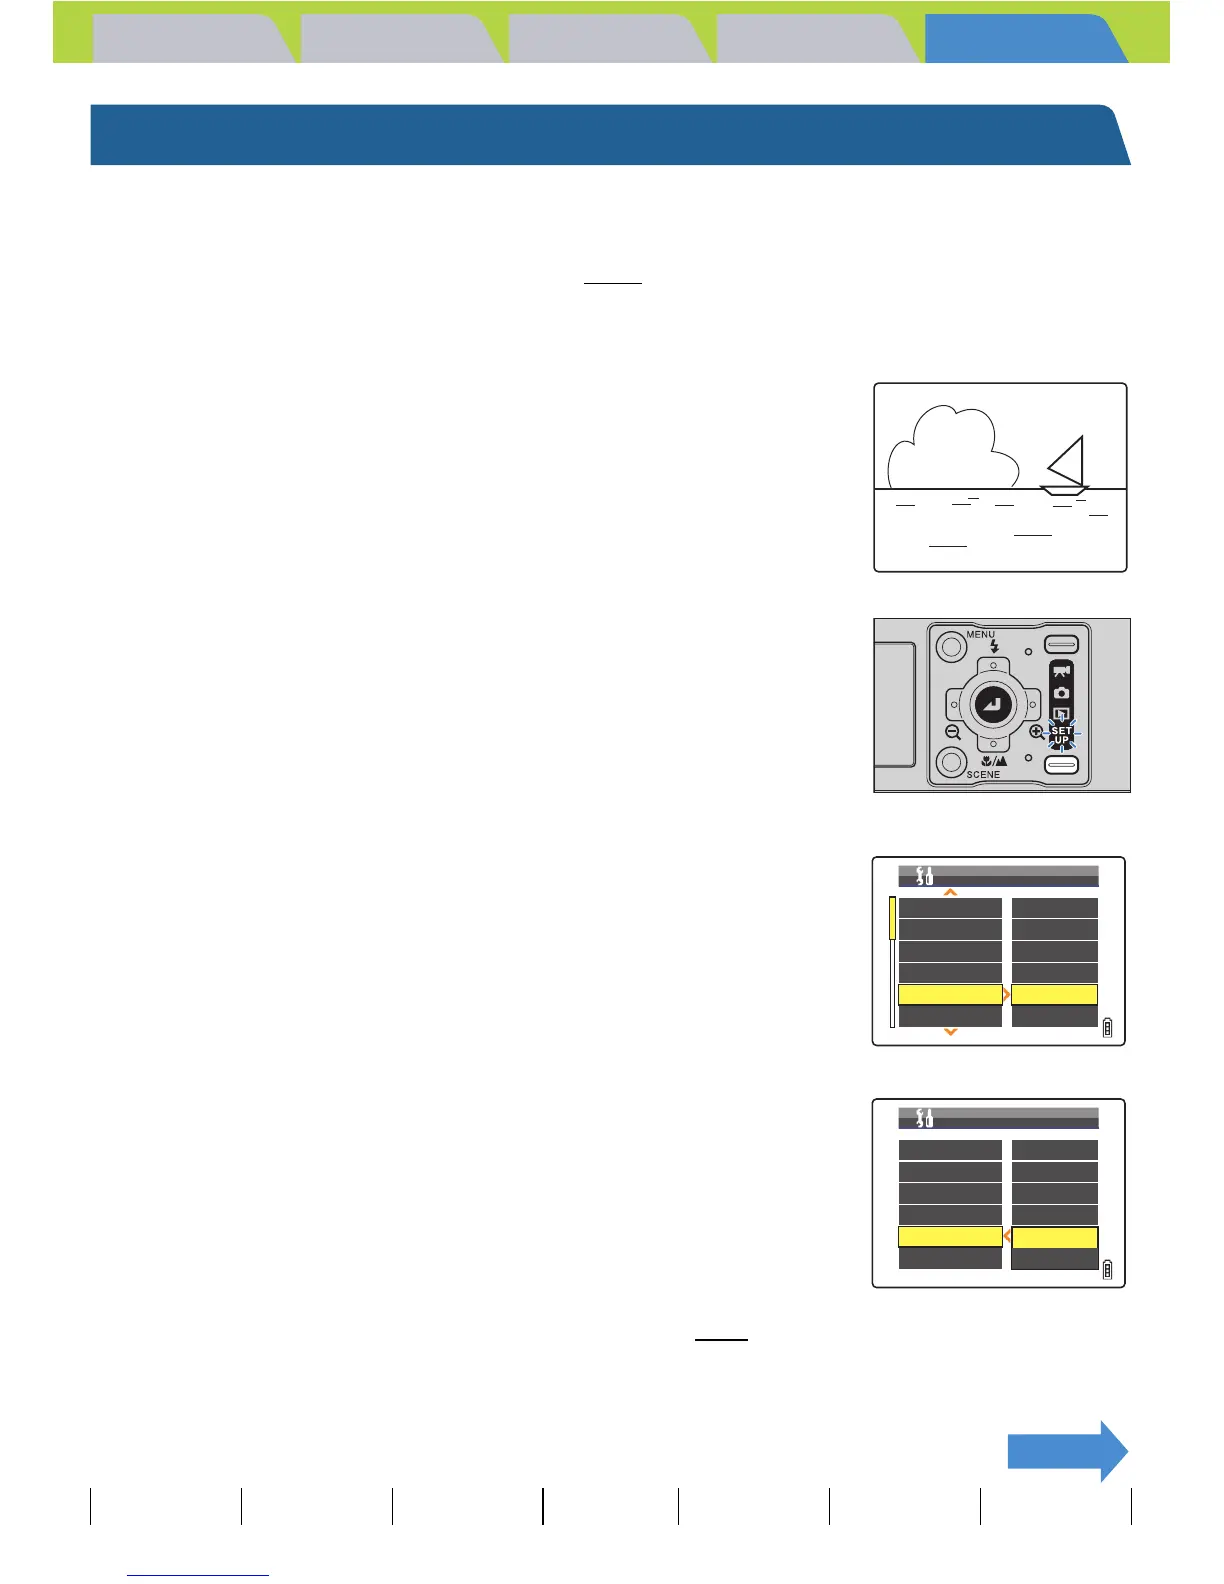
1 Turn the camera on and press the mode
button until "G" lights up on the mode
select LED.
2 Press the 4-way button up or down to
select [INSERT DATE], then press right.
3 Press the 4-way button up or down to
select [NO DATE] or [WITH DATE], then
press the OK button E.
The selected setting is applied.
A Important
If you set [DATE] to [PRINT] in [DPOF] (Æ p.120), then print photographs that were shot
with [INSERT DATE] set to [WITH DATE], the date will appear twice on the prints.
2004.10.21
AF MODE
FORMAT
BRIGHT CNTRL
DATE
INSERT DATE
SAF
EXECUTE
STANDARD
2004.01.01
NO DATE
POWER SAVE 1MIN.
SET UP(1/3)
AF MODE
FORMAT
BRIGHT CNTRL
DATE
INSERT DATE
SAF
EXECUTE
STANDARD
2004.01.01
NO DATE
POWER SAVE WITH DATE
SET UP(1/3)