SERVICE & MAINTENANCE Cont.
39
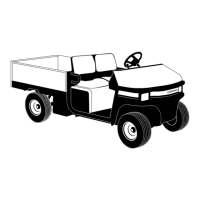
HEADLIGHT REPLACEMENT
Remove the four (4) screws securing the headlight
bezel to the front cowl (See Fig. 52).
Pull the headlight and bezel from the front cowl opening.
Disconnect the electrical connector from the rear of the
headlight and remove the headlight from the bezel.
Replace headlight and install in the reverse sequence
used for removal.
Remove The Four (4) Screws
For Headlight Removal
Headlight
Bezel
Figure 52
Headlight Removal
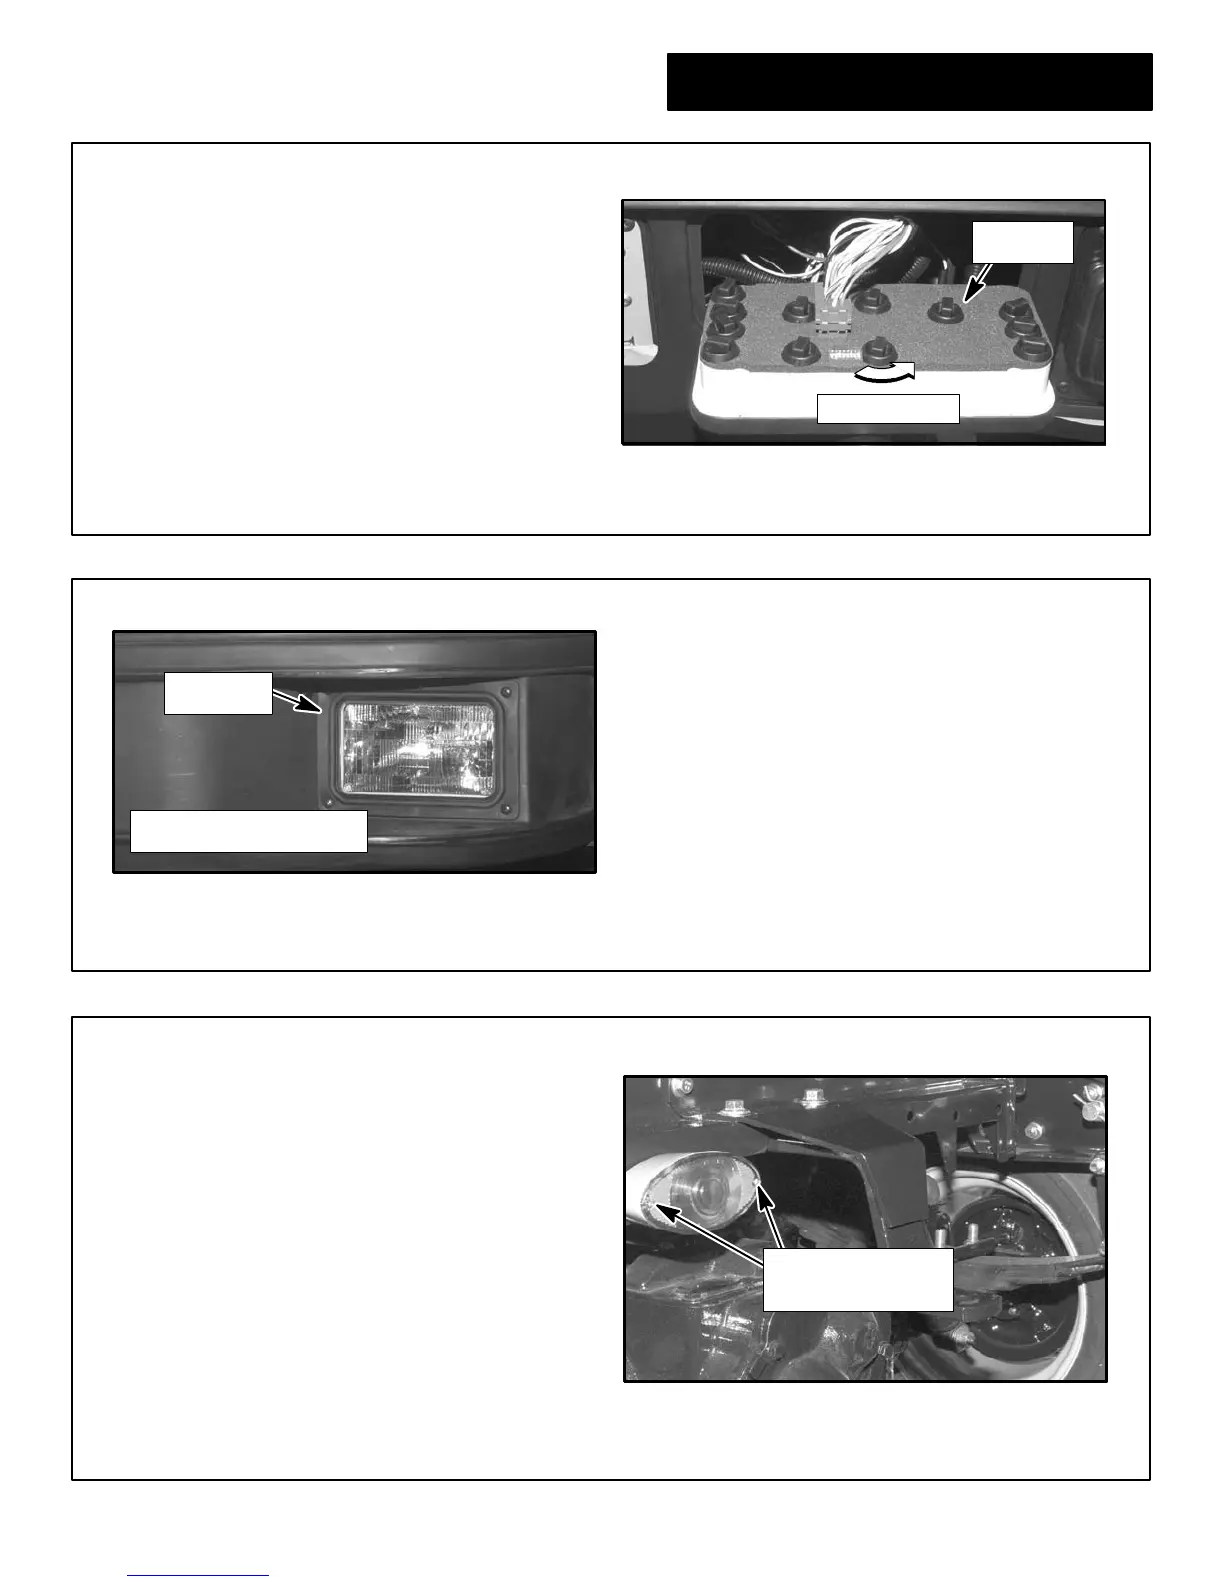
BULB REPLACEMENT, DASH PANEL
Rotate 1/4 Turn
Remove the four (4) screws securing the instrument
panel to the dash.
Pull the instrument panel out and tilt forward to gain
access to the rear of the panel (See Fig. 51).
Determine which bulb will be replaced. Rotate the bulb
holder 1/4 turn, pull up and remove holder and bulb.
Remove the bulb from the holder and replace with the
appropriate bulb. Reverse this sequence to install the
bulb and holder.
Figure 51
Dash Panel Bulb Removal
Bulb And
Holder
Use the number printed on the bulb to obtain the
correct replacement bulb, also refer to the chart on
Page 29 for bulb specifications.
Headlight Part No. 837303...........
Bezel Part No. 841428...............
Mounting Screws Part No. 800943...
Figure 53
Taillight Bulb Replacement
Remove The Two (2)
Screws For Bulb
Or Lens Replacement
BULB REPLACEMENT, TAILLIGHT
Remove the two (2) screws securing the taillight lens to
the taillight.
Remove the bulb and replace with a No. 1157 bulb.
Replace the lens cover making sure the gasket is posi-
tioned correctly.
Taillight Assembly Part No. 893602.........
Bulb Part No. 822049.......................
Lens Screws Part No. 312288...............
Lens and Gasket Part No. 829099...........
License Illuminator Lens Part No. 829099...
To remove the taillight from the vehicle, remove the two
(2) nuts and shakeproof washers securing the taillight to
the frame.