Figure 5-11
5.3.1.6 Switch monitor window
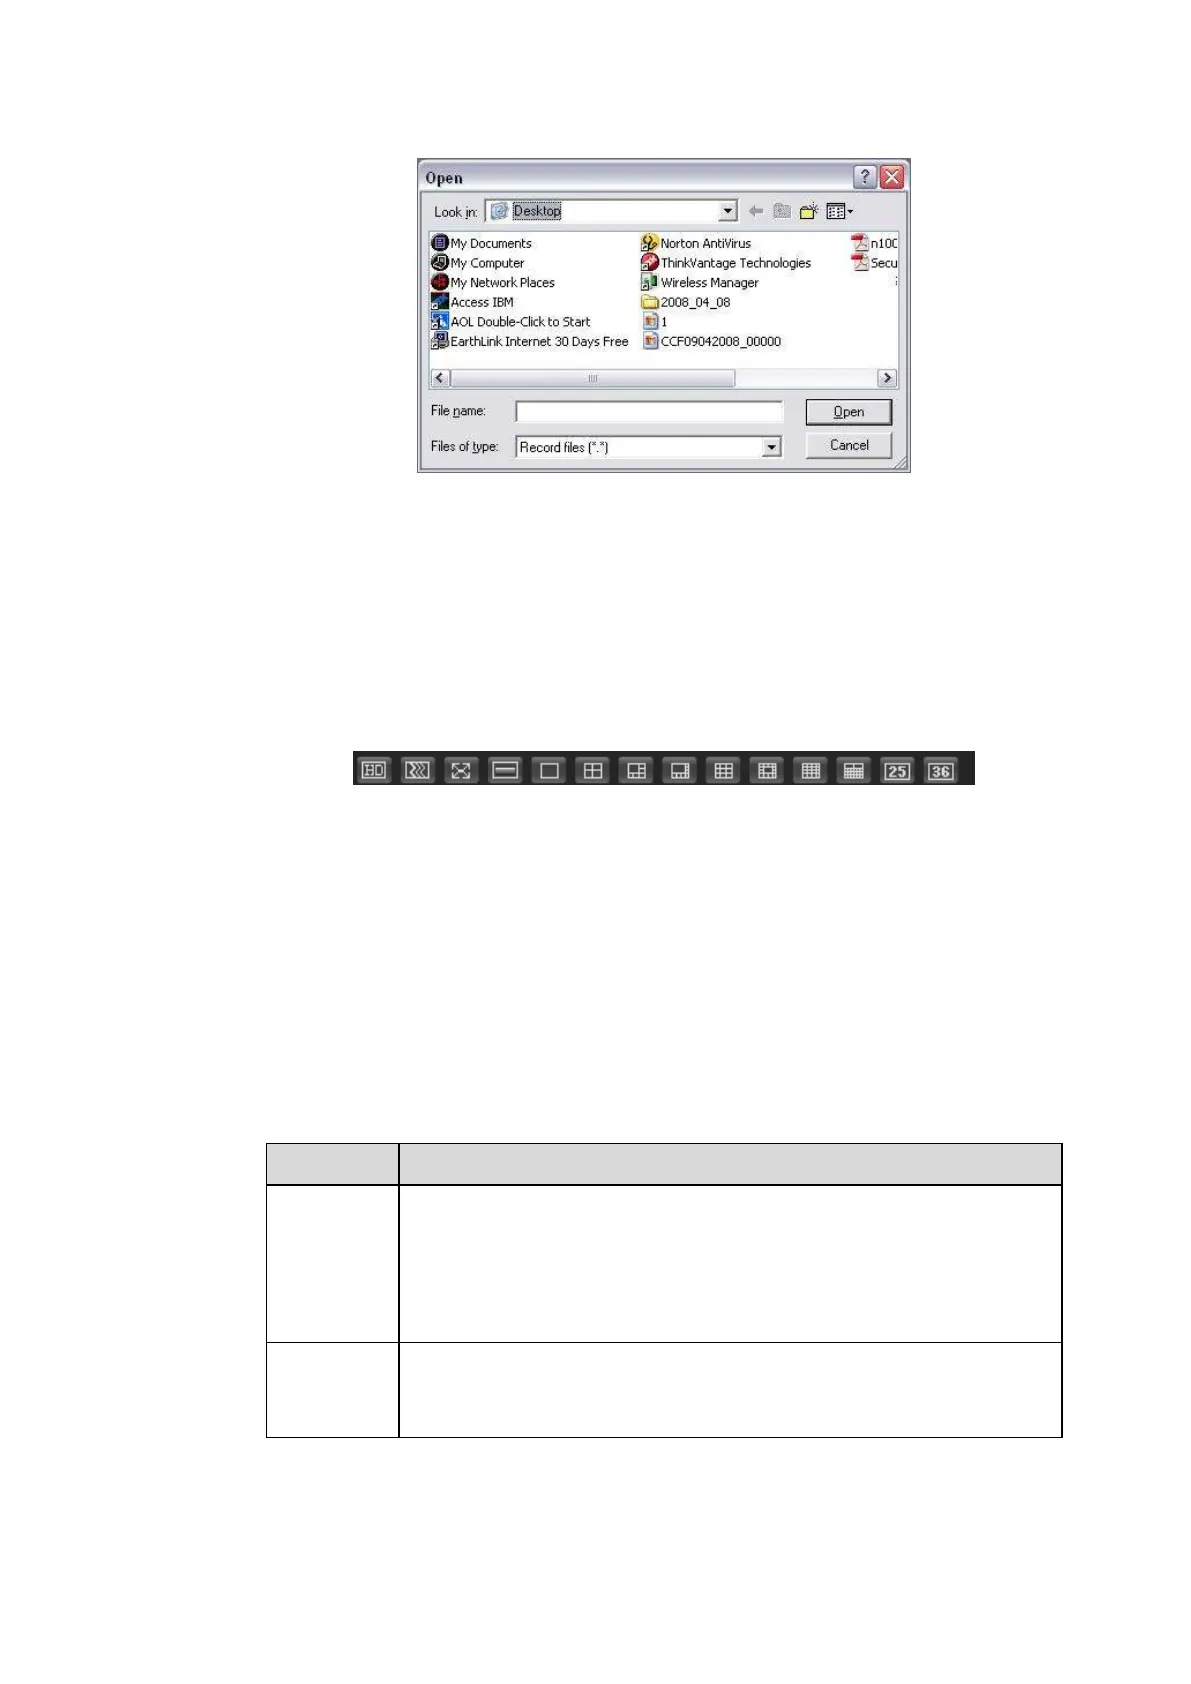
From the left to the right ,you can see video quality/fluency/ full screen/tilt
sync/1-window/4-window/6-window/8-window/9-window/13-window/16-window/20-window/25-window/3
6-window.. You can set video fluency and real-time feature priority. See Figure 5-12.
Note
The following interface may vary due to different series product.
Figure 5-12
5.3.1.7 PTZ
Before PTZ operation, please make sure you have properly set PTZ protocol. (Please refer to chapter
5.5.5.5).
There are eight direction keys. In the middle of the eight direction keys, there is a 3D intelligent
positioning key.
Click 3D intelligent positioning key, system goes back to the single screen mode. Drag the mouse in the
screen to adjust section size. It can realize PTZ automatically.
Please refer to the following sheet for PTZ setup information.
Select Scan from the dropdown list.
Click Set button, you can set scan left and right limit.
Use direction buttons to move the camera to you desired location
and then click left limit button. Then move the camera again and
then click right limit button to set a right limit.
Select Preset from the dropdown list.
Turn the camera to the corresponding position and Input the
preset value. Click Add button to add a preset.

 Loading...