Chapter 12: Patchbay 111
Warning when Stealing Inputs or
Outputs in the Patchbay
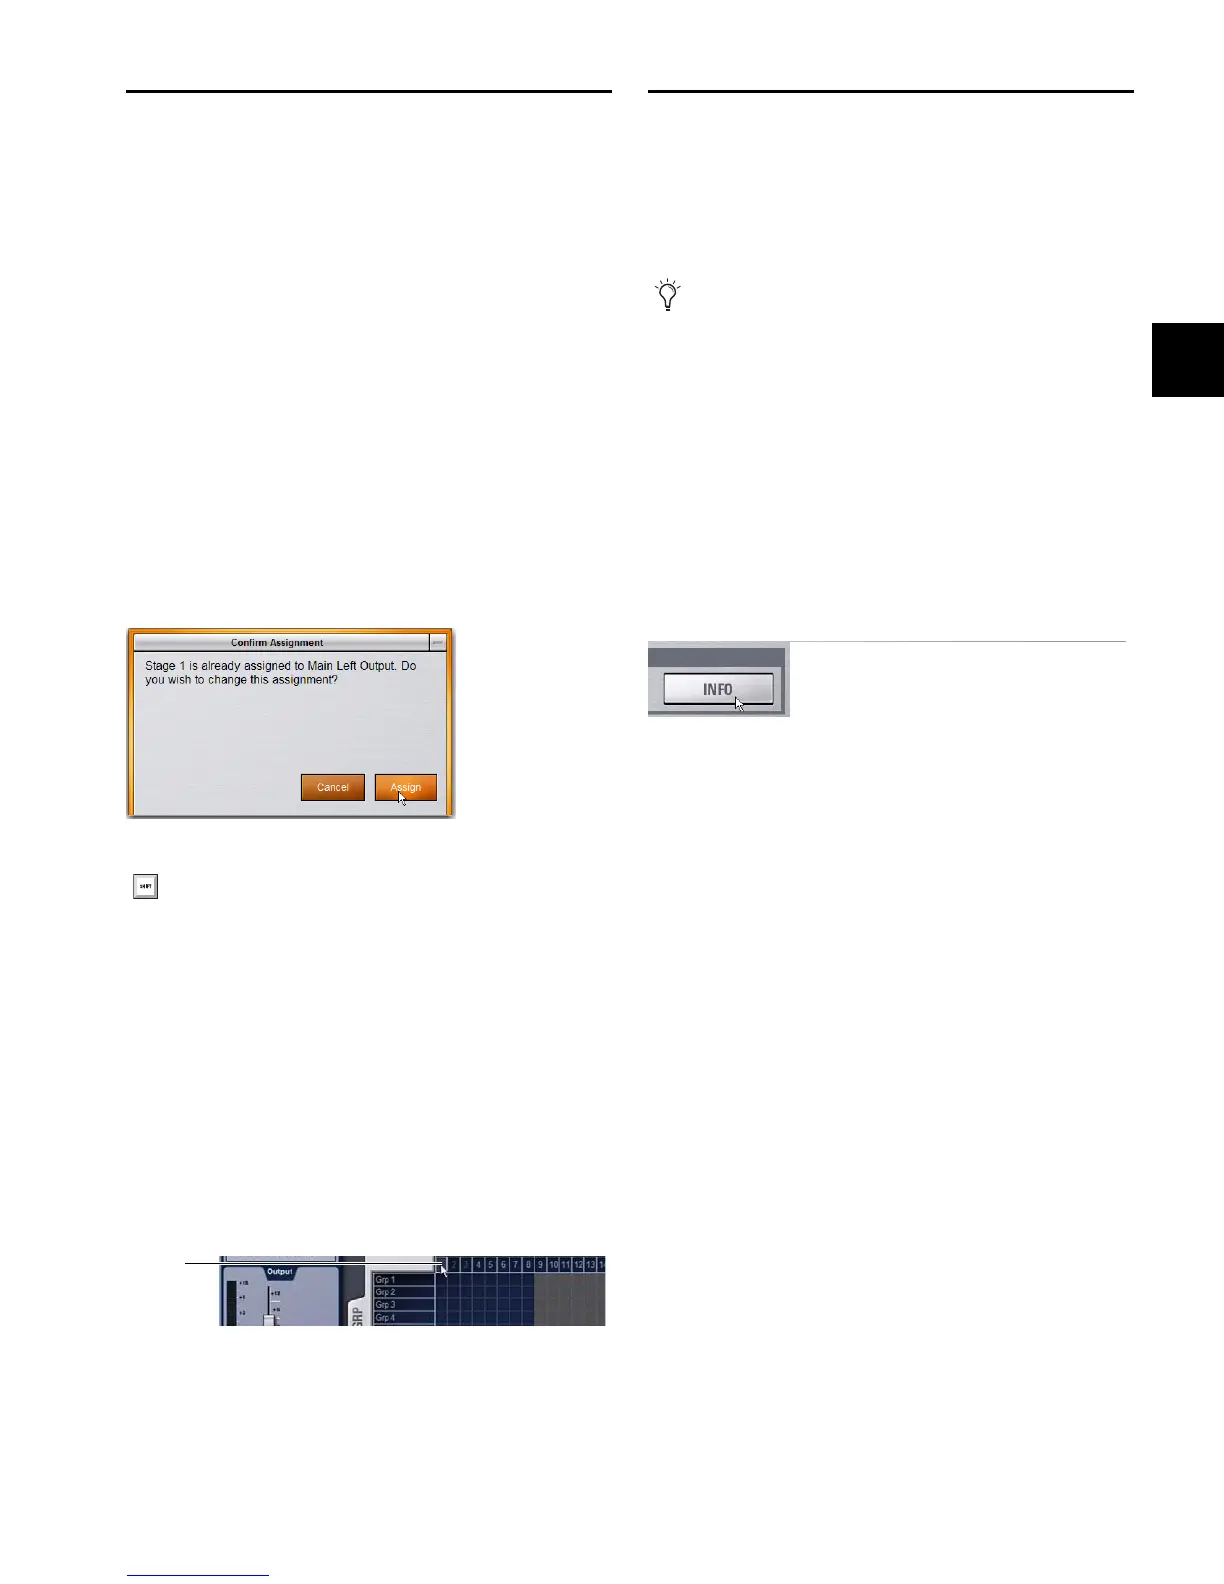
The Patchbay indicates hardware outputs that are already in
use by dimming the column number for that physical output.
In addition, a dialog is shown if the patch will steal a hardware
input or output that is already in use, asking you to confirm or
cancel the reassignment.
To confirm a reassignment, do one of the following:
Click Assign when prompted to confirm the reassignment.
– or –
Click again on the same patch point.
To cancel a reassignment, do either of the following:
Click Cancel to leave the patchpoint unchanged.
Click any other point in the grid (the Patchbay grid remains
active, even when the Confirm Assignment dialog is open
on-screen).
Shortcut for Locating Assignments
Before reassigning in the Patchbay, you may want to dou-
ble-check the existing assignment to the desired hardware
output:
To identify the bus or channels currently assigned to a hardware
output:
Click on any dimmed (already assigned) column number at
the top of the Patchbay. The Outputs tab containing the as-
signment is automatically revealed.
VENUE System Information Export
The System Information Export feature lets you generate an
HTML (text) document that details the system’s hardware,
software and currently loaded Show file configurations. This
document can be read by any Internet browser, such as Inter-
net Explorer, Mozilla Firefox or Safari.
The System Information document can be sent directly to pro-
duction or rental companies to describe your exact console
needs. Once exported, the information can be re-formatted as
desired by copying and pasting the data into a word process-
ing or spreadsheet application.
To export VENUE System Information:
1 Insert a USB key disk into a USB port on the system.
2 Go to the Options > System page.
3 Click the Info button.
4 Do any of the following:
• If you have more than one USB key disk connected, make
sure the correct USB key disk is selected. If it is not, click
Next Disk to cycle through each available disk until the
correct one is selected.
• Click Save to proceed and export system info to the se-
lected USB disk.
• Click Cancel to dismiss the dialog without exporting.
5 Click OK to confirm the export procedure.
You can now remove the USB key disk —from there, you can
transfer the exported file to a personal computer for printing,
formatting, archiving or distribution.
Standalone Software
When exporting System Info from the Standalone software,
the exported System Information file is displayed immediately
using the default browser installed on your computer.
Warning when reassigning an output that is already in use
To suppress the reassignment warning dialog, hold Default
on the console or Alt on the computer keyboard while click-
ing in the patch grid to change the assignment.
Clicking a column number to “go to” its current assignment
The patch list can also be exported separately (for more in-
formation, see “Patch List Export” on page 112).
Export VENUE System Information button in Options > System
 Loading...


