Installation
SmartDate X40 BFSE Version 1.0 Feb 2011
92/286
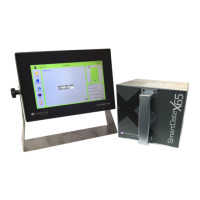
■ Controller Installation
Choose a mounting position that is easily accessible for the operator. There are 4 fixing
holes on the underside of the Controller.
The following items should be checked before installing the Controller:
• Check all covers are correctly fitted
• Check that a CE label is on the rear of the SmartDate X40 Controller
• Check that connector dust covers are fitted on the unused connectors
• Check that once installed, there is enough space around the Controller for the
cables to be connected. Use the diagrams below to help positioning
• Check that the mains supply cable is safely routed to the Controller and is not a trip
hazard
• Before powering up the Controller, check that the fuse or MCB rating is correct
Mono display
 Loading...