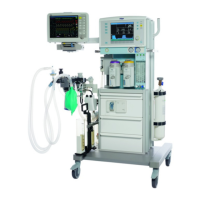
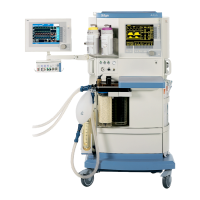
Julian as Wall-mounted Unit
Features
The wall-mounted unit is fixed to the wall and is available
in left or right-hand hinged versions.
The supply lines are permanently connected to the wall-
mounted unit.
The auxiliary power sockets and the grounding pins for
earth leads are located on the left and right sides of the
lower half of the unit.
The AGS anaesthetic gas scavenging line is built into the
unit.
The on/off switch and display symbols for anaesthetic
gas aspiration are located in the lower half of the unit.
The bacterial filter for secretion aspiration is located on
the left side of the unit.
The wall-mounted unit must be installed by qualified
personnel only.
We recommend DrägerService.
Preparation
Julian can be swung clear of the wall on its hinges to gain
access to the back panel.
1 Pull the handle to swing the unit about 30° clear of the
wall.
● Connect the sampling line for anaesthetic gas
measurement to the back panel.
After connecting the sample line:
● Swing the unit back against the wall until it latches
into place.
● Pull gently to check that Julian is fixed to the wall.
● Always return the device to the wall position in order
to save space and avoid damage.
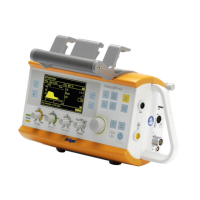
Anaesthetic gas aspiration
2 Switch on = switch pointing upwards,
symbol lights up green.
Switch off = switch pointing downwards,
symbol unlit.
Operation and Care as per standard Julian
model.
Julian
D
1
2
Julian as Wall-mounted Unit
114
"Only for internal use by Draeger. Not applicable as Instructions for Use!"
 Loading...