54
If the test print made after platemaking is too light, adjust the print darkness. If you cannot adjust the print darkness
sufficiently to give a satisfactory print, adjust the plate darkness.
IMPORTANT
•You can print immediately after adjusting the print darkness.
• If you adjust the plate darkness, you must repeat the platemaking process before making
prints.
Adjusting Plate Darkness
The plate darkness can be adjusted in 5 steps.
Make the plate more “dark” if the document is light, or “light” if the document is dark.
IMPORTANT
• Set the “Plate Darkness” before making the plate.
○○○○○○○○○○○○○○○○○○○○○○○○○○○○○○○○○○○○○○○○○○○○○○○○○○○○○○○○○○
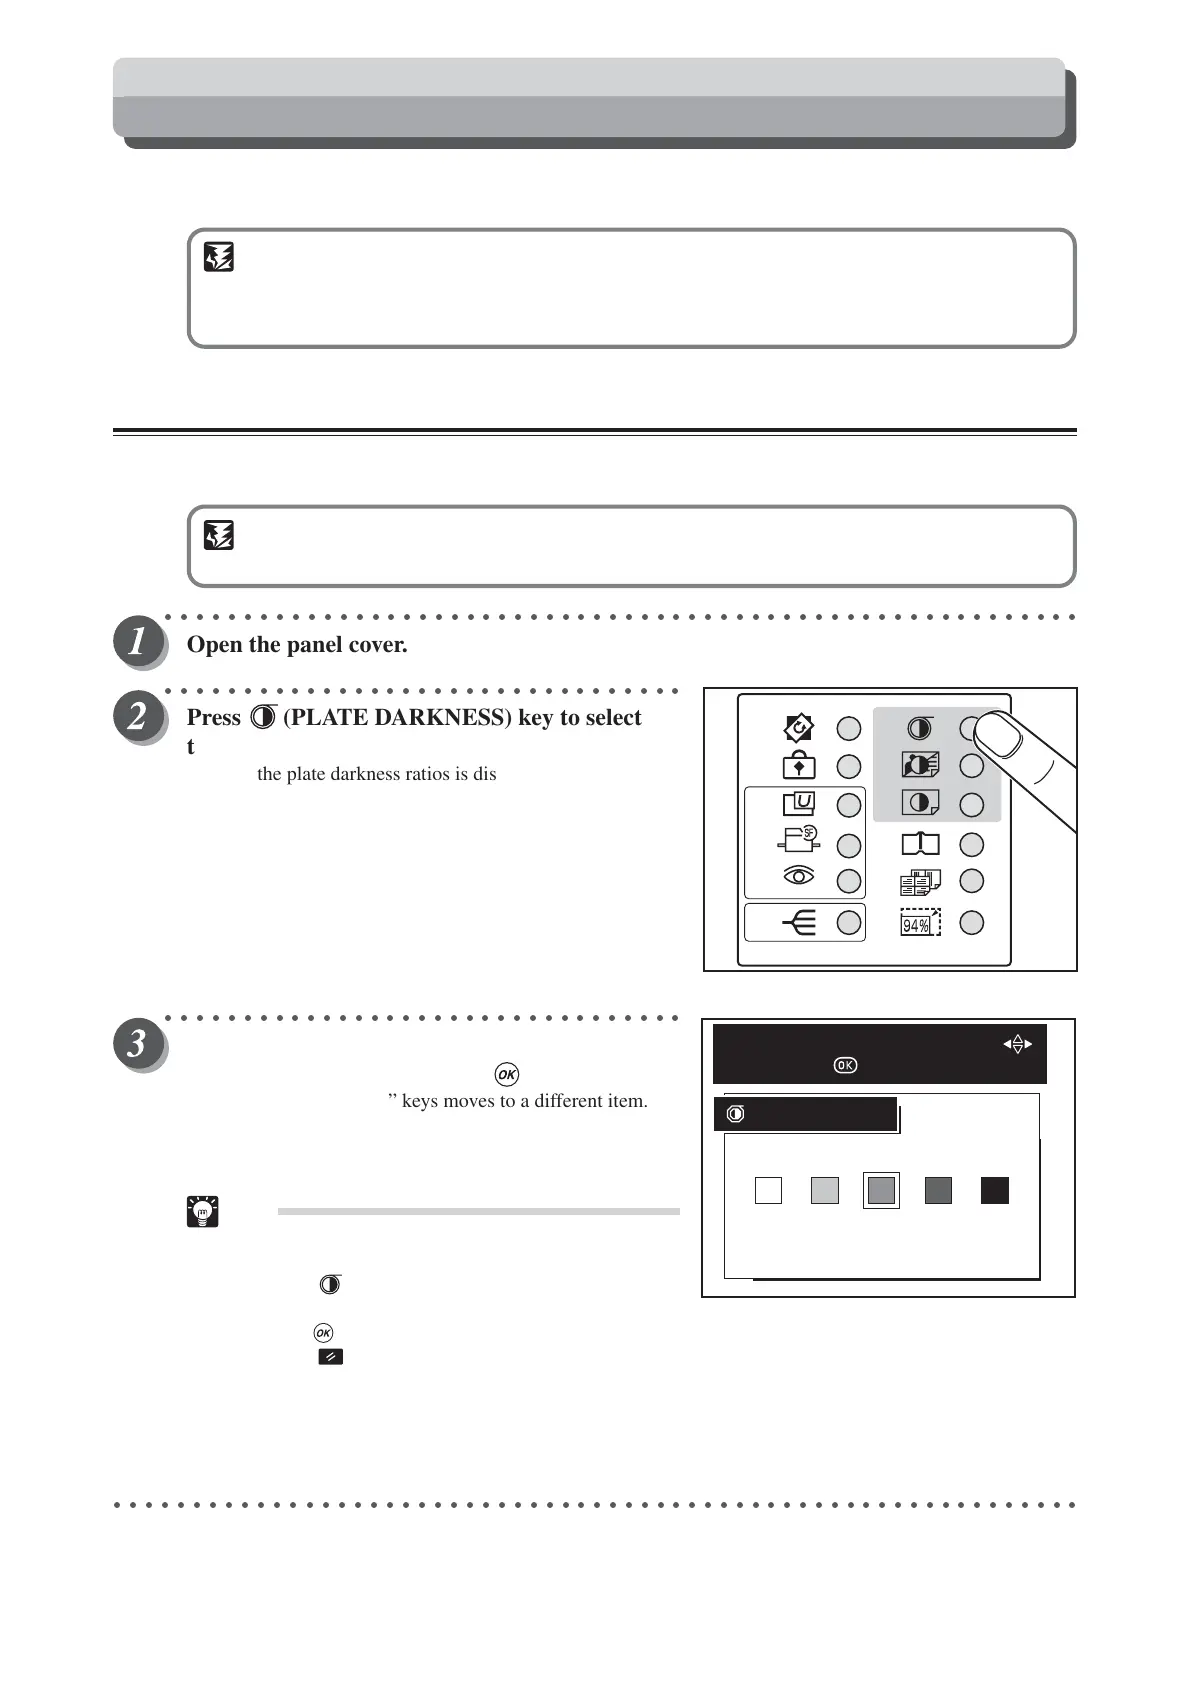
Open the panel cover.
○○○○○○○○○○○○○○○○○○○○○○○○○○○○○○○○○
Press (PLATE DARKNESS) key to select
the darkness.
A list of the plate darkness ratios is displayed on the LCD
panel.
○○○○○○○○○○○○○○○○○○○○○○○○○○○○○○○○○
Press “CURSOR” keys to select “PLATE
DARKNESS”, and then press (OK) key.
Each press of “CURSOR” keys moves to a different item.
The plate darkness ratio is set when the cursor is moved to
one item.
Tips
•To exit plate darkness, select one of the following
two methods:
• Press (PLATE DARKNESS) key, select
MEDIUM using “CURSOR” keys, and
press (OK) key.
• Press (ALL CLEAR) key. In this case, all
settings are reset to standard mode
(a page 26). However, that when initial
settings have been changed in user setting, the
currently set platemaking density is returned to.
○○○○○○○○○○○○○○○○○○○○○○○○○○○○○○○○○○○○○○○○○○○○○○○○○○○○○○○○○○○○○
LIGHT MEDIUM DARK
PLATE DARKNESS
SELECT PLATE DARKNESS WITH
AND PRESS
Adjusting Darkness