Adjusting the thread tensioning plate
Service Instructions 869-M PREMIUM - 00.0 - 07/2018 63
13.2.2 Adjusting the tensioning plate using a mechanical thread
scale
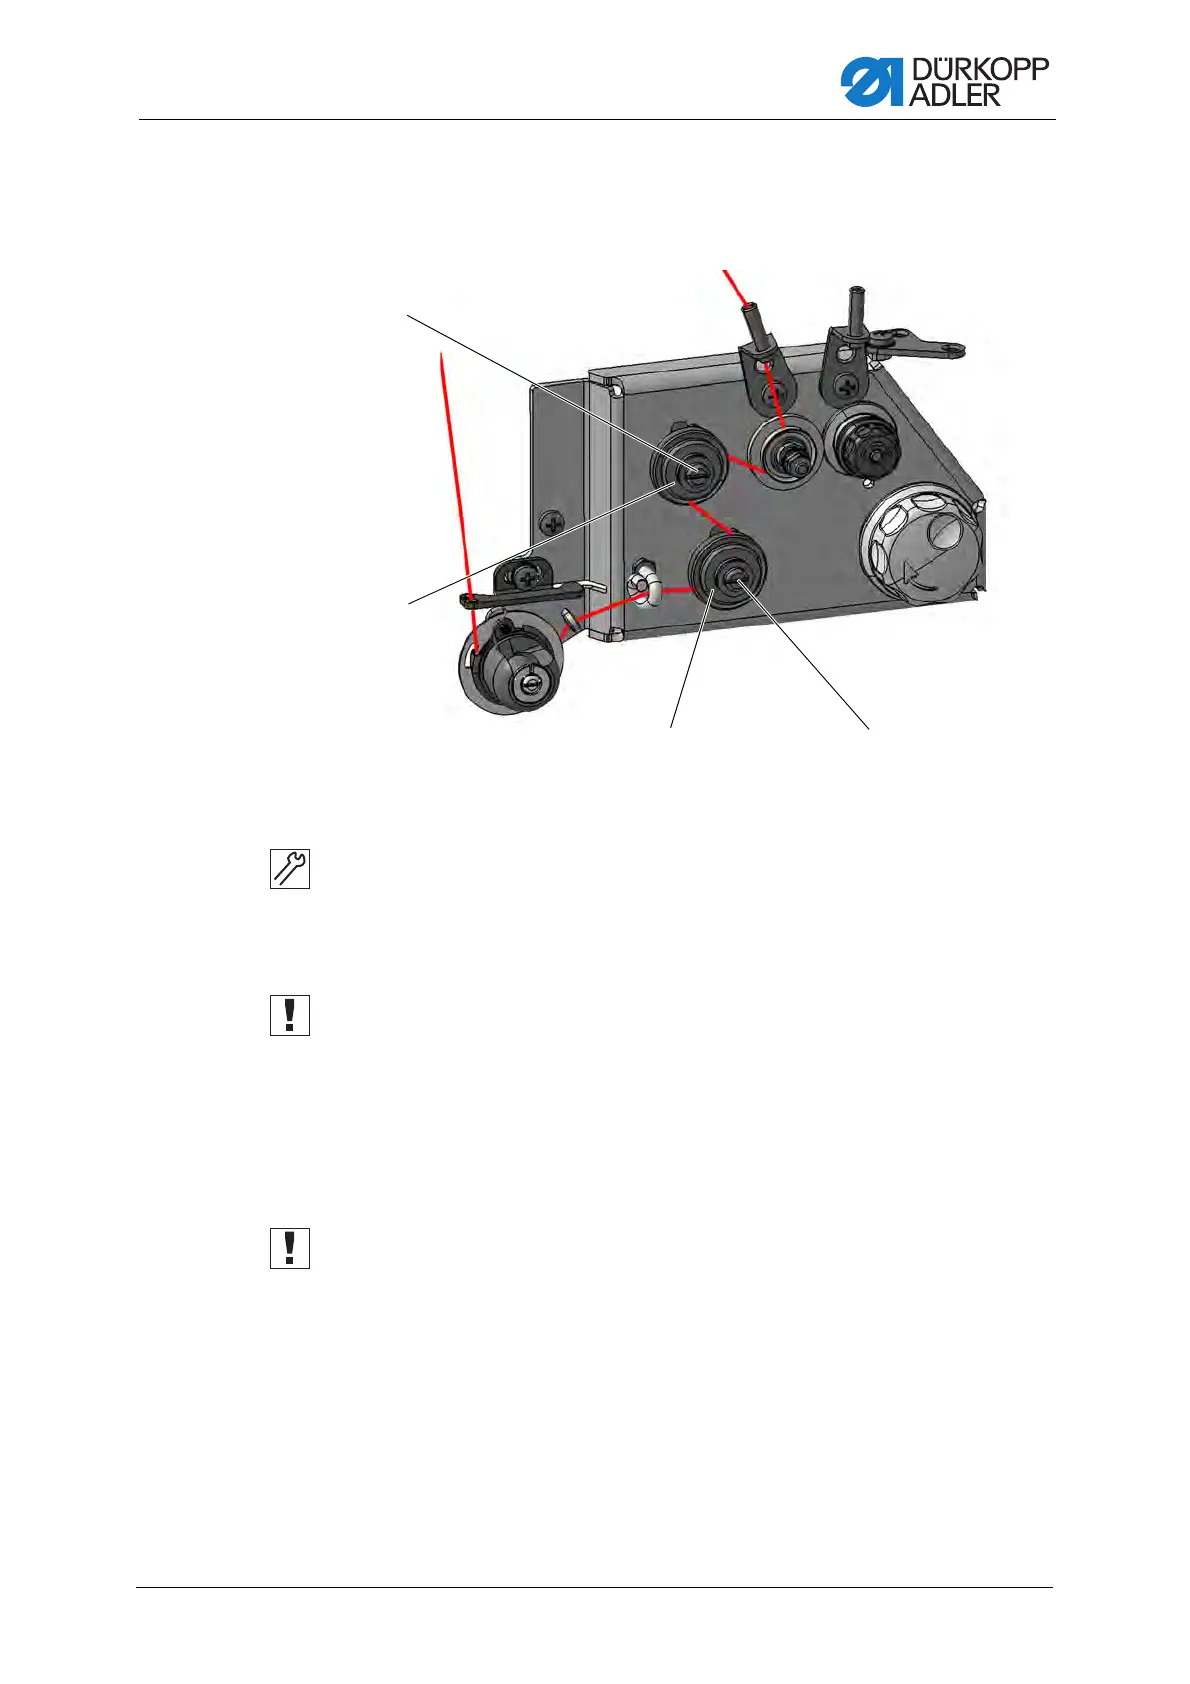
Fig. 49: Adjusting the tensioning plate (1)
To adjust the tensioning plate:
1. Insert the needle thread as shown above.
2. Feed the needle thread through the thread lever and the thread scale.
3. Pull the thread to the left at a consistent rate of speed.
Important
The thread must be pulled off horizontally.
4. Screw in the stop screw (2) (cw) until the tension increases, peaks and
decreases again.
5. When the tension drops while you are screwing in (cw) the stop screw (2),
set the tension to 450±10 cN.
6. Secure the stop screw (2) using the lock screw (1).
Important
To prevent it from turning while it is being secured, use a 10 mm wrench
to hold the stop screw (2) in place.
7. Check the thread tension and readjust it if necessary.
8. Screw in the stop screw (3) (cw) until the tension increases, peaks and
decreases again.
9. When the tension drops while you are screwing in (cw) the stop screw (3),
set the tension to 720±50 cN.
10. Secure the stop screw (3) using the lock screw (4).
(1) - Lock screw
(2) - Stop screw
(3) - Stop screw
(4) - Lock screw
 Loading...