MANUAL ELDES ESIM264 V2.0 107
2.3 The sensor should be attached to the xed sensors mounting part. When attaching sensor pay attention to the tamper
(micro switch) - it must be pressed.
2.4 The magnet cover should be attached to the xed magnet mounting part.
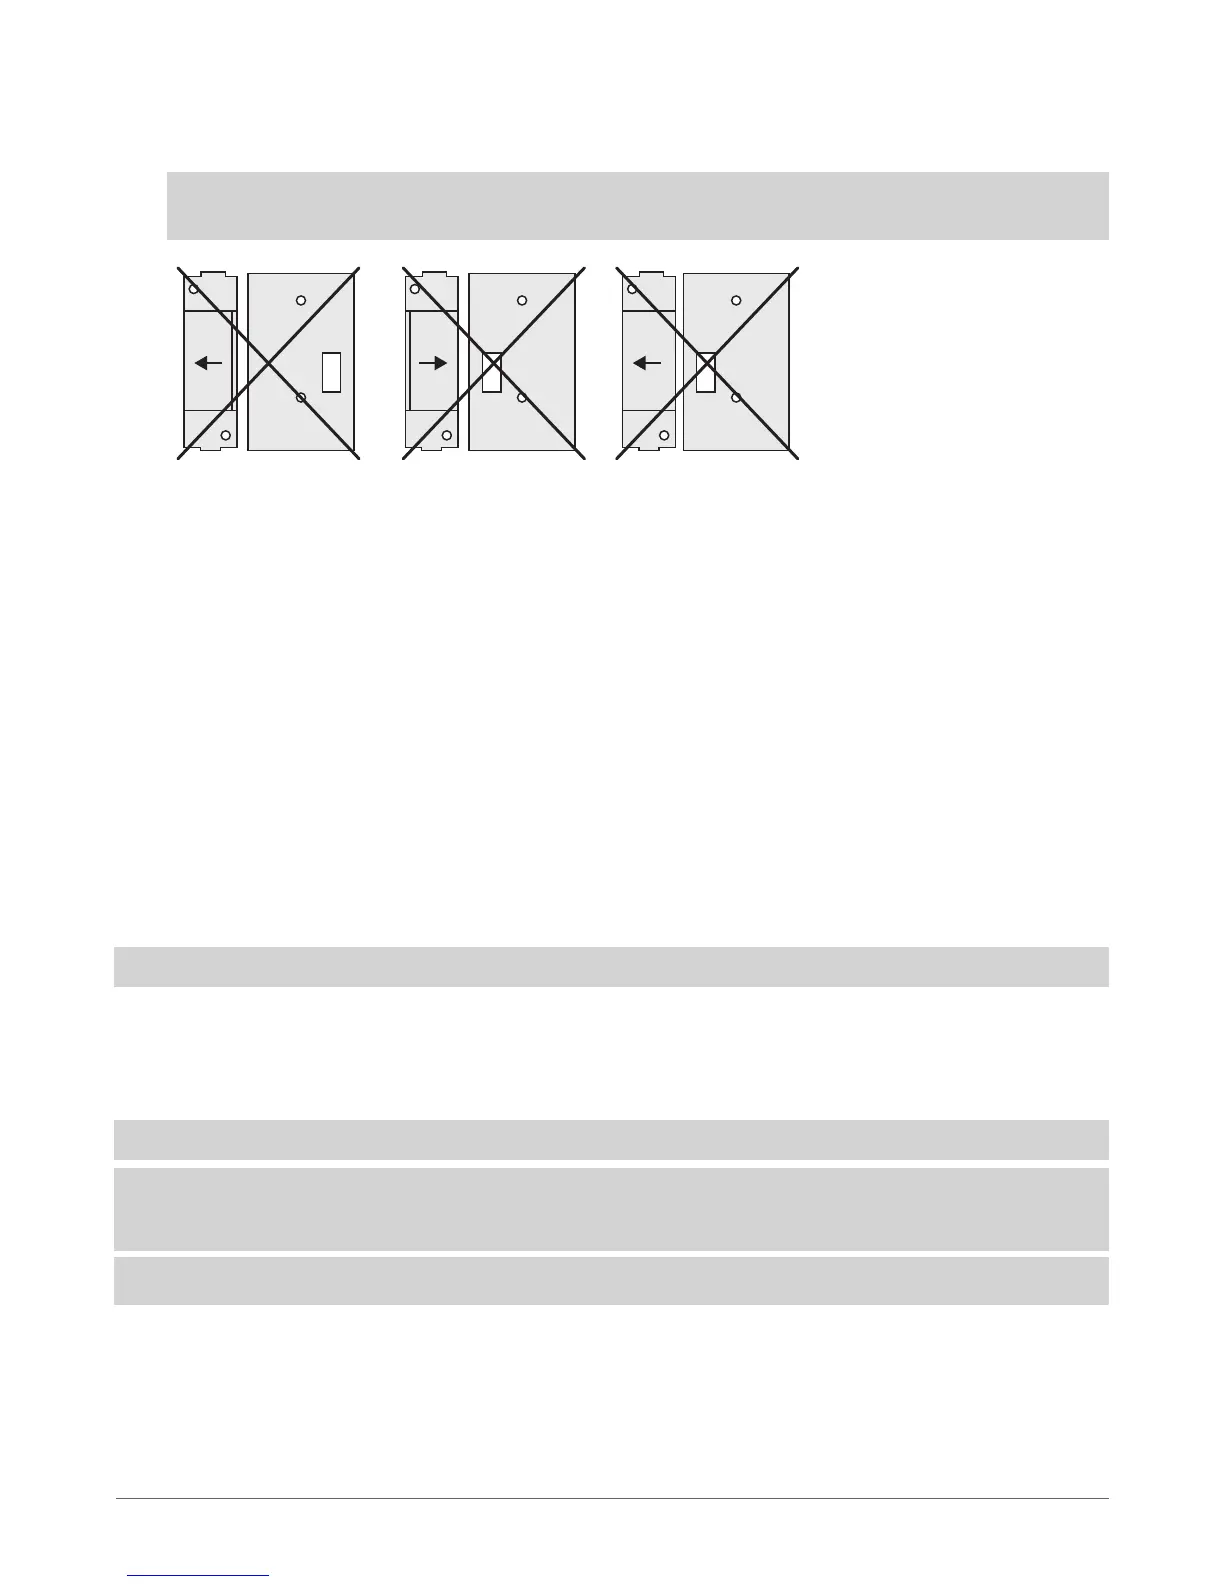
NOTE: It is not recommend to x EWD1 in other ways than with screws, e.g. with duck tape.
See Fig. No. 38 for the incorrect ways of xing the magnetic door contact.
3. Bind the device to ESIM264 alarm. Use a software ELDES Conguration Tool or send corresponding SMS messages. Please
refer to software‘s HELP section or refer to chapter 8. ELDES Wireless Devices for more details.
4. The system automatically informs about successful/unsuccessful binding process. If attempt to bind is unsuccessful, try to
move EWD1 closer to alarm system device and bind anew.
5. EWD1 magnetic door contact is ready to use.
8.4.3 EWD1 Zones & Tamper
Upon successful EWD1 magnetic door contact binding process,the system adds 1 wireless Instant zone and 1 wireless Silent zone.
The wireless zones are applied to the following EWD1 components respectively:
• Magnetic contact - by default, causing alarm if doors/windows is opened when system is armed.
• Panic button - by default, causing silent alarm instantly when pressed.
In case of tamper violation, the alarm is caused regardless of system being armed or disarmed. There are 2 ways to detect tamper
violation on EWD1:
• By tamper button. EWD1 has a built-in tamper button intended for monitoring the enclosure status. Once the enclosure
of EWD1 is illegally opened, the tamper button becomes unpressed. This action is followed by alarm which is sent by SMS
message and phone call to the user (-s) by default. The SMS message contains the violated tamper number.
• By wireless connection loss. The wireless connection loss between EWD1 and ESIM264 system leads to alarm. The system
identies this event as a tamper violation and sends alarm by SMS message and phone call to the user (-s) by default. The
SMS message contains the violated tamper number and a star * character indicating wireless connection loss as a tamper
alarm cause.
ATTENTION: The tamper will not operate if both wireless zones are disabled.
8.4.4 Battery Replacement
Only CR2032 3V Lithium batteries should be used. Install only new, good quality and unexpired batteries. In order to replace old
battery with a new one, remove front cover of the magnetic door contact (see chapter 8.4.2 Installation), carefully remove the
device PCB and remove old battery. Then insert the new CR2032 3V Lithium battery.
ATTENTION: The battery must be removed if device is not in use.
ATTENTION: In order to avoid re or explosion hazards, the system must be used only with approved battery. Special care
must be taken when connecting positive and negative battery terminals. Dispose old batteries only into special collection
sites. Do not charge, disassemble, heat or incinerate old batteries.
NOTE: Using software ELDES Conguration Tool it is possible to watch the status of the battery in real-time.
8.4.5 Restoring Default Parameters
1. Remove the battery from EWD1.
2. Press and hold the RESET button.
3. Insert the battery back to EWD1.
4. Hold the RESET button until LED indicator provides several
short ashes.
5. Release the RESET button.
6. Parameters restored to default.
Fig. No. 38