EPSON Stylus Pro 4400/4450/4800/4880/4880C Revision C
Disassembly & Assembly Disassembly Procedures 348
4.2.9.2 Paper Eject Unit
1. Remove "Panel, Front/Panel Unit" (p219).
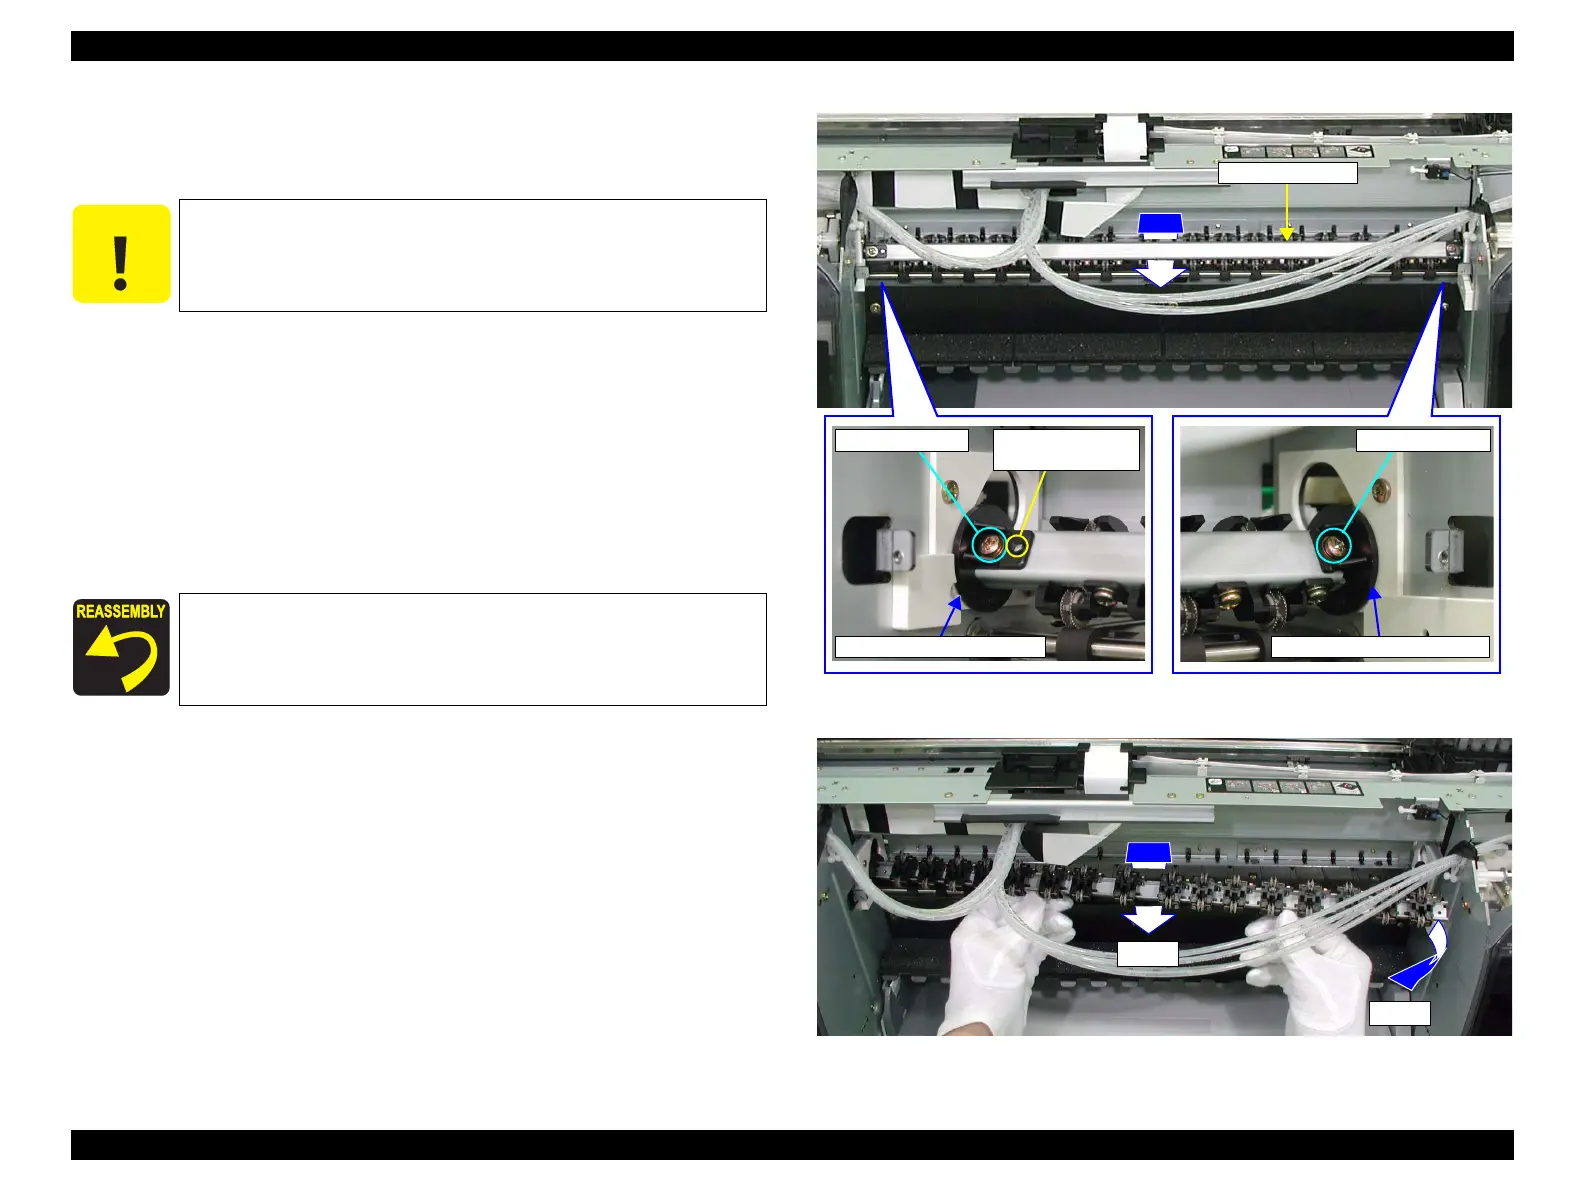
2. Turn the "Paper Eject Unit" until the screws that secure the "Paper Eject
Unit" on both sides face forward, and remove the two screws.
(Refer to Figure 4-205.)
C.B.S. (P2) 3x6:2 pcs.
3. Turn the "Paper Eject Unit" until the Star Wheel faces toward you.
(Refer to Figure 4-206.)
4. While avoiding interference with the "Holder, Eject Roller, Right", pull out
the "Paper Eject Unit" toward the front right side from the "Holder, Eject
Roller, Left". (Refer to Figure 4-206.)
Figure 4-205. Screws Securing the Paper Eject Unit
Figure 4-206. Paper Eject Unit Removal
C A U T I O N
When performing the following steps, be careful not to take
hold of the Star Wheels of the "Paper Eject Unit".
Align the "Paper Eject Unit" dowel and "Holder, Eject Roller,
Left" positioning hole. (Refer to Figure 4-205.)
Paper Eject Unit
Dowel and
Positioning Hole
C.B.S. (P2) 3x6 C.B.S. (P2) 3x6
Holder, Eject Roller, Left Holder, Eject Roller, Right
Step 3
Step 4

 Loading...


