1. Installation and general user information
1−35
Festo P.BE−SPC200−WIN−PISA−CD−EN en 0901d
Proceed as follows:
If you wish to back−up the data saved in the SPC200 at
first with a Project Upload, or if the nominal configuration
displayed is correct (e.g. during operation):
· Select No" in order to retain the nominal configur
ation displayed in the SPC200 and, if necessary,
back−up the data saved in the SPC200 in a WinPISA
project (Projekt Upload).
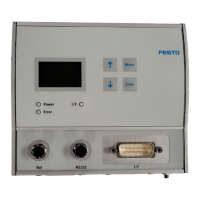
· Check the installation of the modules and compo
nents. Check to make sure that the status LEDs of all
connected modules light up and that the modules are
therefore recognized.
If it is not necessary to back−up the data saved in the
SPC200 and if the actual configuration displayed is cor
rect (e.g. during
the first commissioning):
· Select Yes" in order to accept the actual configur
ation as the nominal configuration.
If the axis assignment is modified when the actual
configuration is saved as the nominal configuration, a
data reset will be necessary (see also section Diag
nosis and optimization").
Caution
During a data reset all data entered will be reset to the
status as at delivery or deleted.
Make sure that you have saved the desired data in a
WinPISA project (upload), in order to load the data into the
SPC200.
4. If a data reset is necessary, the dialogue window Accept
actual as
nominal configuration" will be displayed.
With Continue" you can carry out the data reset and
accept the actual configuration as the nominal configura
tion.
With Cancel" the existing nominal configuration is
retained.