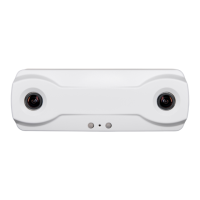
Brickstream® 3D Gen 2 Version 6.2
6/25/2021
©2016-2021 FLIR Integrated
Imaging Solutions Inc.
All rights reserved.
Brickstream® 3D Gen 2 Installation Guide
June 2021
54
Note: This information is also on the Settings->Basic Settings
page, IPSettings tab and Web Server tab.
Configuring the Basic Settings
The Basic Settings page allows you to define the:
n networking configuration (LANor Wi-Fi)
n web server location
n date and time synchronization
n logging delivery
n Device Manager server
n HTTPproxy
Note: These settings, except for Wi-Fi and logging, are also
available through the Configuration Wizard.
There is a Reset link on everyBasic Settings tab that returns you to the last saved settings. You may
have to refresh the page.
Setting up a LAN or Wi-Fi Connection
The sensor is shipped with a default IP address of 192.168.1.7. You need to set the sensor to use the IP
address assigned by your Network Administrator so that it is accessible from your network. The
connection to the network can be wired (LAN) or wireless (Wi-Fi). If both LANand Wi-Fi are configured
for use the networks must be on different subnets and the routers or switches must be able to manage
the same device on two different subnets.
Note: Saving changes to the networking settings automatically
reboots the sensor.
Setting up a LAN connection can be done on the Basic Settings page or in the Configuration Wizard.
Setting up Wi-Fi can only be done on the Basic Settings page.

 Loading...