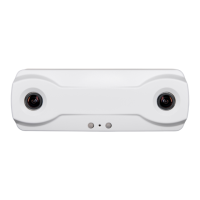
Brickstream® 3D Gen 2 Version 6.2
6/25/2021
©2016-2021 FLIR Integrated
Imaging Solutions Inc.
All rights reserved.
Brickstream® 3D Gen 2 Installation Guide
June 2021
65
Note: For large-scale implementations, we recommend
setting this value as 20000 to reduce server load and
network traffic.
8. The default setting for Timeout is 10 seconds. If your network is slower, increase this value to
prevent the sensor from timing out before connecting to the Device Manager server.
9. Click Test Settings to test the connection of the Device Manager server. A Device Manager server
request is immediately sent. A success or failure message is displayed at the top of the page.
10. Click Save.
Configuring Proxy Settings
The sensor supports using an HTTP proxy server for network access.
Configuring proxy settings can be done on the Basic Settings page or in the Configuration Wizard.
1. On the Settings>Basic Settings page, click the HTTPProxy tab.
2. Click the Enabled switch to ON. The fields become active.
3. In the IP or Host Name field, enter the IP address or host name for the proxy server.
4. In the Port Number field, enter the port number to be used for accessing the proxy server.
5. By default, FTP traffic is included with traffic routed through the proxy. If you want to exclude
both AVI and data delivery via FTP from using the proxy server, click the Include FTP switch to
OFF.
6. Enter the Username and Password.
7. Click Test Settings.
8. Click Save.
Defining the Device Identification
The Device Identification page allows you to identify the sensor and the site location, as well as specify
the XML data format.
If you are using the Brickstream Device Manager to store metric data, you should set the Site ID. The
Device Manager attempts to match the Site ID to a Site ID in the Operational Database in order to auto-

 Loading...