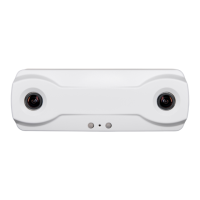
Brickstream® 3D Gen 2 Version 6.2
6/25/2021
©2016-2021 FLIR Integrated
Imaging Solutions Inc.
All rights reserved.
Brickstream® 3D Gen 2 Installation Guide
June 2021
42
Using the Configuration Wizard
The Brickstream sensor web interface has a configuration wizard to help guide you through the set up
of the sensor including calibration. All of the settings available in the wizard are also accessible on
pages in the web interface. Both the wizard and the pages can be used to modify the settings at any
time during the sensor's use.
Before beginning the setup, ensure you have configured a PC to connect to the default IP address of the
sensor, described in Setting the Network IP Address. If your network uses 192.169.1.x as the default
gateway, you do not need to do this step.
Each page of the wizard has a Save button that progresses you to the next page. If you exit the wizard
without using all the pages, information you have saved to that point is in effect and not discarded.
1. Open a web browser and enter http://192.168.1.7 into the URL address bar, and then press Enter.
The main page of the 3D Gen 2 web interface opens.
2. In the top right, click Launch Configuration Wizard.
Step 1 of 10—Identification
1. On the Identification page, enter the information to identify the sensor with a site and division.
This information is particularly useful if using the sensor with the FLIRDevice Manager.
2. Select from the drop-down whether LED status lights remain always on (default) or if they should
turn off after a selected time.
3. Select from the drop-down the XMLdata format to use. The default (and recommended) selection
is Latest.
4. Click Save &Next.
Note: This information is also on the Settings->Device
Identification page.

 Loading...