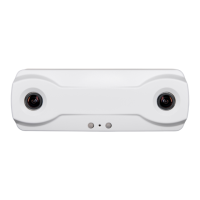
Brickstream® 3D Gen 2 Version 6.2
6/25/2021
©2016-2021 FLIR Integrated
Imaging Solutions Inc.
All rights reserved.
Brickstream® 3D Gen 2 Installation Guide
June 2021
38
Preconfiguration Process
If the sensor is preconfigured to be accessible on the site network, skip this section and go to Using the
Configuration Wizard.
Before installing the sensor at a customer site, complete the following preconfiguration process. During
the preconfiguration stage, the Power-over-Ethernet (PoE) connection is set up, the sensor IP address is
updated, and basic configuration settings are set up on the sensor. Refer to Powering the 3D Gen 2
Sensor for more information regarding the PoE connection set up.
Setting the Network IP Address
The sensor is shipped with a default IP address of 192.168.1.7. You need to set the sensor to use the IP
address assigned by your Network Administrator so that it is accessible from your network. The
following instructions describe how to connect to the sensor with a standalone PC for the purpose of
changing the sensor’s default IP address.
If your network uses 192.168.1.x as the default gateway, skip this section and go to Setting up a LAN or
Wi-Fi Connection.
Connecting to the Sensor using Default Settings
Use the following steps to connect to the default IP address location of the new sensor.
1. Turn on your PC, if it is not already powered.
2. Disconnect the CAT5e Ethernet cable from your PC.
3. Disable any wireless connections that you may have.
Note: No other network connections may be active during
this process.
4. Click the Start icon and select Control Panel from the desktop of your PC. The Control Panel
opens.

 Loading...