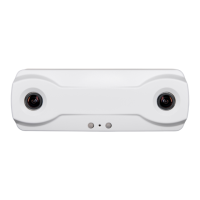
Brickstream® 3D Gen 2 Version 6.2
6/25/2021
©2016-2021 FLIR Integrated
Imaging Solutions Inc.
All rights reserved.
Brickstream® 3D Gen 2 Installation Guide
June 2021
102
LED Boot Sequence
The following is the normal startup (boot) sequence for a 3D Gen 2 sensor.
1. All LED lights blink green.
2. All LED lights illuminate solid green for five seconds.
3. All LED lights blink green for four seconds.
4. All LED lights illuminate solid green for three seconds.
5. All LED lights blink green in application counting sequence: one second on, three seconds off.
6. Status LED 1 blinks green indicating that the sensor is able to connect to a server for time sync,
data, logging, or proxy. If it is not able to connect to any of these types of servers, LED 1 blinks
amber.
LED lights may turn off after booting up if configured to do so in Defining the Device Identification .
Calibrating a Sensor
Calibration can also be done using the Configuration wizard.
In a high percentage of installations, the sensor can self-calibrate its mounting height and X and Y
rotation. We recommend that you attempt auto calibration before manually setting the sensor height
and rotation.
Complete the following steps to perform calibration.
1. Open the web interface.
2. Click Calibration. The Calibration page opens.

 Loading...