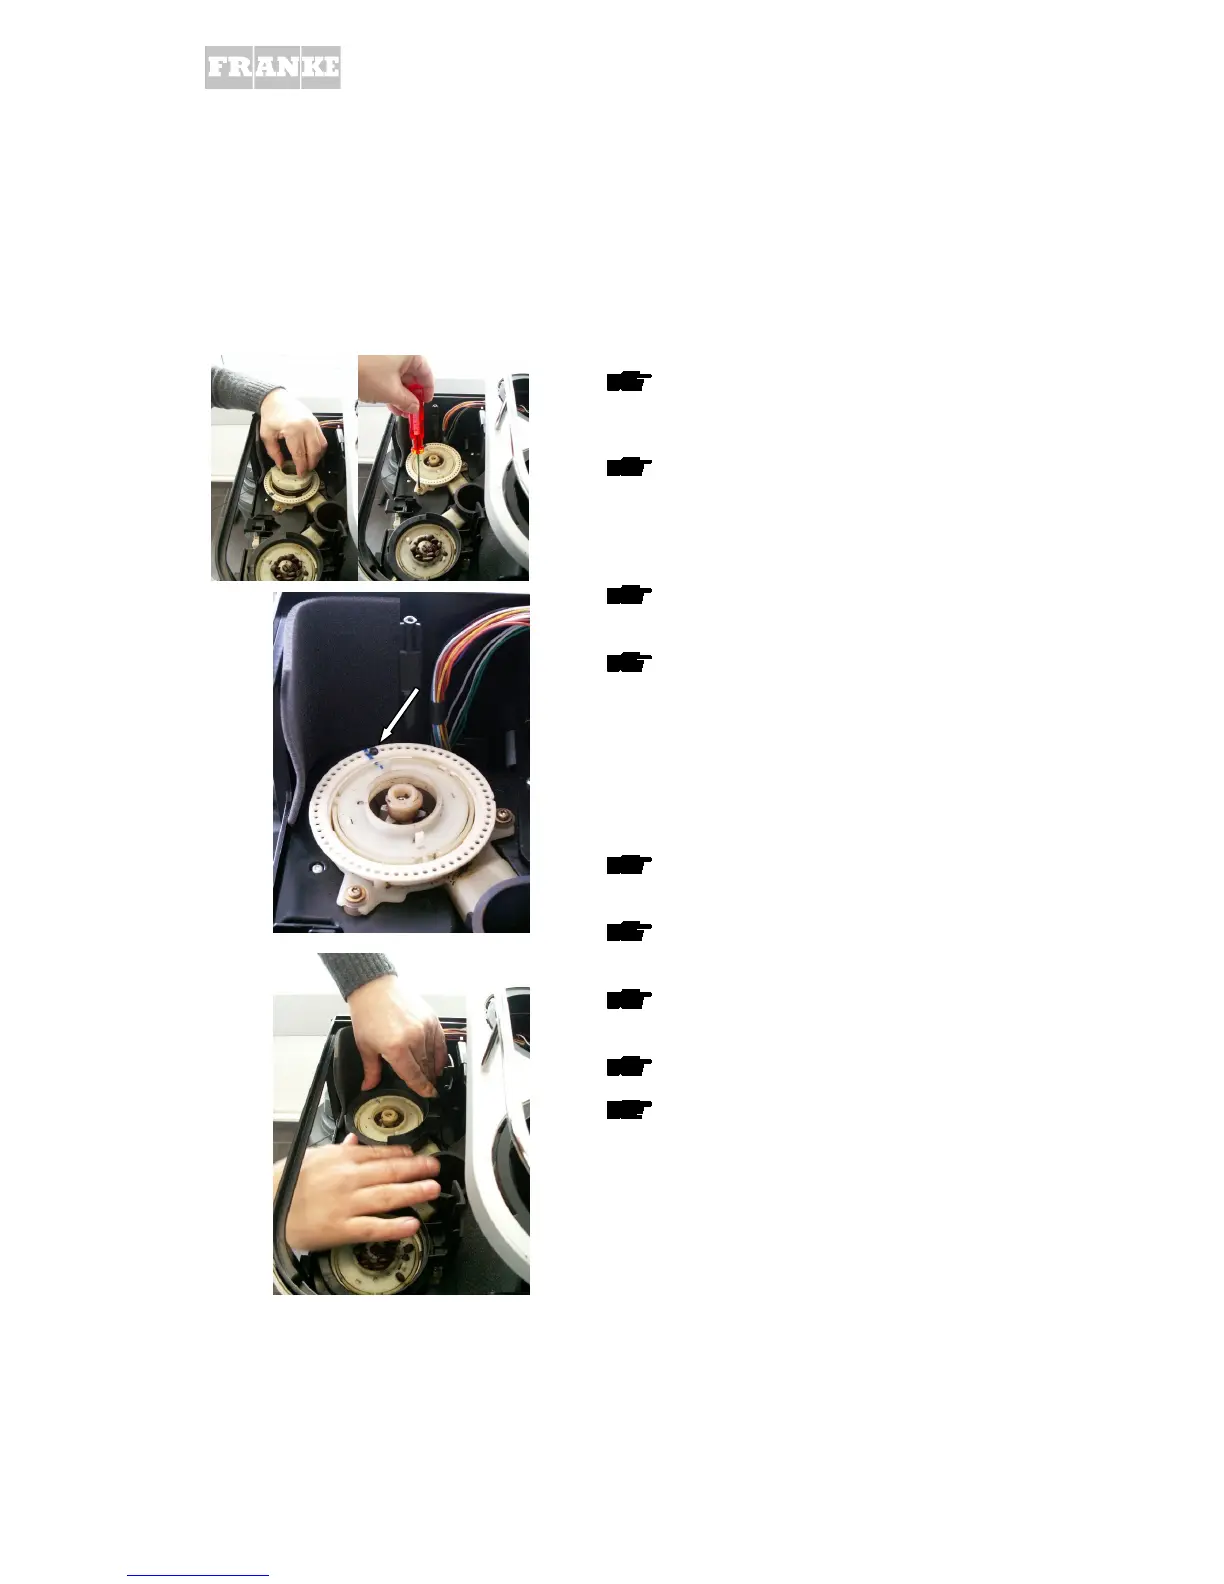
4.4.6. Installing a grinder
• To avoid damaging the grinding
mechanism, do not interchange the upper
grinding rings.
• When inserting the new grinding unit make
sure it is correctly seated so that the
grinder dispenser leads into the ground
coffee chute.
Insert upper grinding ring
Screw grinding unit into place
Turn retaining ring until marking matches
up with the mark on the upper grinding ring
Press adjusting disc onto grinding
mechanism until you hear it click into place
• Make sure the peg on the adjusting disc
clamp is perfectly parallel with the side
panels. (Peg pointing towards marking
(dots) on housing cover.)
Fit housing cover from above and secure
with the 4 screws
Fit setting rings for grinding degree; dots
facing front panel
Check! The setting ring must drive the
adjusting disc (adjusting disc clamp).
Replace coffee-bean container
Replace cover locks
4.4.7. Technical data
Grinder motor: 230V DC/ (US) 120V DC / (JP) 100V DC

 Loading...