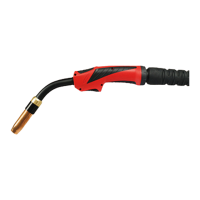
EasyManuals Logo

Fronius MagicWave 190 User Manual

Fronius MagicWave 190
156 pages
To Next Page IconTo Next Page
To Previous Page IconTo Previous Page
Page #44 background imageLoading...
Page #44 background image
44
Connecting the
welding torch to
the power source
and the cooling
unit
NOTE!
Do not use pure tungsten electrodes (colour-coded green) on TransTig power
sources.
Set up the welding torch in accordance with the welding torch operating instructions
5
NOTE!
Before each start-up:
Check the sealing ring on the welding
torch connection.
Check coolant level.
During welding, check at regular intervals
that the coolant is flowing properly.
Establishing a
ground earth con-
nection to the
workpiece
Turn the mains switch to the "O" position
6
1
2
1
3
5
6
4
2
1
2

Table of Contents

Other manuals for Fronius MagicWave 190

Questions and Answers:

Question and Answer IconNeed help?

Do you have a question about the Fronius MagicWave 190 and is the answer not in the manual?

Fronius MagicWave 190 Specifications

General IconGeneral
BrandFronius
ModelMagicWave 190
CategoryWelding System
LanguageEnglish

Related product manuals