The following figure shows an example of the destination label attachments on the mini SAS HD
cables between enclosures that connect the controller enclosure to drive enclosure 1 and that
connect drive enclosure 1 to drive enclosure 2.
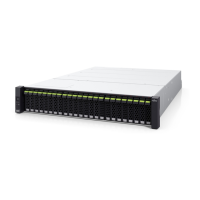
Drive enclosure 2
Drive enclosure 1
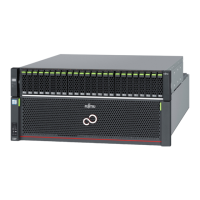
Controller enclosure
&0
'(
'(
'(
'(
'(
&0
'(
&0
'(
'(
'(
'(
'(
2 Connect the controller enclosure to the drive enclosure and connect between the drive enclosures.
Connect Controller 0 first.
(1) Connect the controller enclosure to the drive enclosure.
Connect the DI (OUT) port of Controller 0 (CM#0) in the controller enclosure to the DI (IN) port of I/O
module 0 (IOM#0) in drive enclosure 1 with the mini SAS HD cable between enclosures.
(i) Connect the plug to be connected to DI (OUT) port, to the DI (OUT) port of the Controller 0
(CM#0).
(ii) Connect the plug to be connected to DI (IN) port, to the DI (IN) port of the I/O module 0
(IOM#0).
Controller enclosure
Drive enclosure 1
(2) Connect between the drive enclosures.
Connect the DI (OUT) port of I/O module 0 (IOM#0) in drive enclosure 1 to the DI (IN) port of I/O
module 0 (IOM#0) in drive enclosure 2 with the mini SAS HD cable between enclosures.
Connect the cable in the same way as Step (1).
4. Connecting Cables
Drive Enclosure Connection
54 Configuration Guide (Basic)
 Loading...