Chapter 9 Page no. 1158
JC-DR-A-194.fm
GE Healthcare Senographe DS
Revision 1 Service Information and Procedures Class A 2385072-16-8EN
Job Card D/R A194 - AC/DC Module
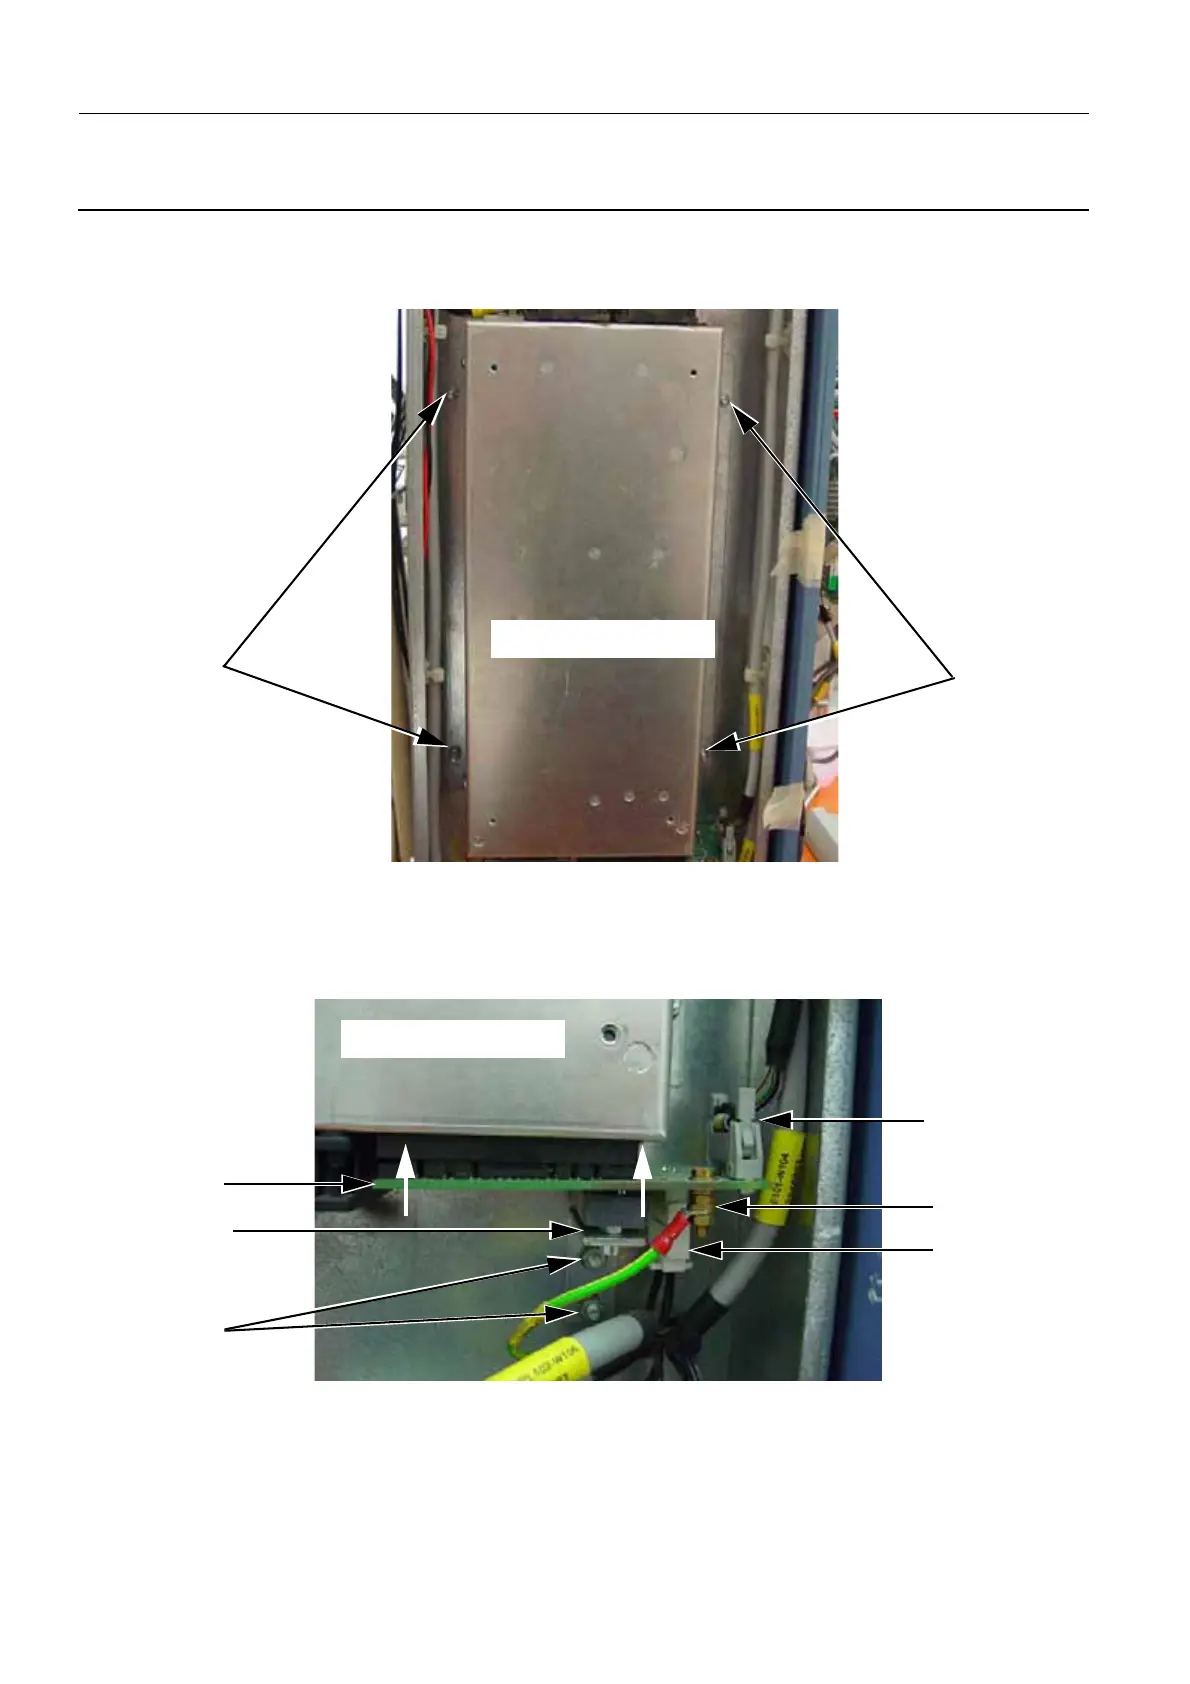
6-2 Install the New AC/DC Module
1. Put the new AC/DC Module in place and secure it to the framework with the four nuts (1) (8 mm
socket and torque wrench).
2. Take the existing AC/DC Board that you had stored in an anti-static bag, and carefully insert the
AC/DC Board (2) into the AC/DC Module by gently pushing it up into the AC/DC Board black plastic
connector. Apply even pressure on both sides of the AC/DC Board so that you do not distort the pins
that are located in the AC/DC Module black plastic connector. The AC/DC Board will remain in place
due to the tight fit of the AC/DC Module black plastic connector.
3. Put the L-shaped metal strip (3) in place below the AC/DC Board and secure it to the framework with
the two nuts (4) (8 mm open-ended wrench).
4. Connect the W004 ground cable (5) to the AC/DC Board (13) (screwdriver and 7.5 mm open-ended
wrench).
AC/DC Module
1
1
7
6
5
4
3
AC/DC Module
2

 Loading...


