Chapter 9 Page no. 1396
JC-DR-A-291.fm
GE Healthcare Senographe DS
Revision 1 Service Information and Procedures Class A 2385072-16-8EN
Job Card D/R A291 - Stop Button
6. Clip the fixation ring (3) onto the recess in the back of the Stop button (see Illustration 2). Ensure that
the fixation ring is oriented so that the open side of the ring is towards the longitudinal cut-out of the
Stop button.
.
7. Manually press the Stop button from outside the covers and release it. Visually observe that the Stop
button presses in and returns without any jams. Repeat this test five times.
8. Re-assemble the top cover back to the column; refer to Job Card PHY A044 - Remove/Reinstall
Gantry Covers on page 523.
7 COMPLETION
After changing the Stop button, no calibrations are necessary.
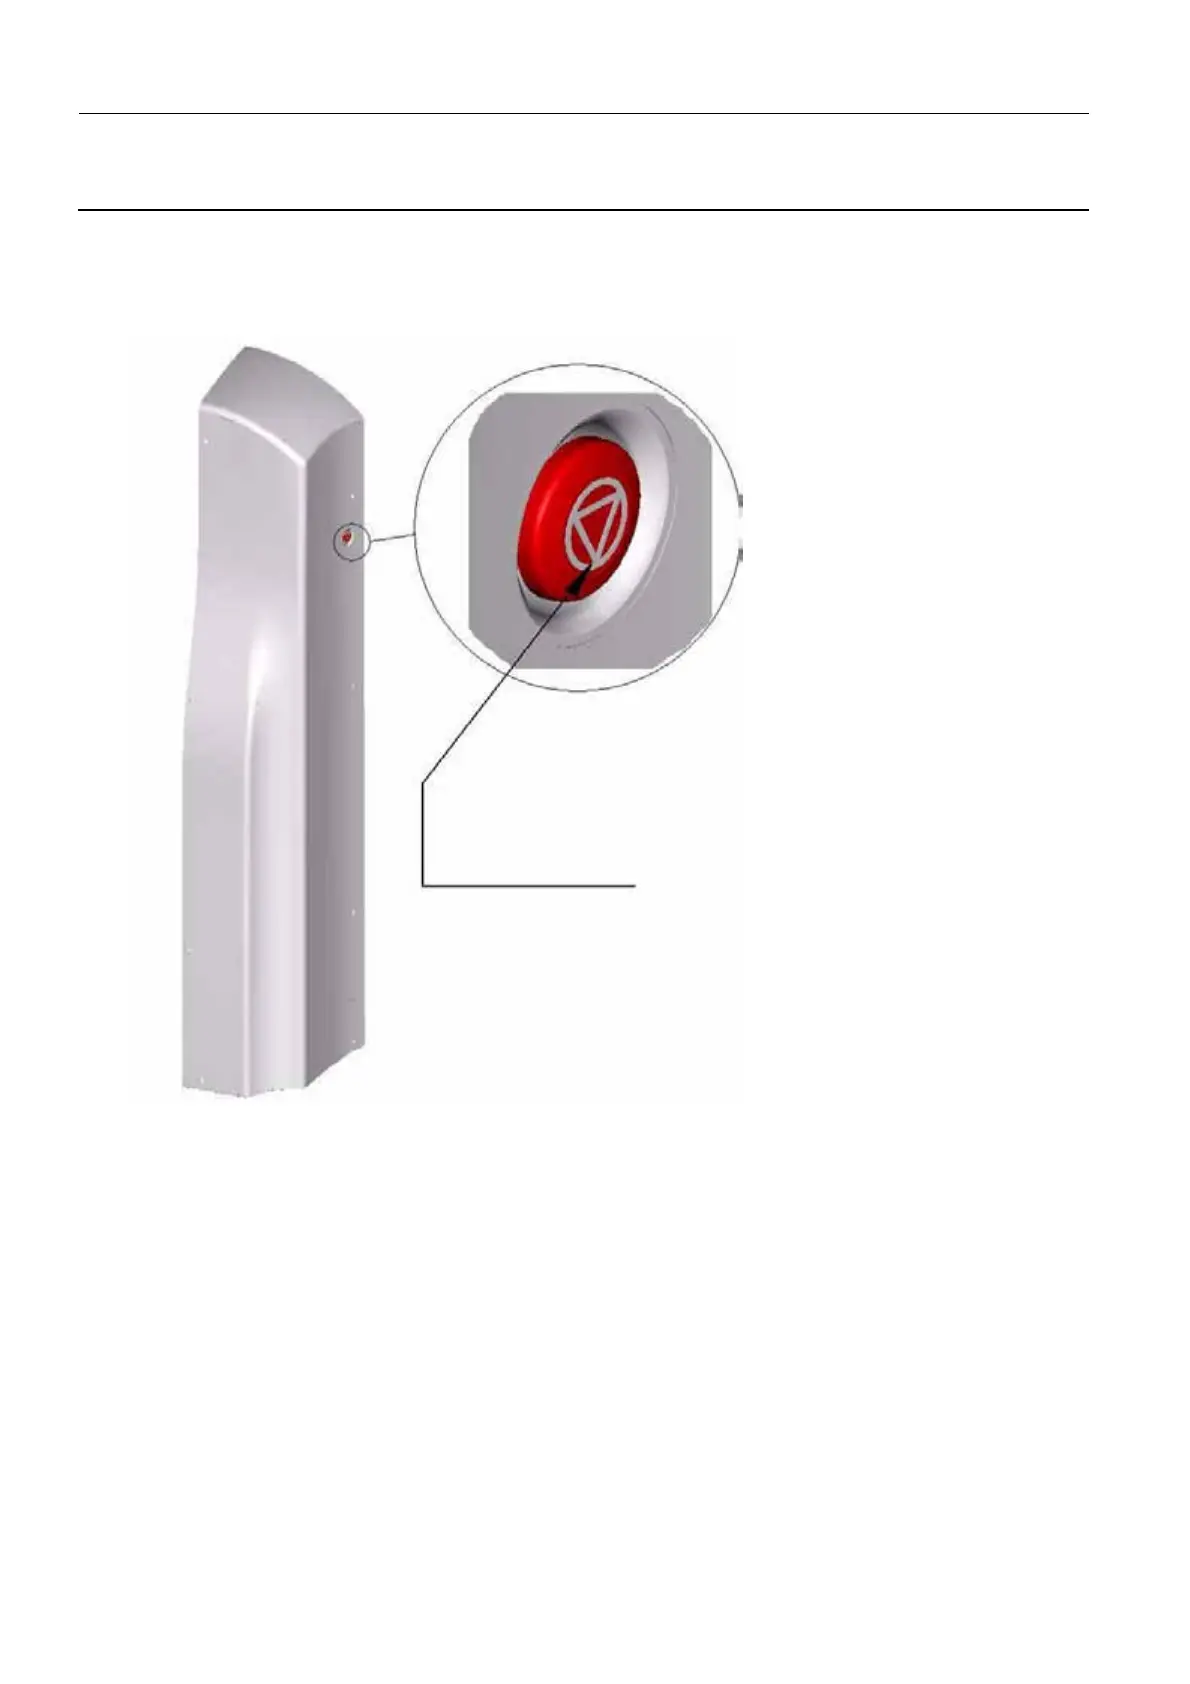
NOTE: One corner of
the triangle logo must
point downwards.
Illustration 3

 Loading...


