EasyManuals Logo

Hitachi IJ UX Service Manual

Hitachi IJ UX
308 pages
To Next Page IconTo Next Page
To Previous Page IconTo Previous Page
Page #112 background imageLoading...
Page #112 background image
3-32
[Connection to the external connection terminal block (EZJ119A -TB2) ]
Pin
Name
Remarks
1
Ready
NC
30VAC/0.5A or 30VDC/1A
2
NO
30VAC/0.5A or 30VDC/1A
3
COM
4
Fault
NC
30VAC/0.5A or 30VDC/1A
5
NO
30VAC/0.5A or 30VDC/1A
6
COM
7
Warning
NC
30VAC/0.5A or 30VDC/1A
8
NO
30VAC/0.5A or 30VDC/1A
9
COM
Terminal specification: M4
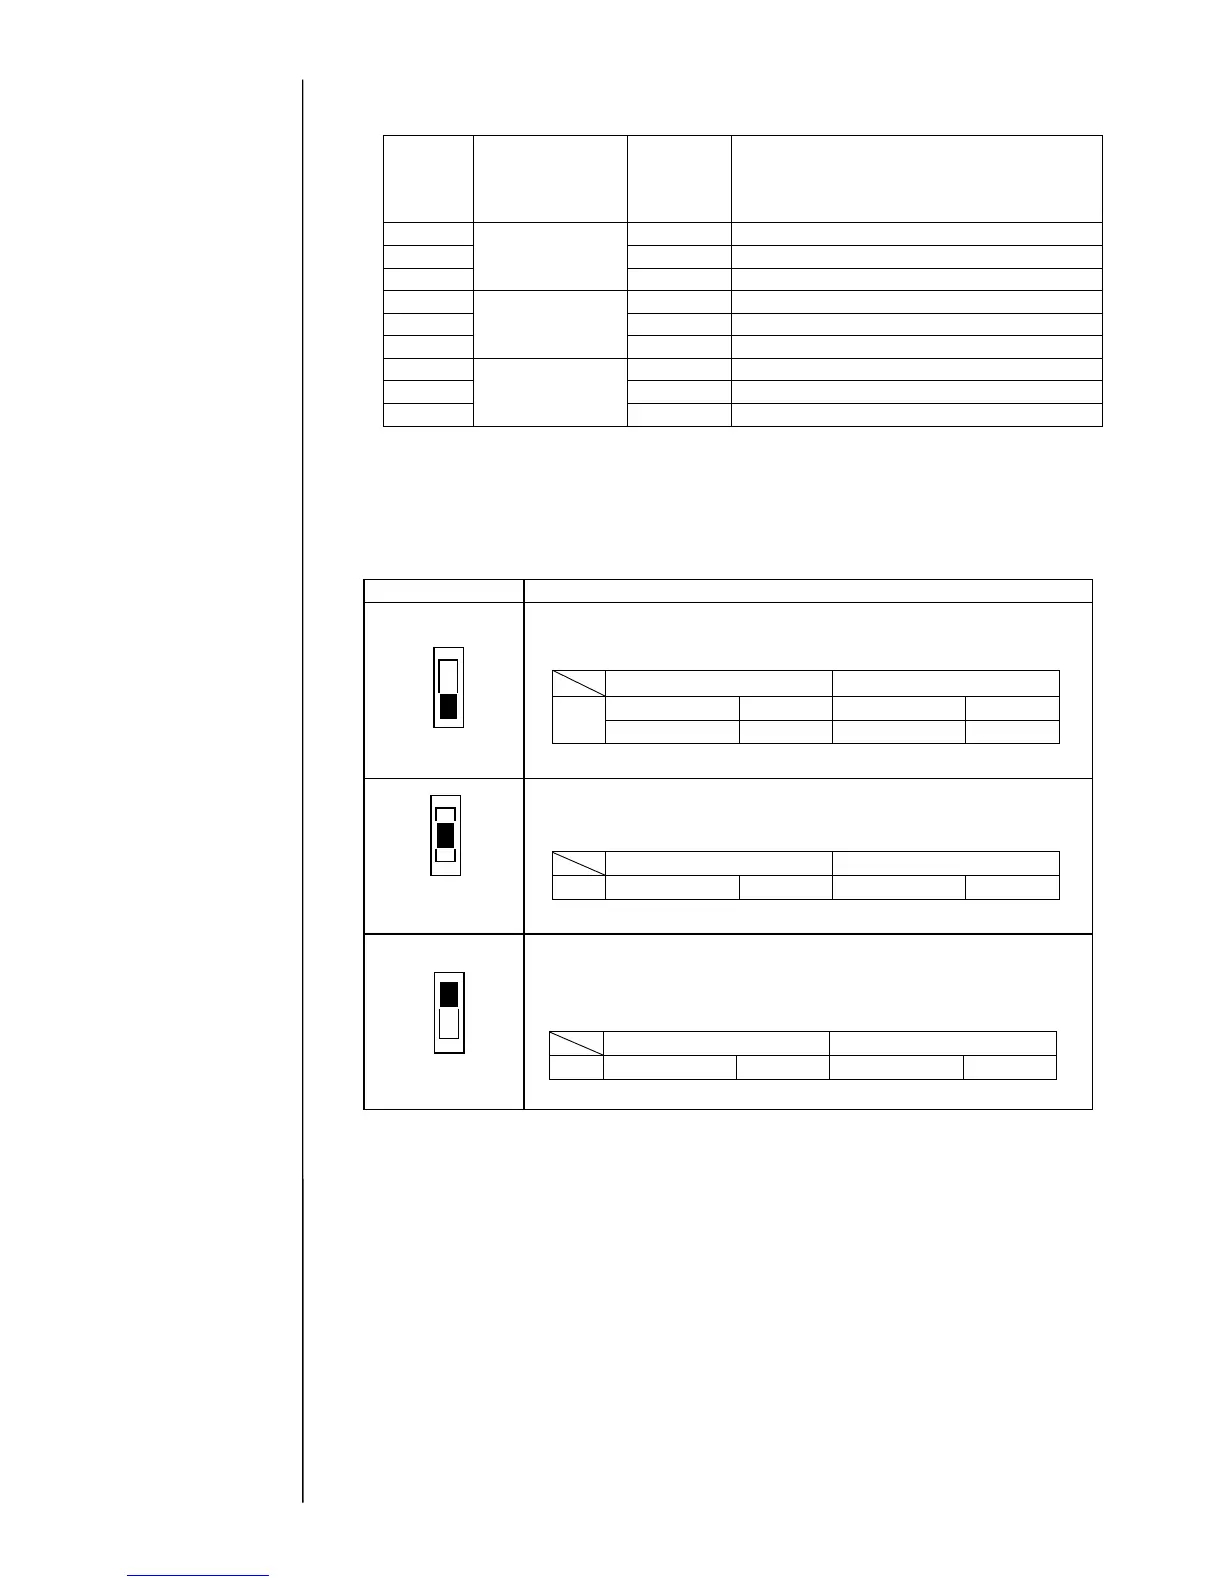
[Setting of switch 3]
The ready output selector switch (SW3) is used to enable or disable the ready signal
output.
Switch setting
Ready output status
When this setting is employed, the ready output signal is enabled.
The path between the TB2 terminals opens or closes depending
on whether the IJ printer is ready.
When the NC contact (break contact) is used, the ready output
signal is disabled. The path between the TB2 terminals opens as
shown in the table below no matter whether the IJ printer is ready.
When the NO contact (make contact) is used, the ready output
signal is disabled. The path between TB2 terminals 1 and 3 opens
and the path between TB2 terminals 2 and 3 closes as shown in the
table below no matter whether the IJ printer is ready.
SW3
3
1
2
SW3
3
1
2
SW3
3
1
2
Default
Ready state
Not-ready state
TB2
1-3 contact
Open
1-3 contact
Closed
2-3 contact
Closed
2-3 contact
Open
Ready state
Not-ready state
TB2
1-3 contact
Open
1-3 contact
Open
Ready state
Not-ready state
TB2
2-3 contact
Closed
2-3 contact
Closed

Table of Contents

Other manuals for Hitachi IJ UX

Questions and Answers:

Question and Answer IconNeed help?

Do you have a question about the Hitachi IJ UX and is the answer not in the manual?

Hitachi IJ UX Specifications

General IconGeneral
BrandHitachi
ModelIJ UX
CategoryPrinter
LanguageEnglish

Related product manuals