4-14
4.6 Pressure Sensor Replacement Procedure
1 Perform “Nozzle Backwash”. (Till stopped automatically without sucking
the makeup into the gutter)
2 Turn off the power supply.
3 Perform “4.1.3 Access to the parts on the rear side of the equipment”.
(The reason is that the connector is located on the rear side of the equipment.)
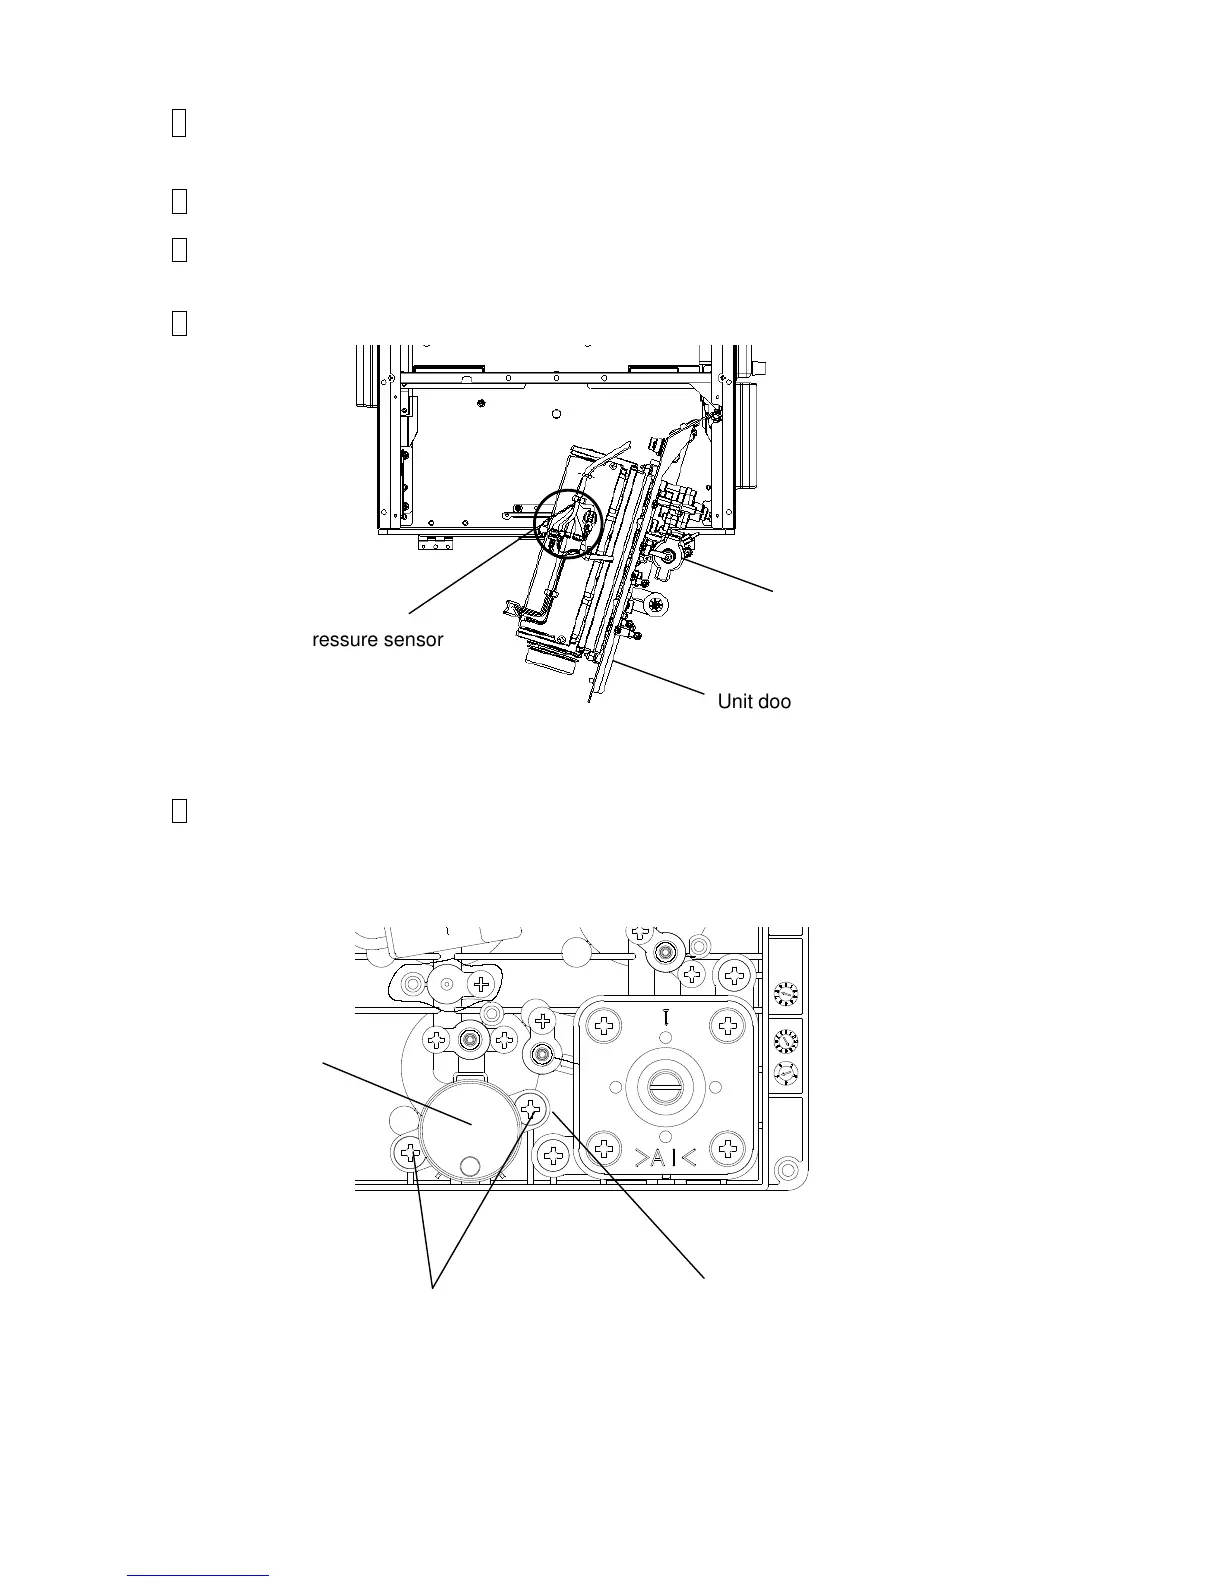
4 Remove the connector of the pressure sensor.
5 Remove the screws (2 positions) that fix the pressure sensor.
The pressure sensor can be removed.
[Caution] Put wiping paper under the solenoid valve for ink dripping.
Connector for pressure sensor
Pressure sensor
Unit door

 Loading...


