4-12
4.5 Solenoid Valve Replacement Procedure
[Caution]・Work contents differ according to the solenoid valve No. to be replaced.
・If the solenoid valve does not operate, conduct the replacement work with particular attention to
dripping.
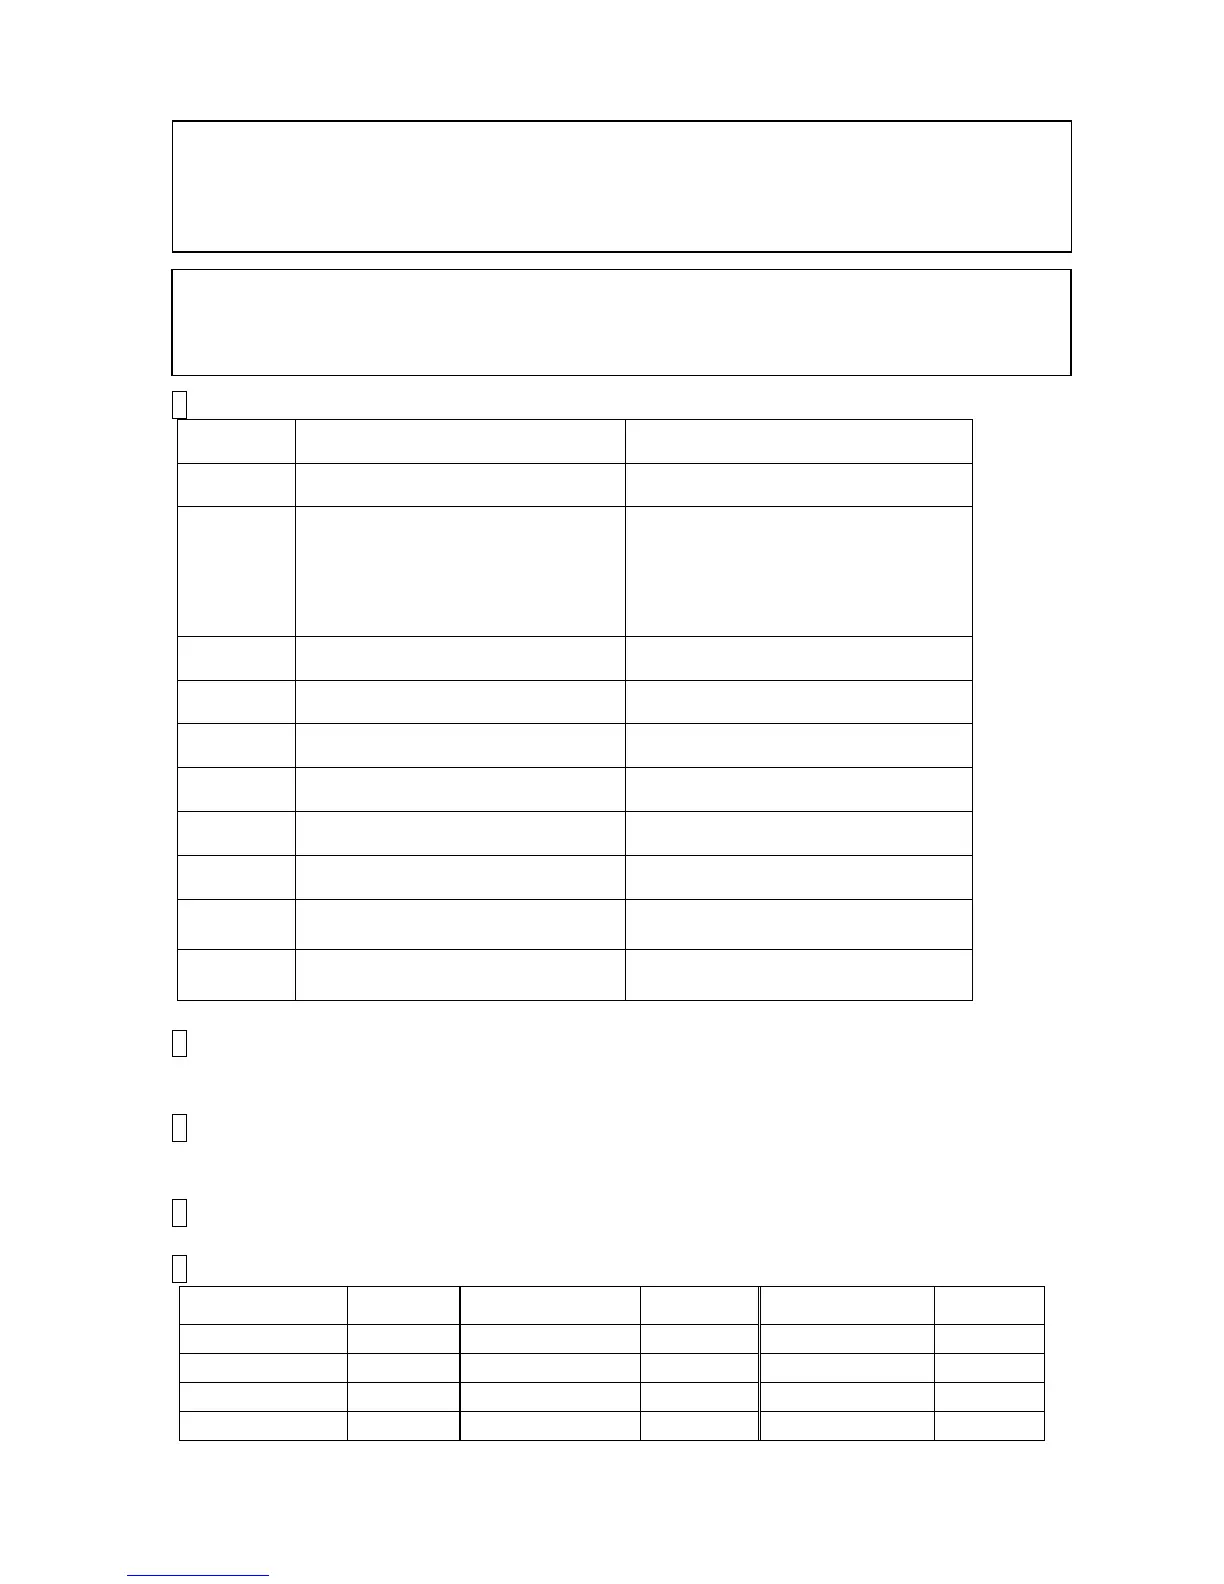
1 Perform the following preparation for each solenoid valve that you are to replace.
When the solenoid valve is working
When the solenoid valve is not working
Drain the ink of the main ink tank from
the drain tube.
(1) Remove the tube connection
block of the ink reservoir.
(2)Turn on the pump, MV2, and
MV6 in this order for about one
minute, and then turn them off.
(Solenoid/Pump Test screen)
No operation is required.
(Pay attention to ink dripping.)
Execute “Gutter Cleaning”.
No operation is required.
(Pay attention to ink dripping.)
No operation is required.
(Pay attention to ink dripping.)
Execute “Nozzle backwash”.
No operation is required.
(Pay attention to ink dripping.)
No operation is required.
(Pay attention to ink dripping.)
Drain the ink of the main ink tank from
the drain tube.
Execute “Pressure relief”.
No operation is required.
(Pay attention to makeup dripping.)
No operation is required.
(Pay attention to makeup dripping.)
No operation is required.
(Pay attention to ink dripping.)
MV12(*1) Execute “Pressure relief”.
No operation is required.
(Pay attention to ink dripping.)
2 Turn off the power supply.
【Work from the front】
3 Perform “4.1.2 Access to the parts on the front side of the equipment”.
【Work from the rear】
3 Perform “4.1.3 Access to the parts on the rear side of the equipment”.
4 Remove the connector of the solenoid valve to be replaced.
*1 MV11 and MV12 are mounted on UX-E only.
Solenoid valve No. Wire color Solenoid valve No. Wire color Solenoid valve No. Wire color
・ Parts inside the solenoid valve (diaphragm, etc.) cannot be replaced separately. In the case of
part failure, replace the entire solenoid valve.
・ The coil mold of the solenoid valve (black resin portion) is not resistant to solvents. Do not
immerse the coil mold in solvent. The coil mold however can be wiped gently with solvent.

 Loading...


