4-34
4.11 Solenoid Replacement Procedure
The replacement solenoid (color of wiring:Orange) can be used for both solenoids of
Ink-side and makeup-side.
[Caution]
・Please do not mix up solenoid connectors of ink-side and makeup-side when you
connect them.
・After replacement, please cofirm that the solenoid on ink-side and/or Makeup-side
operates properly.
・Do NOT spill makeup over the solenoids.
1 Turn off the power supply.
2
Follow the procedures described in “4.1.2 Access to the parts on the front side of the
equipment” and pull the Reservoir unit out.
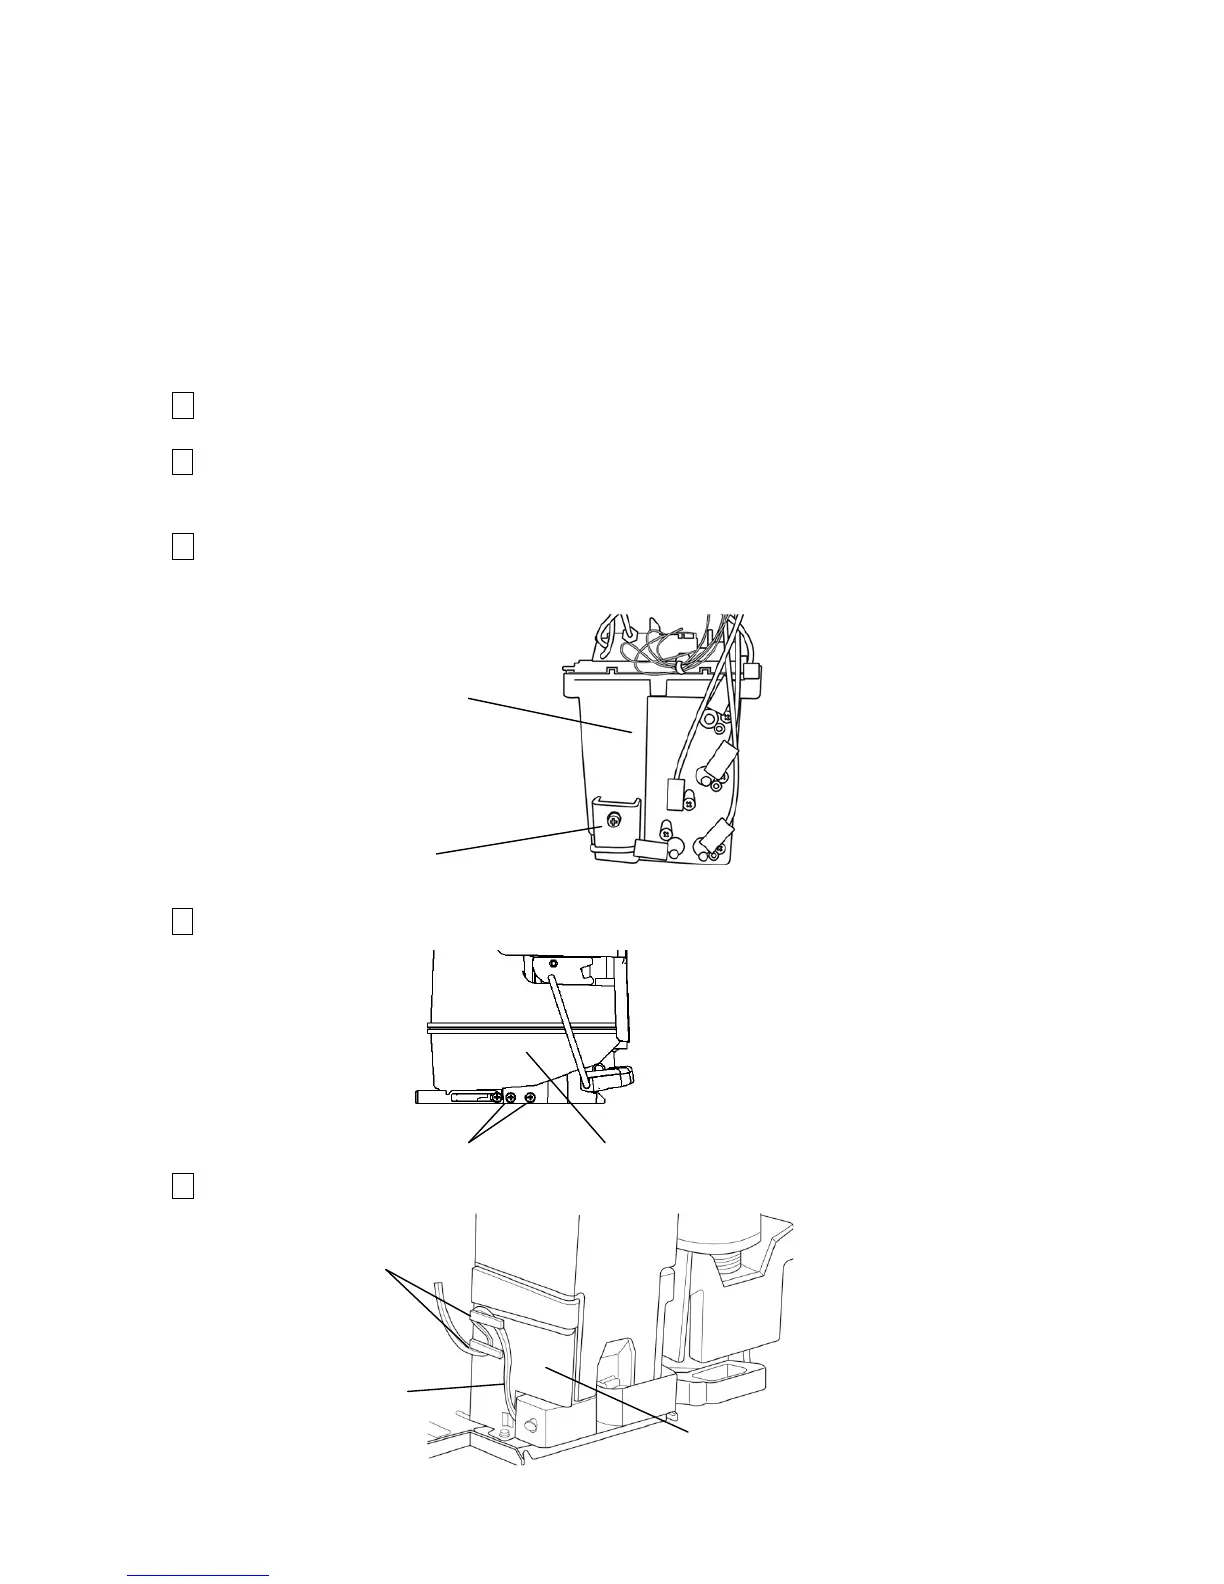
3
Remove the Fixing screw and remove Main ink tank.
[Caution] Be careful not to tip Main ink tank over.
4
Remove the fixing screws (2 positions) and remove the Makeup reservoir.
5
Remove the Solenoid cable from the hook on the Inner cover(B).
[Caution] Pay attention NOT to pinch the Solenoid Cable while above work is implemented.
Hook
Solenoid cable
Inner cover(B)
Fixing screw
Main ink tank
Fixing screws
Makeup reservoir

 Loading...


