4-16
4.7 Circulation Unit Replacement Procedure
1 Perform “Ink drainage” and then “Pressure relief”.
2 Turn off the power supply.
3 Perform “4.1.2 Access to the parts on the front side of the equipment” and draw out the
reservoir unit.
4 Perform “4.1.3 Access to the parts on the rear side of the equipment” “(1) Access method
from the front” and open the unit door.
[Caution] Be careful not to catch the tubes.
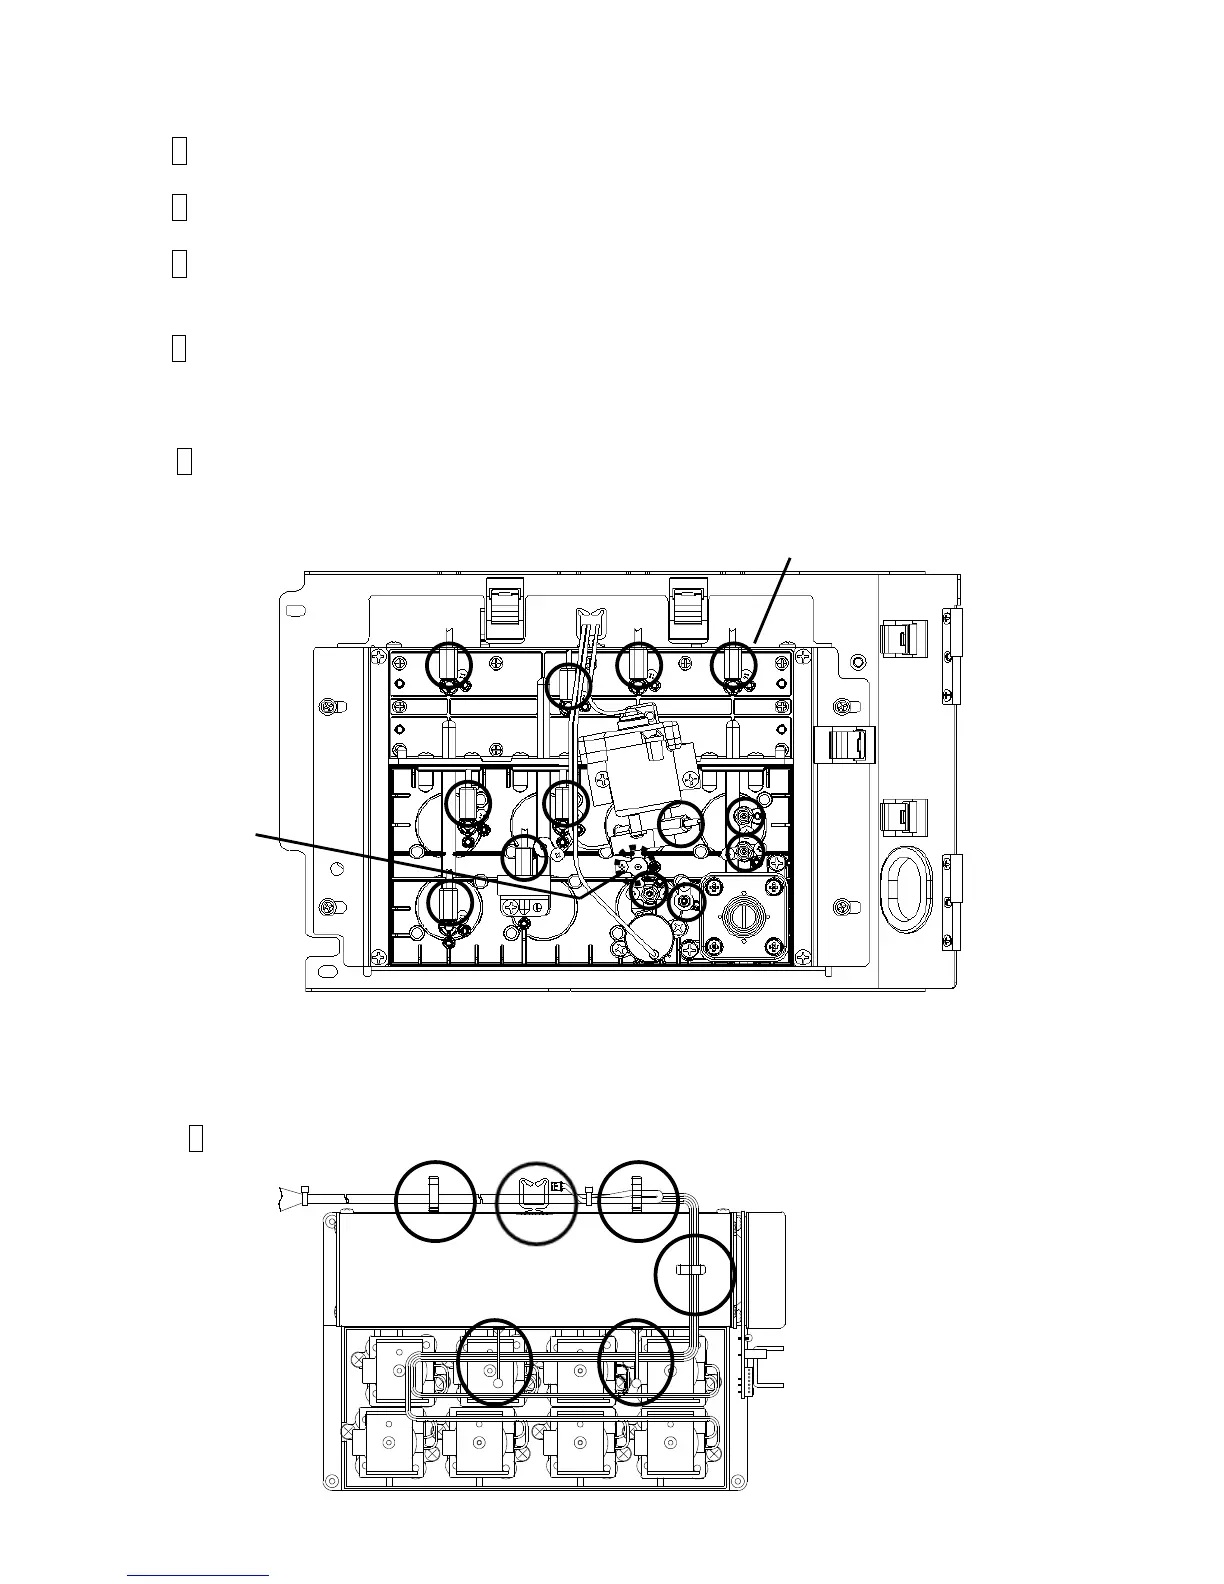
5 Remove the tubes (13 positions*) that are connected to the circulation unit.
*14 positions for UX-E.
[Caution] Be careful about ink dripping.
[Caution] On Model UX-E, when you replace circulation unit which was mounted in
the printer with replacement part, replace the plug on the replacement part with the ICU
joint which is delivered together .
6 Remove the wire harness from the clamps (5 positions).

 Loading...


