3-31
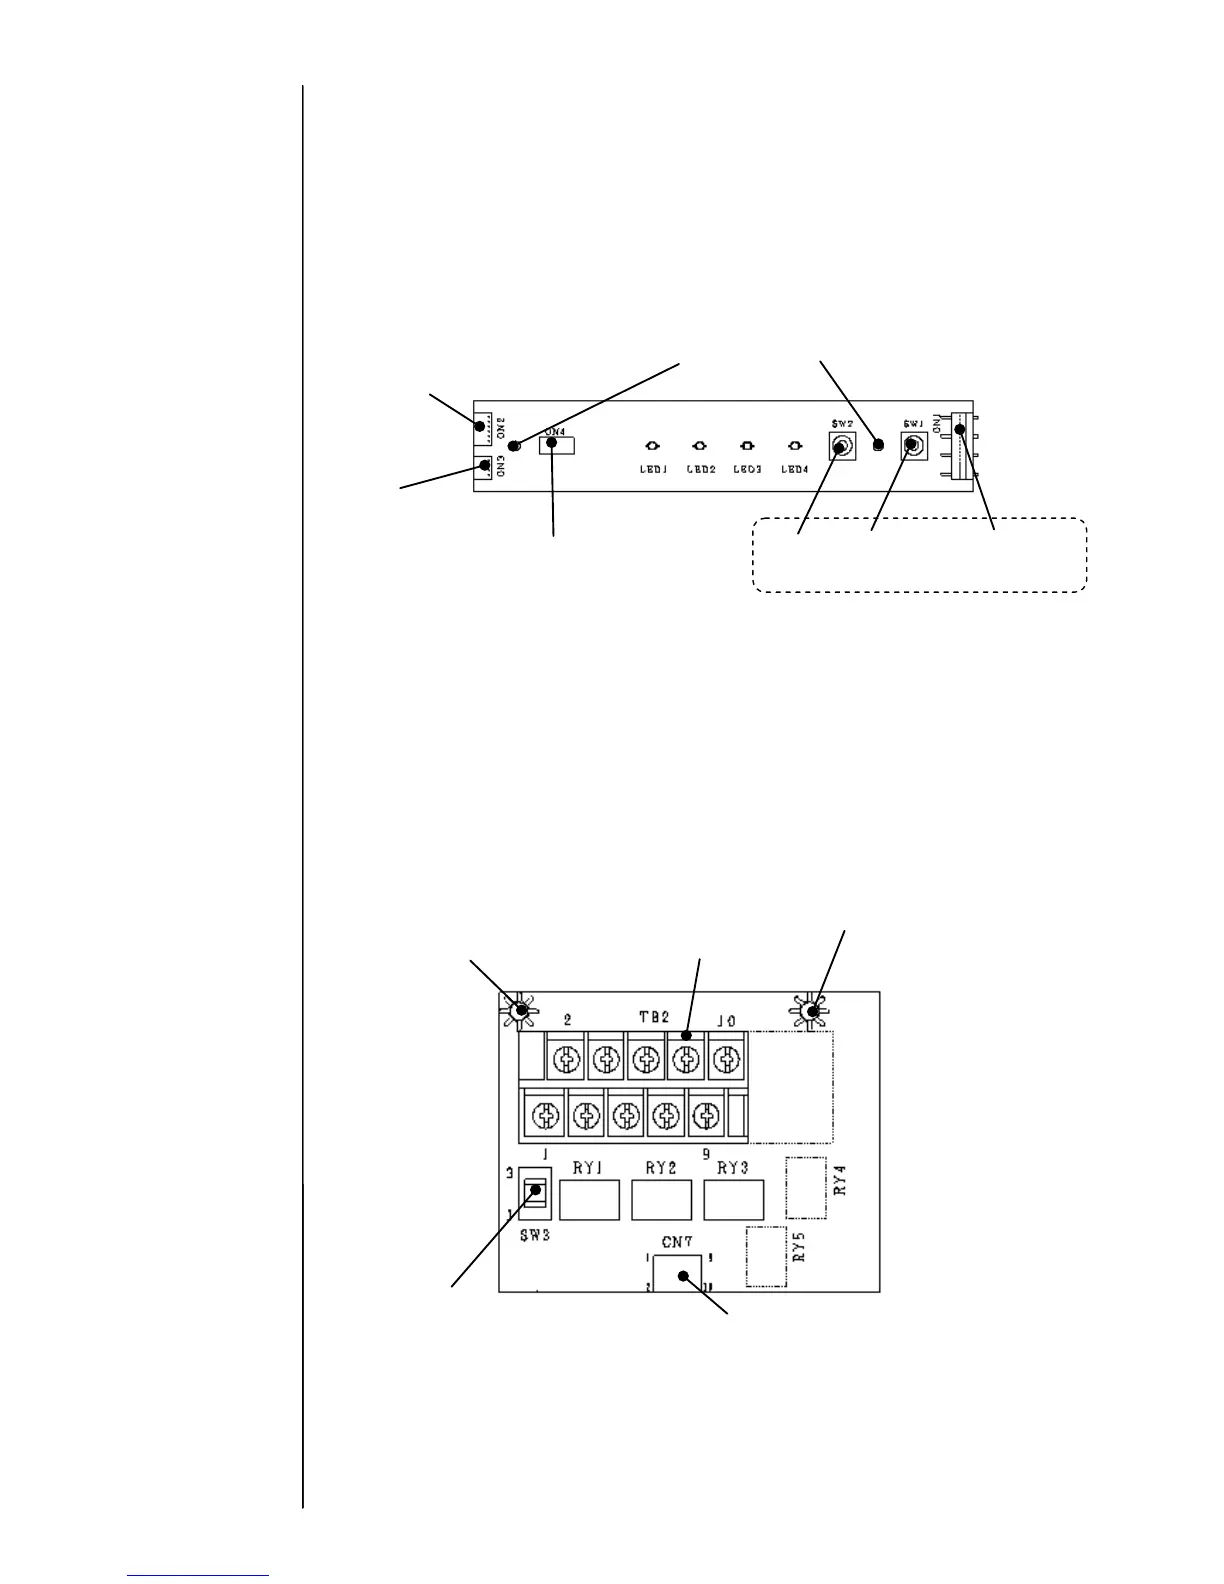
3.3.10 EZJ114 board (LED / SW board)
[Function]
- LED display of Power, Ready, Fault, Warning, and Start / Stop switch
[Notes in case of the board replacement]
- Before replacing the board, be sure to turn off the power.
- After replacing the board, be sure to joint connectors to right places.
[EZJ114 board external view]
3.3.11 EZJ119A board (Relay output board) (Optional board)
[Function]
- Relay output (Ready, Fault, Warning) for conveyer.
[Notes in case of the board replacement]
- Before replacing the board, be sure to turn off the power.
- Before replacing the board, be sure not to supply the electric power to the wires
connecting to TB2.
[EZJ119A board external view]
[ Replacement procedure of EZJ119A board ]
(1) Turn off the power and open the top cover.
(2) Remove the connectors (CN7) of EZJ119A board.
(3) Remove the two fixing screws.
(4) Install a new EZJ119A board by reversing the above procedure.

 Loading...


