4-7
4.2.2 Main Ink Tank Replacement Procedure
1 Drain the ink in the main ink tank.
(Execute “Ink Drainage” or drain ink from the drain tube.)
2 Turn off the power supply.
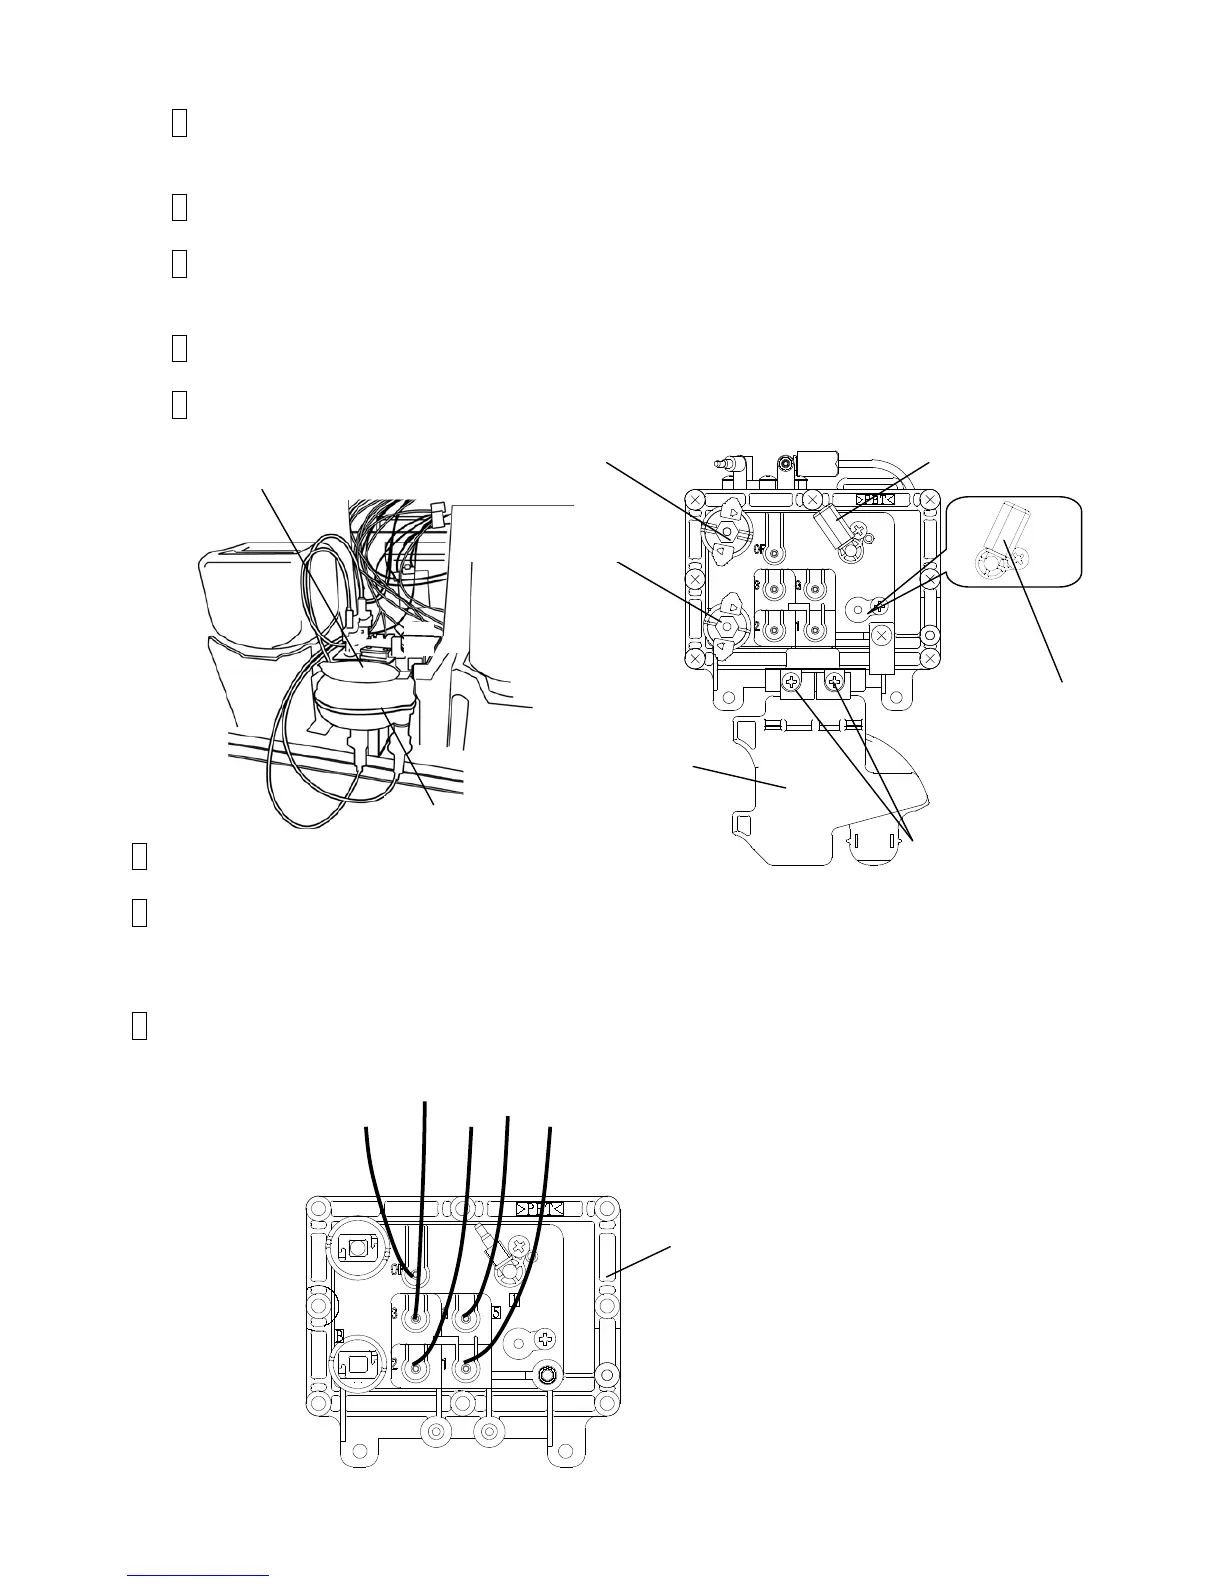
3 Perform “4.1.2 Access to the parts on the front side of the equipment” and pull out the
reservoir unit.
4 Turn over the filter clamp and remove the Ink filter.
5 Remove the fixing screw(2 pieces) and remove the filter clamp.
6 Remove the joints of Recovery Tube and Drain Tube.
7 Remove the Tube Lock. (UX-E : 2 Places [(1) and (5)], UX-D/B : 1 Place (1) ) See the figure
above.
[ Caution] Put wiping paper under the main ink tank to avoid ink dripping on the floor, etc.
8 Remove the wire connecting part screws (5 positions) of the liquid level sensor on the main
ink tank.

 Loading...


