4-13
5 Remove the fixing screws (2 positions) of the solenoid valve.
"Caution": Put wiping paper under the solenoid valve to provide for an ink drip.
6 Clean the portion stained with ink and then install the new solenoid valve in reverse order
of the procedures above.
[Caution] Securely set the O-ring in the groove of the solenoid valve.
Pay extra attention not to cause the O-ring to fall off or pinched.
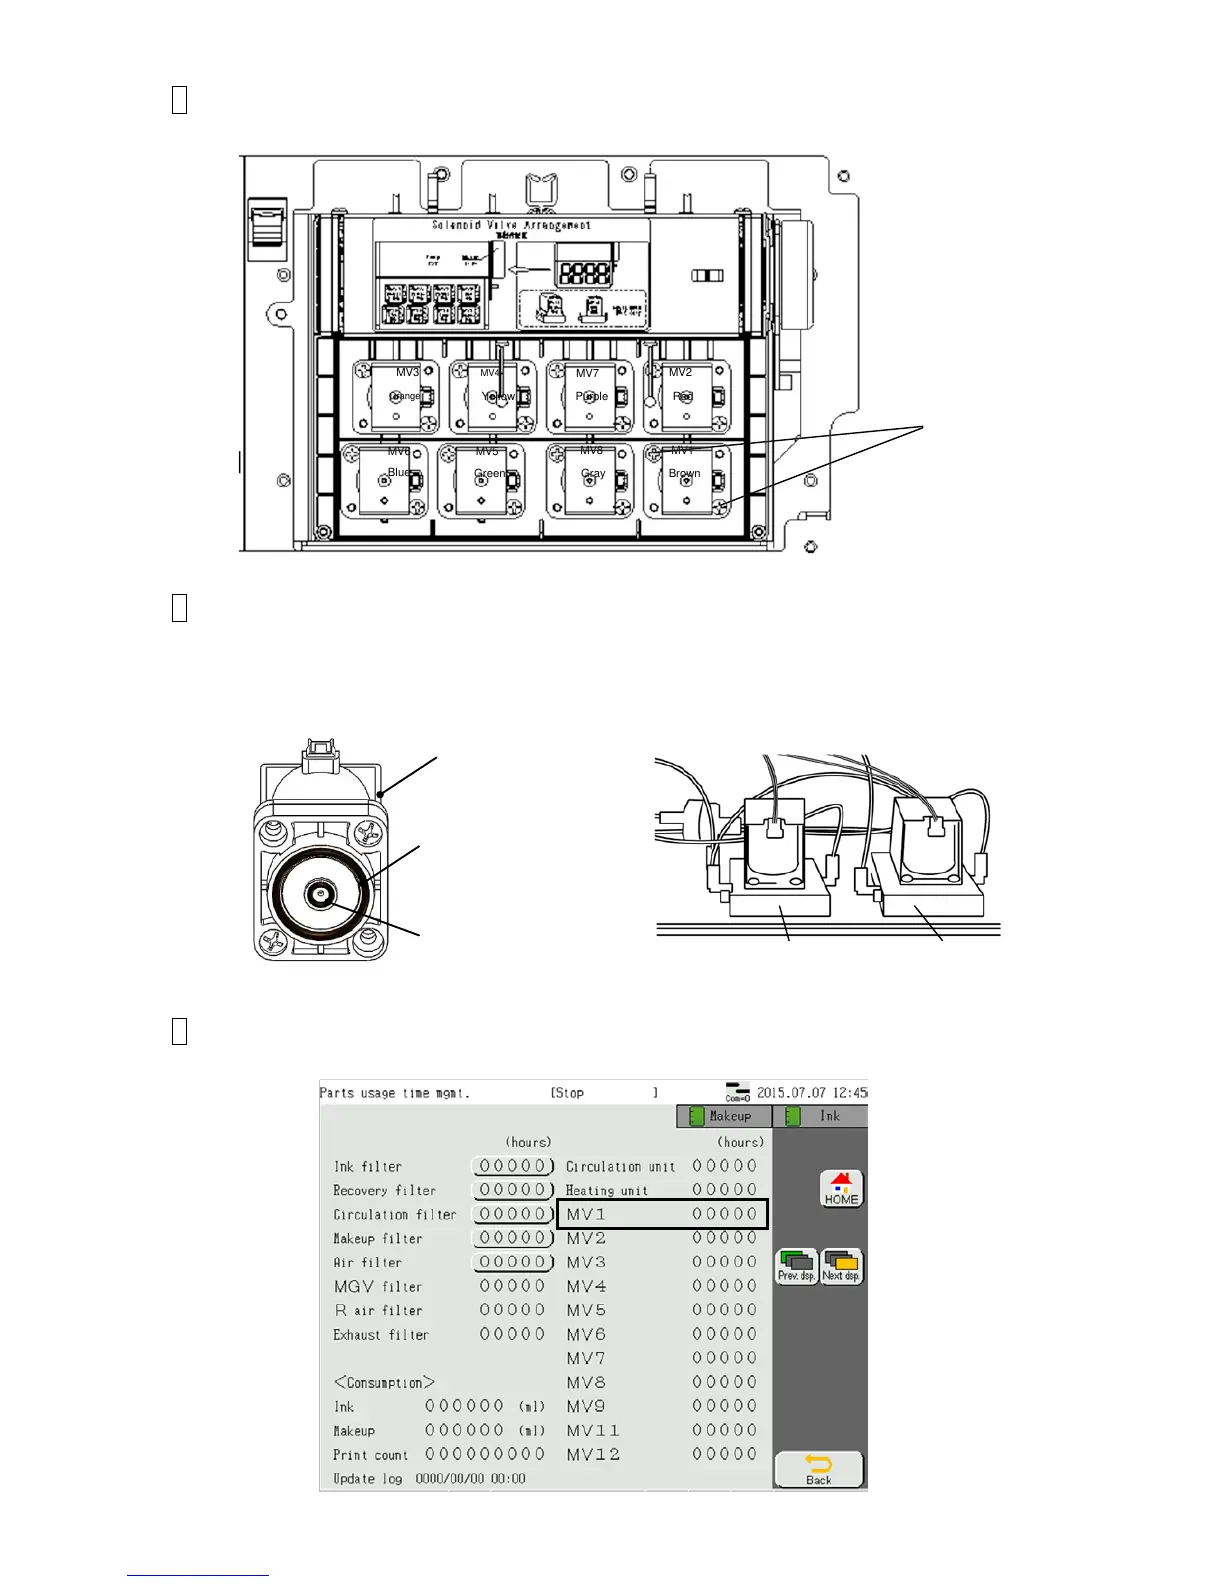
7 Reset the time of the replaced solenoid to 0 on the “Parts usage time
management” screen.

 Loading...


