4-43
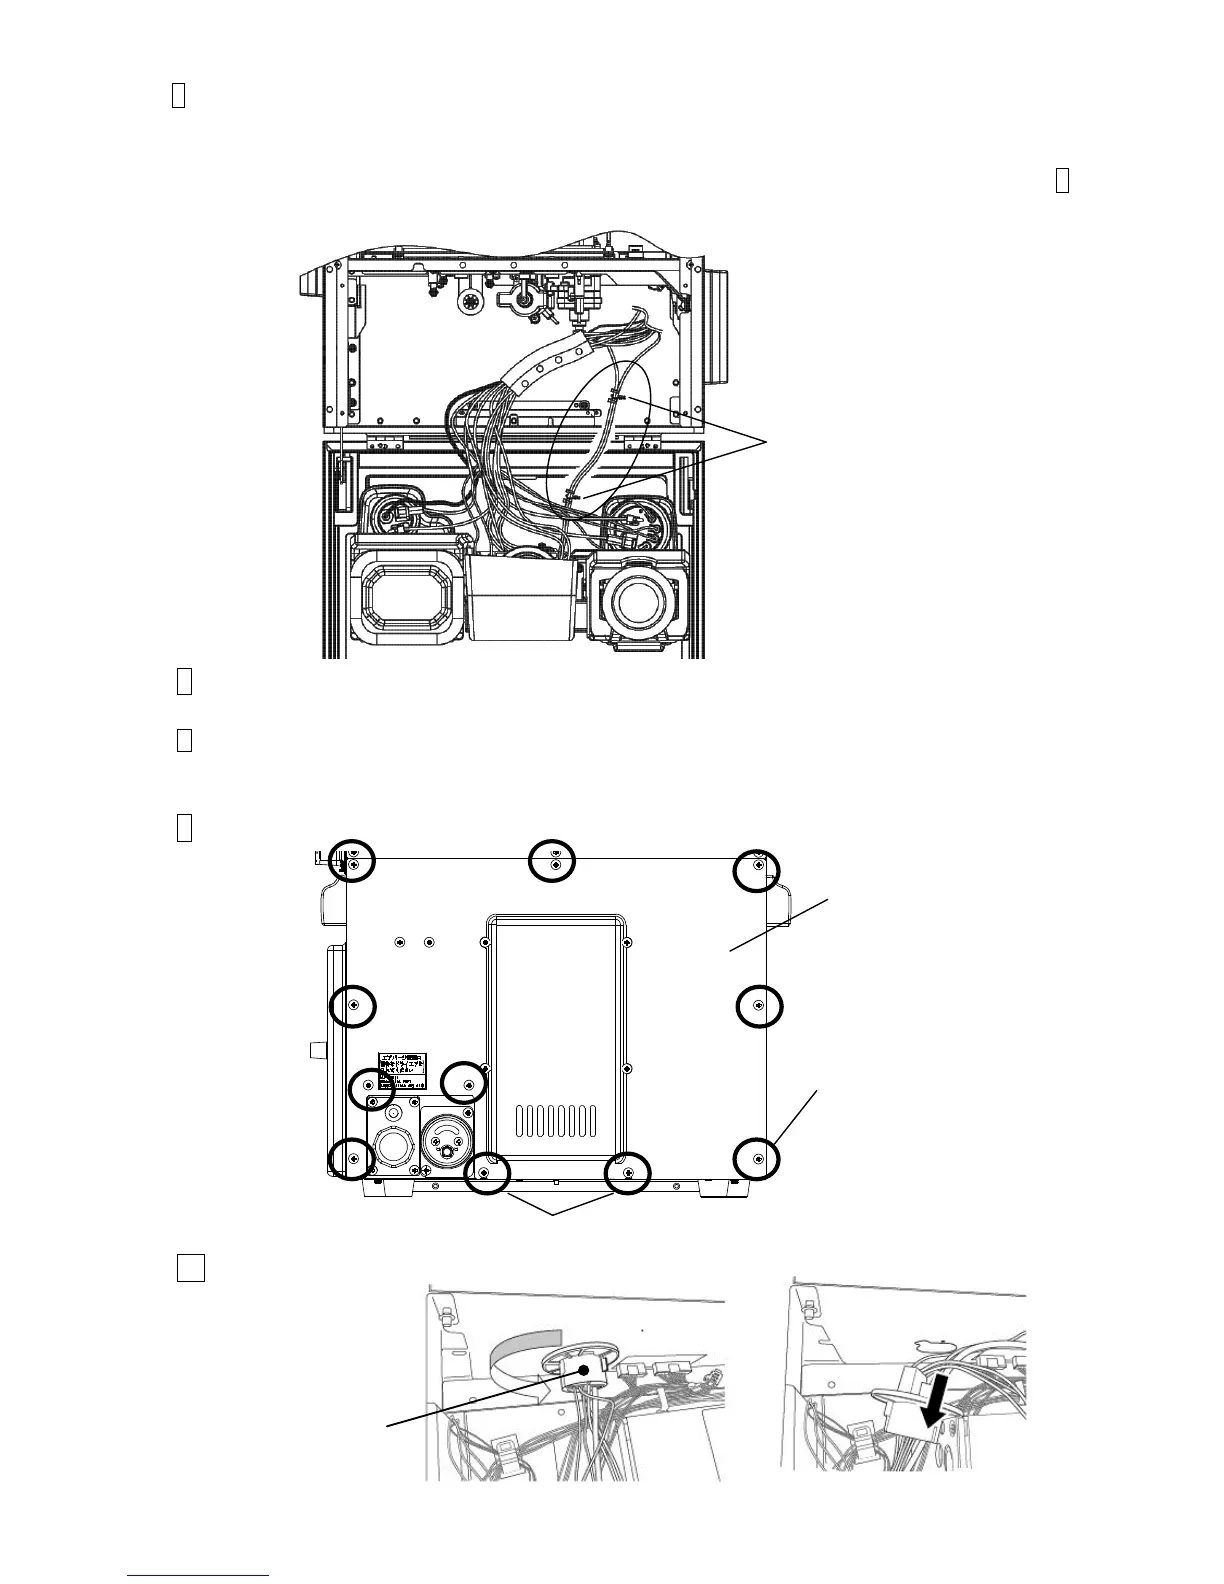
6 Remove the tubes (4 pieces) which were just removed, from the plastic clamps on the main body wall.
Also, the Twist-Locks (2 pieces) as shown in the figure below shall be removed.
[Note] Please pay extra attention NOT to lose the removed Twist-Lock (Cable Fastener). For
reassembling, refer to <Cautions when Recovery filter base is removed> described in step 4 of
“4.1.2 Access to the parts on the front side of the equipment”.
7 Remove the tubes which were removed from the fixing clamps.
8 Perform “4.1.3 Access to the parts on the rear side of the equipment”
and open the unit door.
9 Remove the back cover.
10 Rotate the Head H Clamp assembly by 45 degrees and pull the Head H Clamp
Assembly out.

 Loading...


