3-40
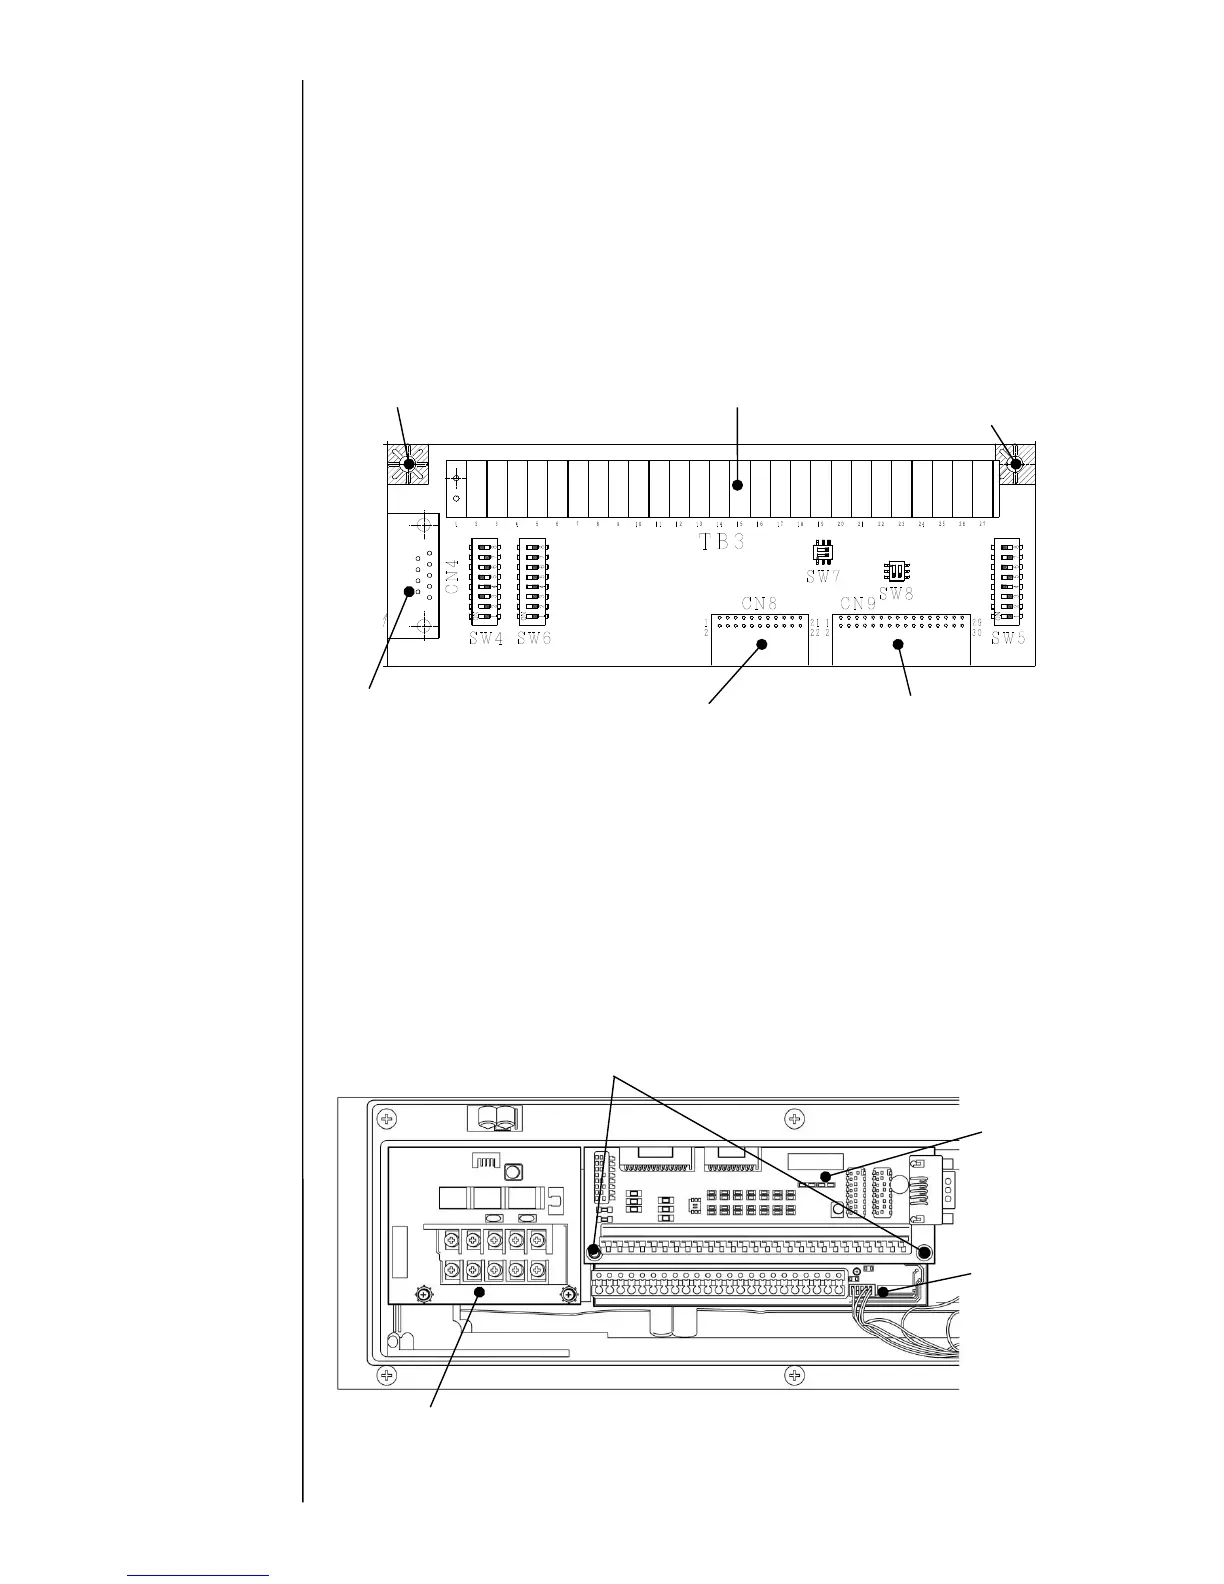
3.3.14 EZJ129 board (Software option terminal board)
[Function]
- Input / output terminal board when software option is used.
[Note for the board replacement]
- Before replacing the board, be sure to turn the main power switch OFF.
- After replacing the board, be sure to connect the connectors in place.
- Before replacing the board, be sure that the electric power is NOT supplied to the wires
connecting to TB3.
- Perform the settings of SW4 to 8.
[EZJ129 external view]
[Replacement procedures of EZJ129 board]
(1) Turn main power switch OFF and open the top cover.
(2) Remove the connectors (CN8, CN9, CN4) and wires connected to TB3.
(3) Remove two fixing screws, and then replace EZJ129 with a new one.
(4) Reassemble the removed parts in reverse order of the procedures above.
(5) Perform the settings of SW4 to SW8.
- Inside the top cover (upper part of cabinet)

 Loading...


