EasyManuals Logo

Hitachi UX Twin Nozzle Service Manual

Hitachi UX Twin Nozzle
355 pages
To Next Page IconTo Next Page
To Previous Page IconTo Previous Page
Page #233 background imageLoading...
Page #233 background image
5-17
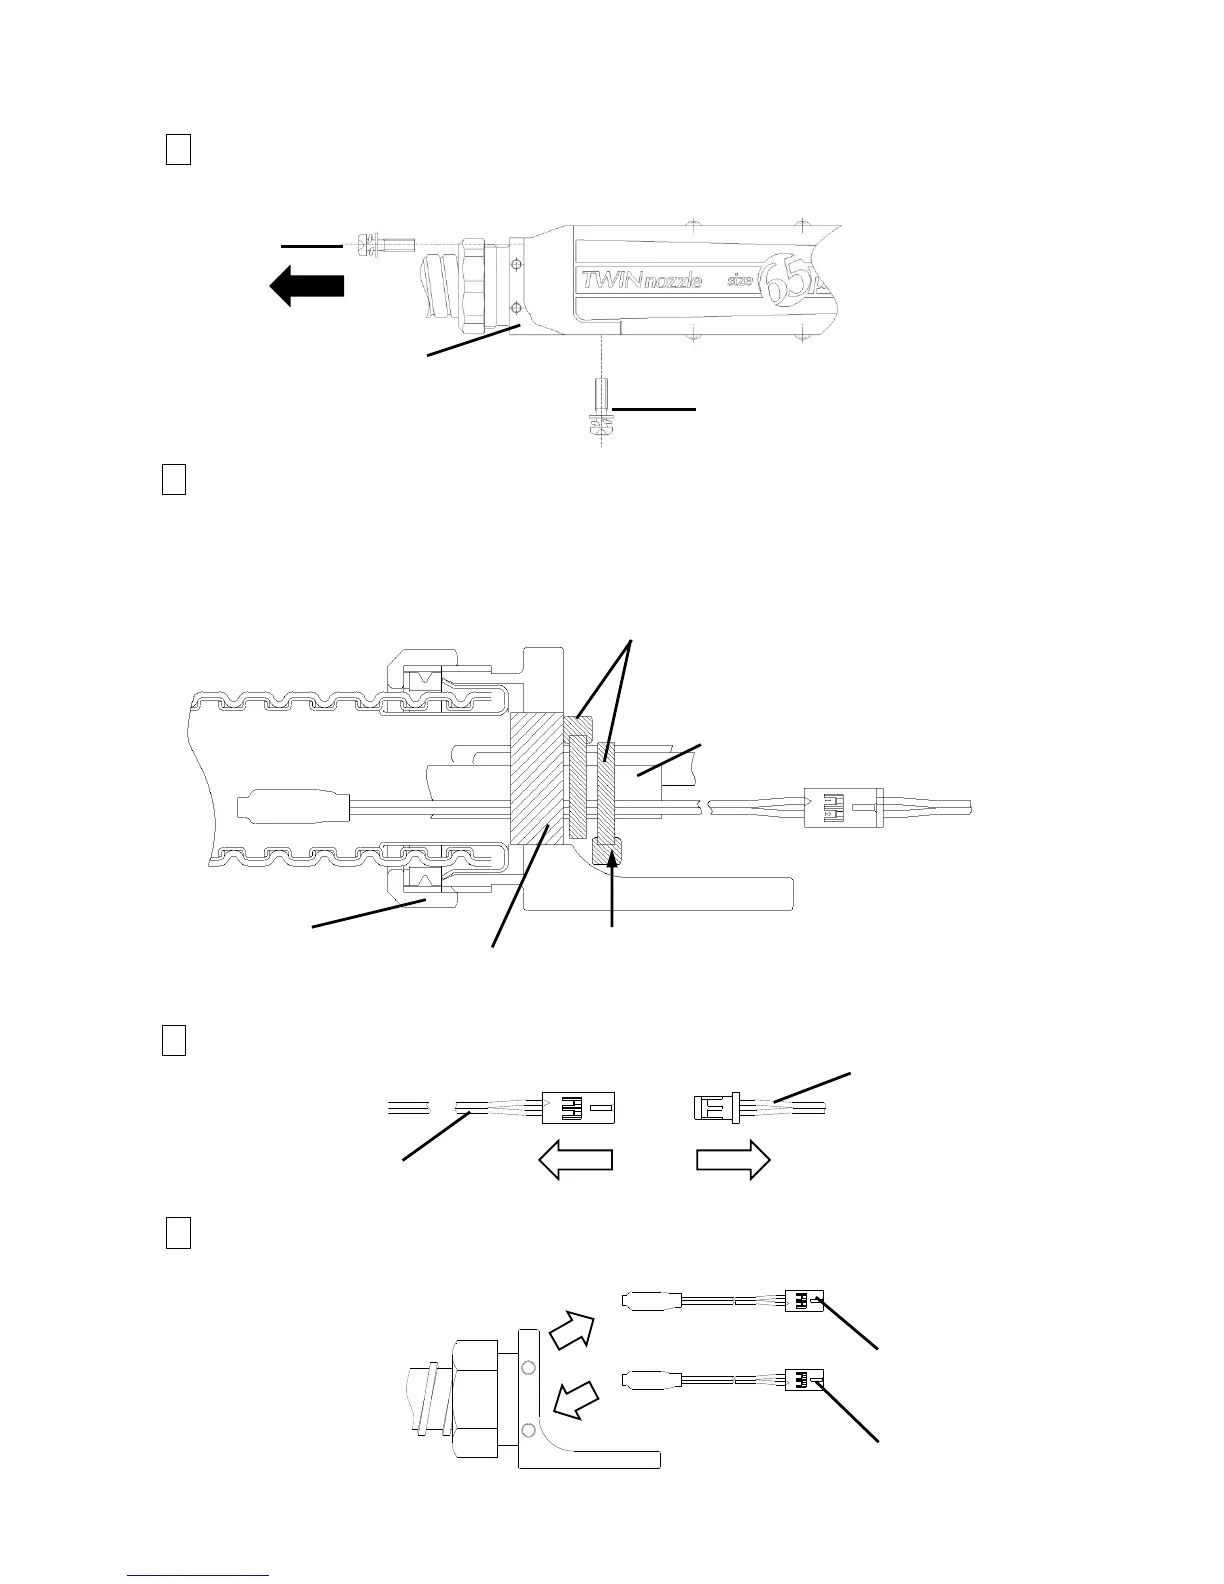
5.10 Thermistor replacement
1 Remove four (4) fixing screws, and then pull out the coupling to the direction of the arrow on the left.
ï¼’ Remove the banding band(s) and the packing.
[Caution]
Before removing the banding band and the packing, put a mark on the tube by a tape, etc. as the guide
for reassembling the new ones.
3 Remove the thermistor connector.
ï¼” Take the used thermistor out from the coupling, and then replace it with the new one.
Coupling
Tube (transparent)
Coupling
Fixing screws (2 pieces)
Fixing screws
(2 pieces)
Banding bands (2 locations)
Packing
Put a mark here
New thermistor
Used thermistor
White wire
Red wire

Table of Contents

Other manuals for Hitachi UX Twin Nozzle

Questions and Answers:

Question and Answer IconNeed help?

Do you have a question about the Hitachi UX Twin Nozzle and is the answer not in the manual?

Hitachi UX Twin Nozzle Specifications

General IconGeneral
BrandHitachi
ModelUX Twin Nozzle
CategoryPrinter
LanguageEnglish

Related product manuals