3-22
3.3.6 EZJ134 board (Nozzle2 drive board)
[Function]
- Control of nozzle (charging voltage control, excitation voltage, APH detection etc.) is
performed.
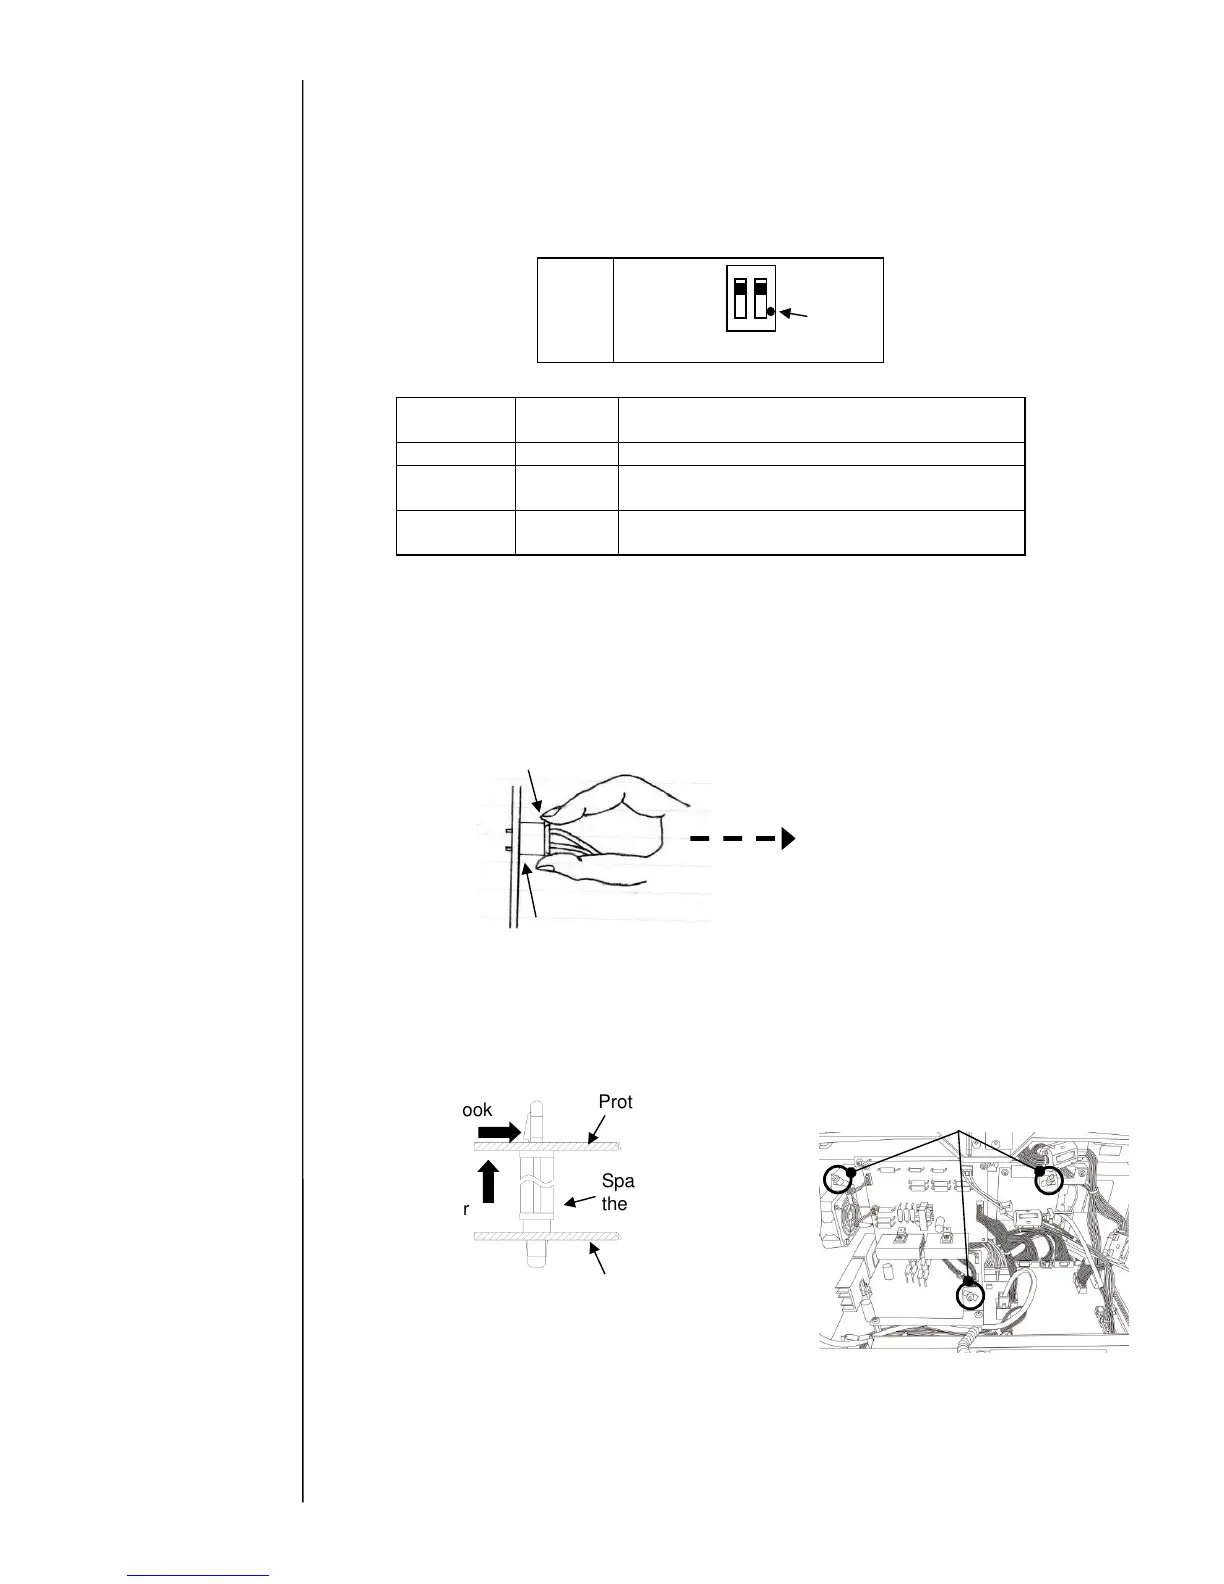
[Setting of switch/check point/LED display etc.]
- Setting of switch
[Note for EZJ134 board replacement]
- When replacing boards, be sure to turn OFF the main power switch.
- Set up SW1 according to the nozzle diameter.
- After replacing the board, confirm the charging voltage.
- Perform the Excitation adjustment and Auto-phase gain adjustment.
- When removing the connector of CN1 and CN3, hold the socket housing and
pull them out in straight.
[Replacement procedures of EZJ134 board]
(1) Turn off the power.
(2) Remove the protective cover.
*) As the drawing below, push the hook of fixing spacer with finger and pull up the
protective cover. (Three spacers)
(3) Remove the connectors from CN2 and CN4.

 Loading...


