5-13
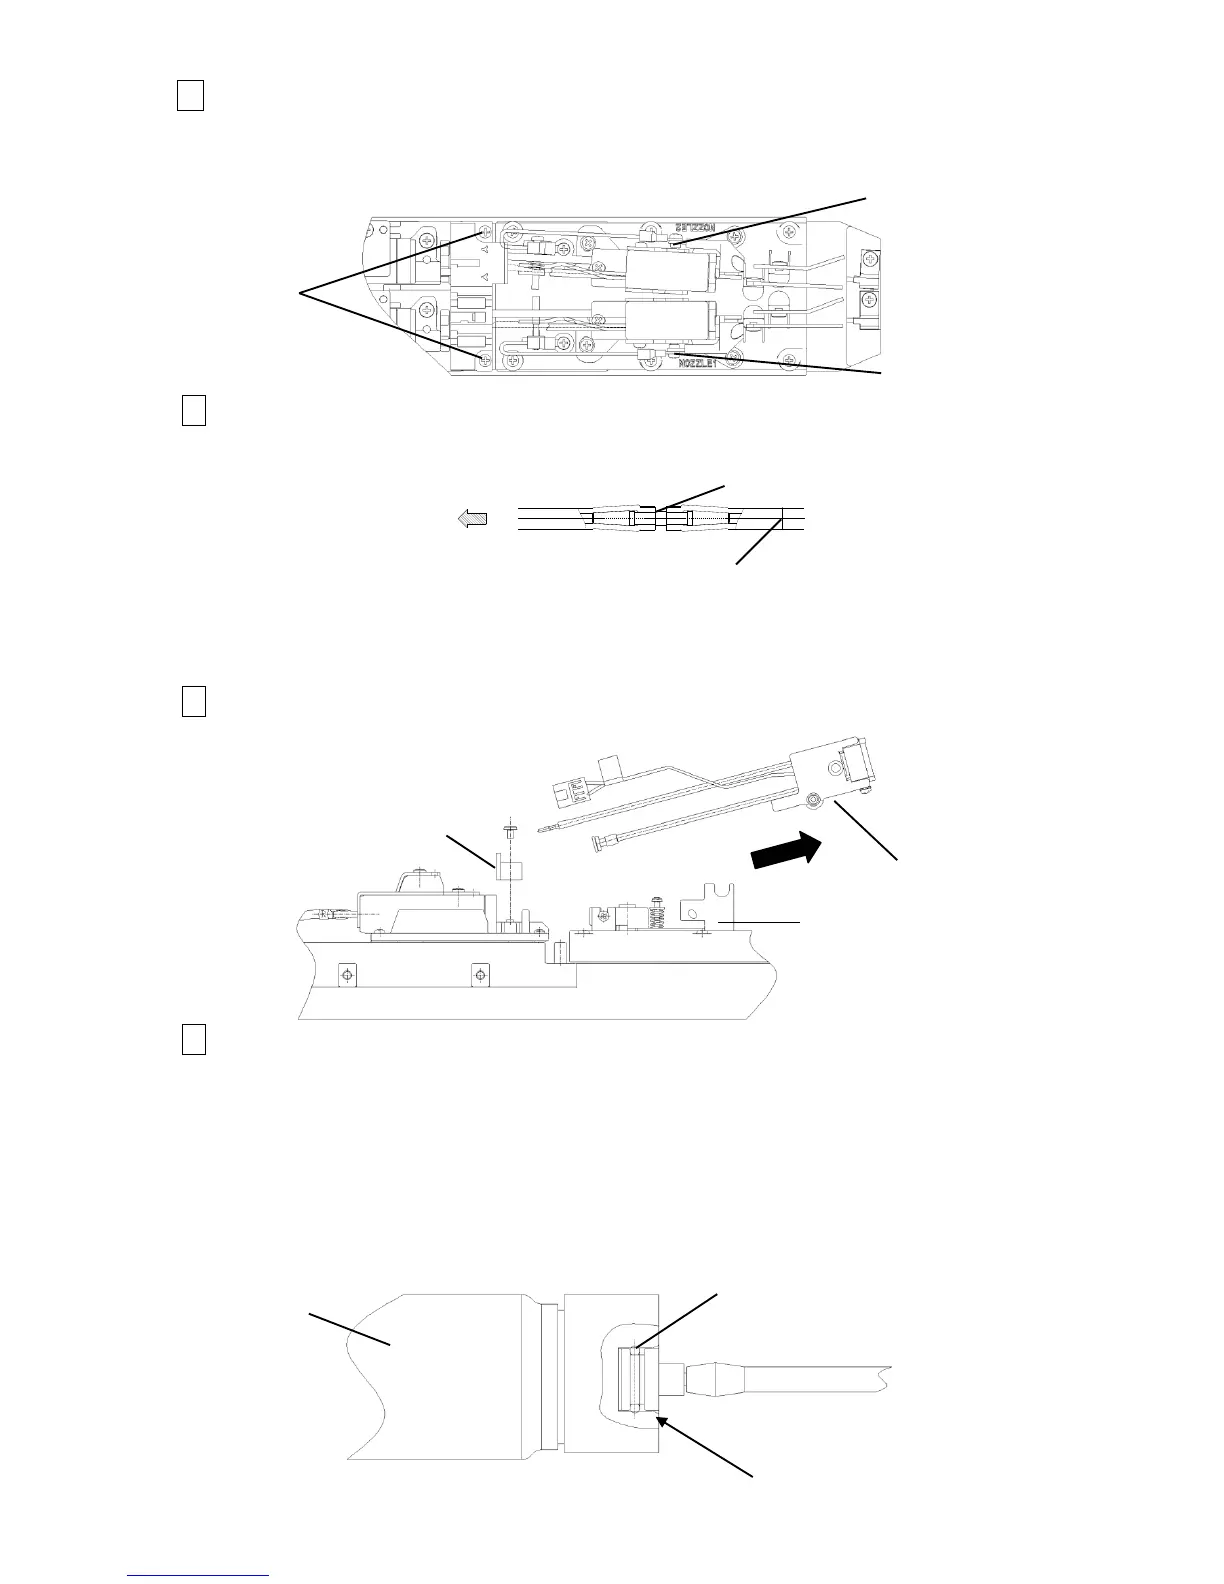
5 Remove the Coupling cover fastening screws (2 locations) and remove the 3P
Coupling cover. Then, remove the Ground wire fastening screw (1 location for each
nozzle).
6 Cut the nozzle-side of Nozzle-OUT joint with cutter knife, etc.
[Caution] when removing the Nozzle OUT joint, remove it so as not to pull
the main body side tube.
[Cautions]
(1) If you scratch the coupling with a cutter or the knife, it may cause an ink leakage.
(2) When removing a cut piece of the tube, cut the tube piece and pull it off from
the coupling.
7 Remove Nozzle IN joint holder and hold the tip of the nozzle and remove the nozzle
pulling it obliquely upward.
8 Attach a new nozzle and fix the nozzle setscrew, (2 locations), the nozzle IN joint
presser foot (shutoff valve side), the nozzle OUT joint and the excitation connector.
[Caution]
(1) Confirm that a filter is present in the joint area (inside the shutoff valve)
of the Nozzle IN joint.
(2) Wet the insert portion inside the shutoff valve with the makeup to make
it slippery and then, connect the nozzle IN joint.
[Caution]
If connection is imperfect, ink will below off.

 Loading...


