09/01/133.6 | Installaon www.HandiQuilter.com
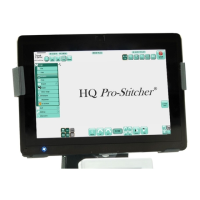
3. Use the carriage as a guide and align the blue
Flexirack with the white gear along the length of
the table (see arrow at right), removing the pink
protecve layer and pressing downward on the blue
Flexirack while moving down the enre length of the
table.
4. Double check the alignment of the carriage white gear with the blue Flexirack by rolling the carriage
along the enre length of the table.
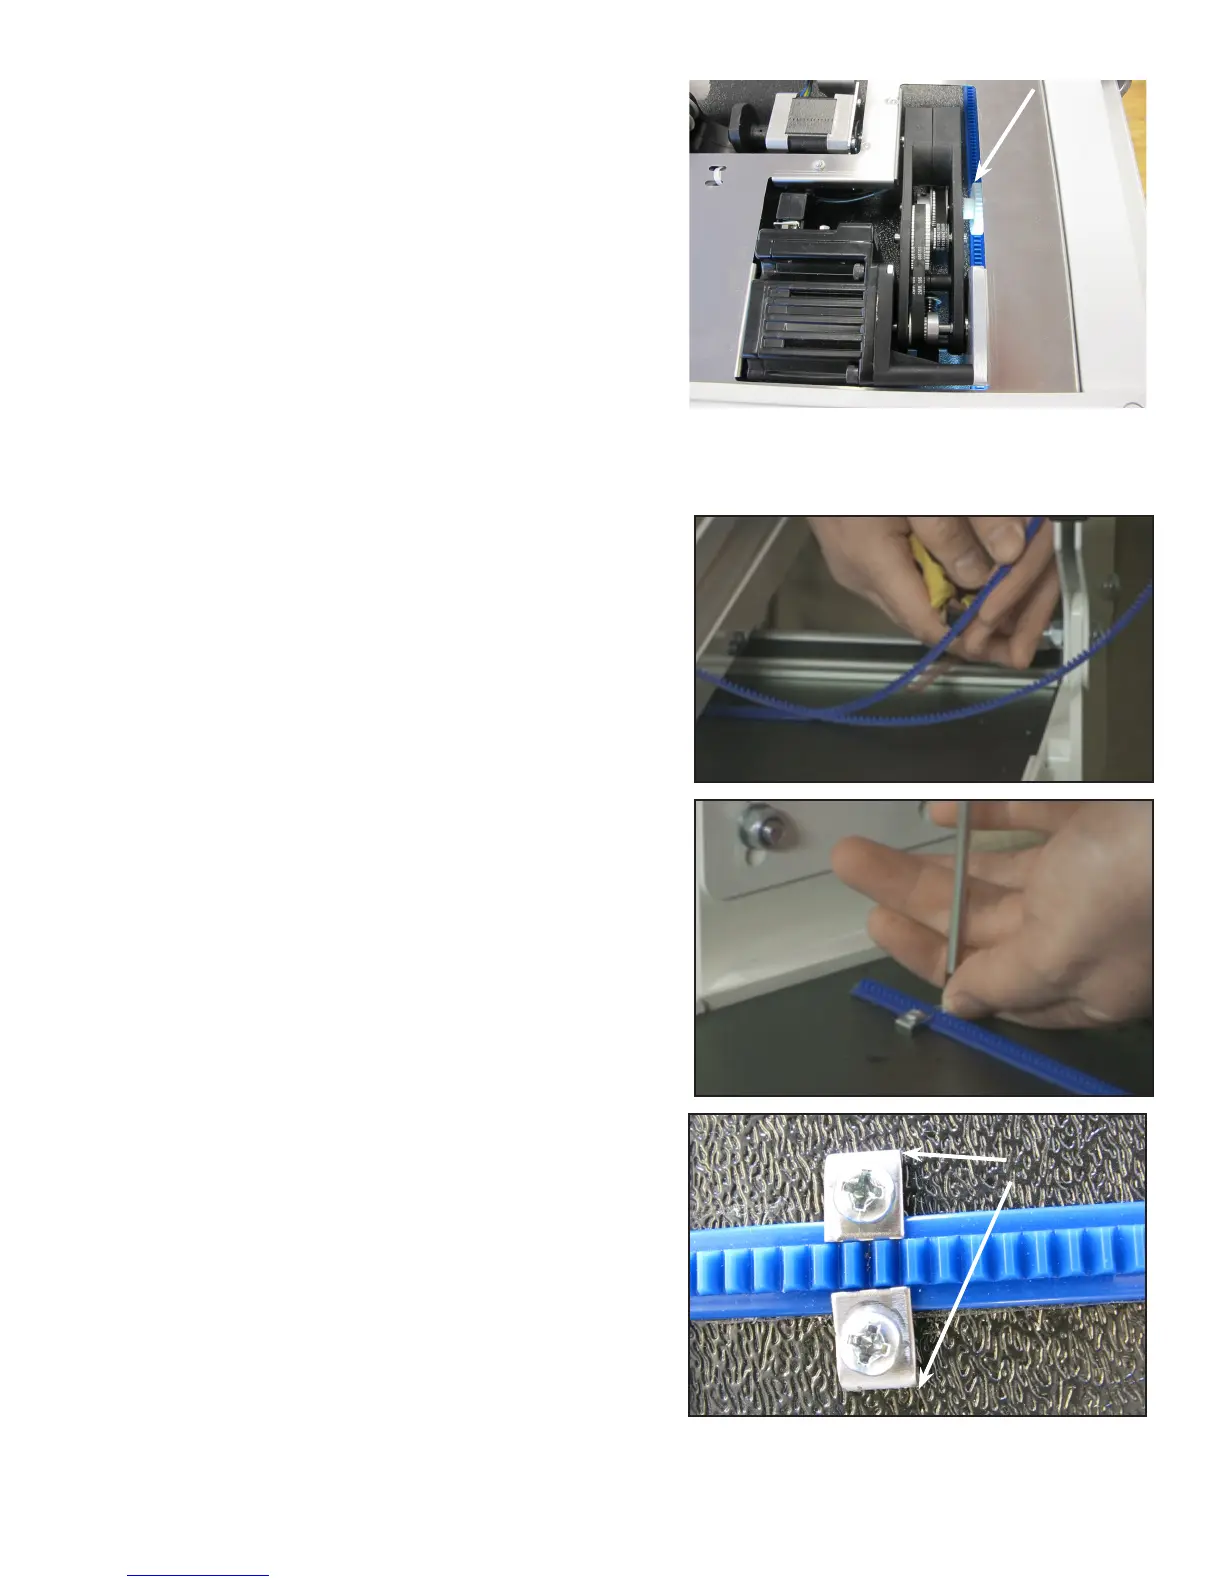
5. Trim the Flexirack to length using a knife or wire
cuers. The blue Flexirack does not need to extend
the full width of the table and can be a couple of
inches shorter on either end.
6. At both ends of the blue Flexirack, use two of the
small metal clamps (see Parts List, item B) to hold the
ends rmly in place. The clamps have a hole through
the center and a lip on one end. The lip should be on
the side opposite the blue Flexirack. Place the clamps
where they will be aached and drill pilot holes
using the 3/32-inch drill bit and then use a Phillips
screwdriver to fasten the clamps on both sides of the
Flexirack to the table.
Lip