09/01/133.16 | Installaon www.HandiQuilter.com
Installaon (HQ Sixteen and HQ
18
Avanté with
4-wheel carriage)
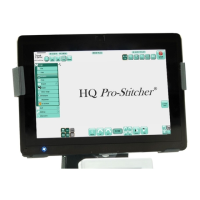
These instrucons are for installing HQ Pro-Stcher on the HQ Sixteen and HQ
18
Avanté (with a 4-wheel
carriage). Handi Quilter recommends installaon by an authorized Handi Quilter Representave if available.
Tools required
• Power drill
• 7/16-inch open end wrench
• 7/16-inch nut driver (or second wrench)
• 4mm Allen wrench
• 5mm Allen wrench
• Manual engagement/disengagement tool (see Parts List, item O)
• Sloed screwdriver (one large and one small)
• Phillips screwdriver (one large and one small)
• Knife and/or wire cuers
Set frame height
Determine whether the quilng machine is placed on a Portable Professional Frame or an HQ Studio Frame
and follow the appropriate instrucons below.
If you have a Portable Professional Frame
The Portable Professional Frame (Pro-Frame) side arms have three sets of height-adjustment holes. The
ideal seng for the HQ Pro-Stcher is the middle set of holes. This should allow the quilng machine arm
to pass freely under the idler bar while keeping the quilt as close as possible to the arm. Use the 7/16-inch
wrench to adjust the height if necessary. The ideal height allows just the p of a nger between the idler
pole and the machine.
Portable Professional
Frame center holes

 Loading...