09/01/133.8 | Installaon www.HandiQuilter.com
3. If the screws in the base plates do not have sloed heads and a nut driver cannot be ed over the
screw head, use one of the provided sloed screws as a replacement (see Parts List, item D) and use a
sloed screwdriver to ghten the screws in place.
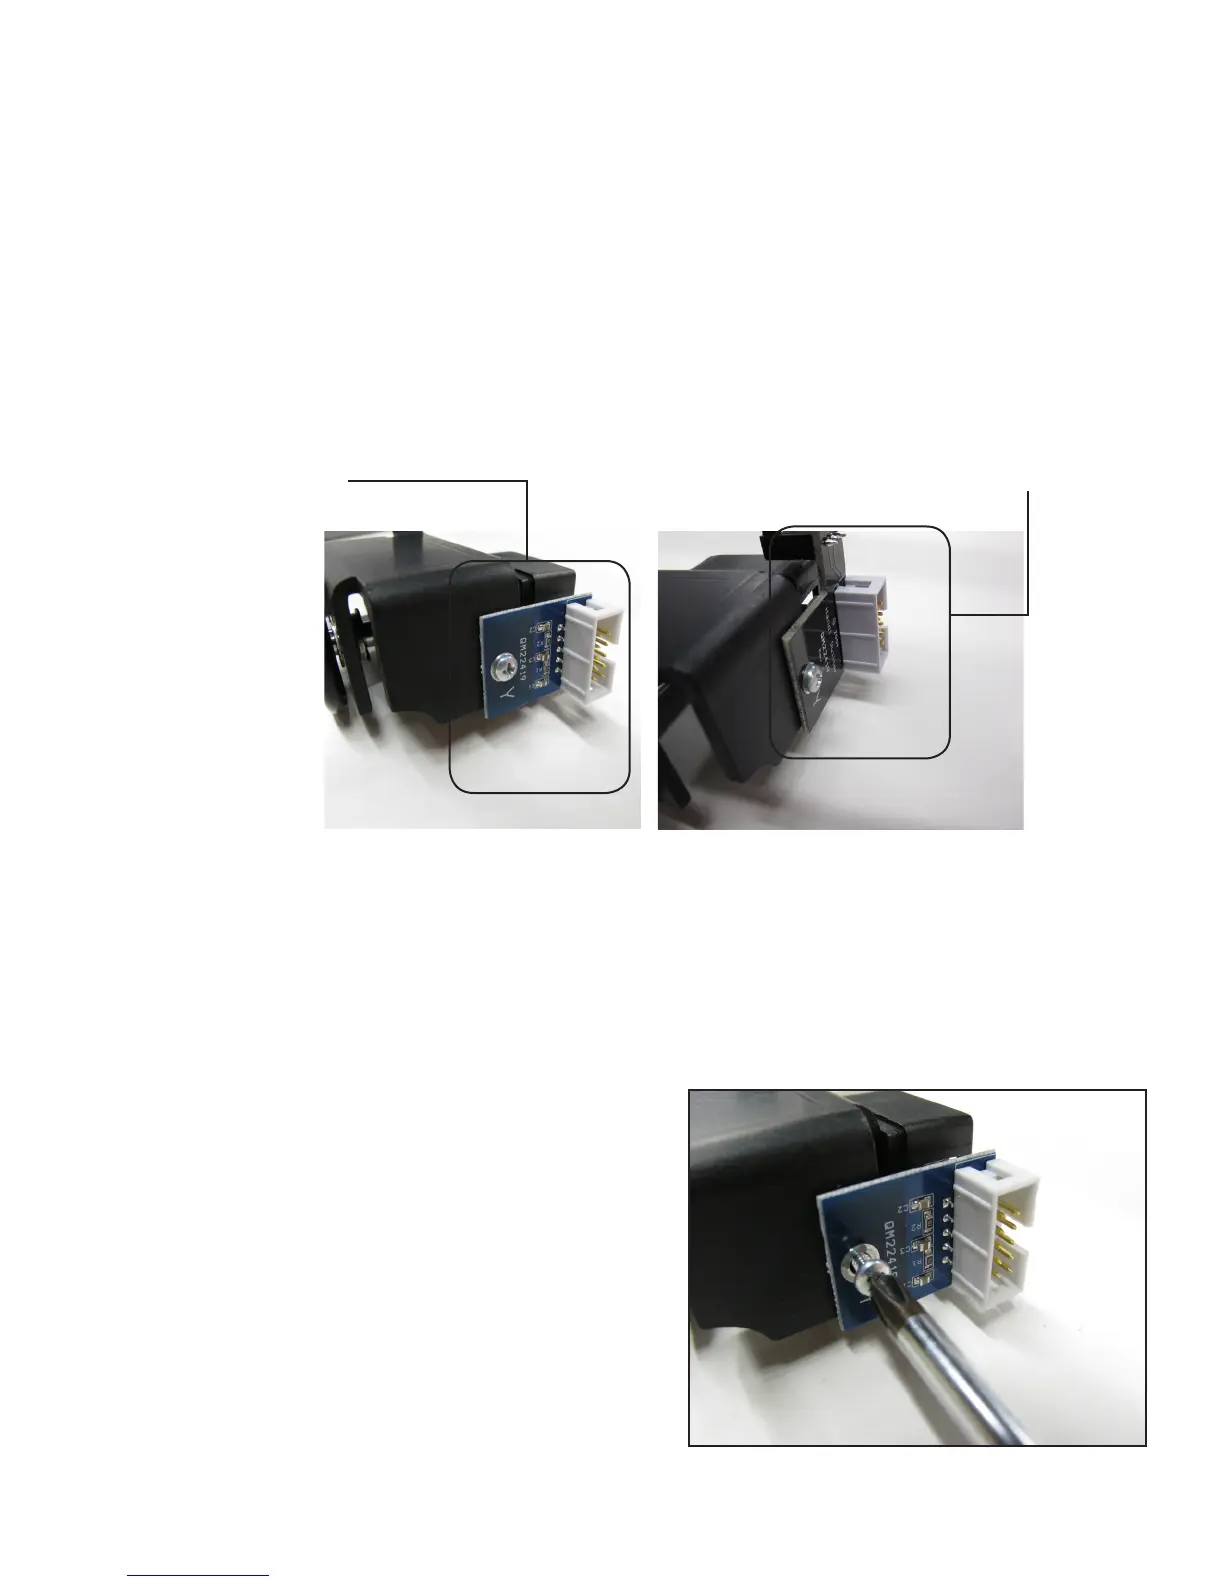
Y-encoder circuit board replacement
IMPORTANT: This step is required only if the circuit board on the Y-encoder is blue. If the Y-encoder
has a black circuit board, skip ahead to the next secon.
Replace the Y-encoder circuit board with the one in the package (see Parts List, item G) if the circuit board
is blue and does not have a 3-pin connector aached. It is held in place with one screw and ve connecng
pins.
To replace the Y-encoder
1. Unplug the stch regulator cable from the Y-encoder.
2. Remove the screw that holds the circuit board in
place with a small Phillips screwdriver.
Replace this style
Y-encoder circuit board.
This style Y-encoder circuit board
does not need to be replaced.
Ü