09/01/13www.HandiQuilter.com Installaon | 3.7
CAUTION: Do not use the larger drill bit included in the emergency repair kit, as this is the wrong
size for the Flexirack clamps.
NOTE: As an alternave, use one clamp at each end. Slide the lip of the clamp over the last gear
of the blue Flexirack, drill a pilot hole, and screw in place.
To install the Y-Rack
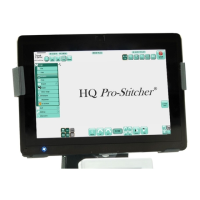
1. Carefully lay the quilng machine on its power pod
side (the le side, looking from the front).
Underneath the base plates, near the wheels on the
C-pod side of the machine (the side with the thread
tensioner and guides) there will be either two screws
or two holes. If the screws are there, use a large at
screwdriver to remove the screws.
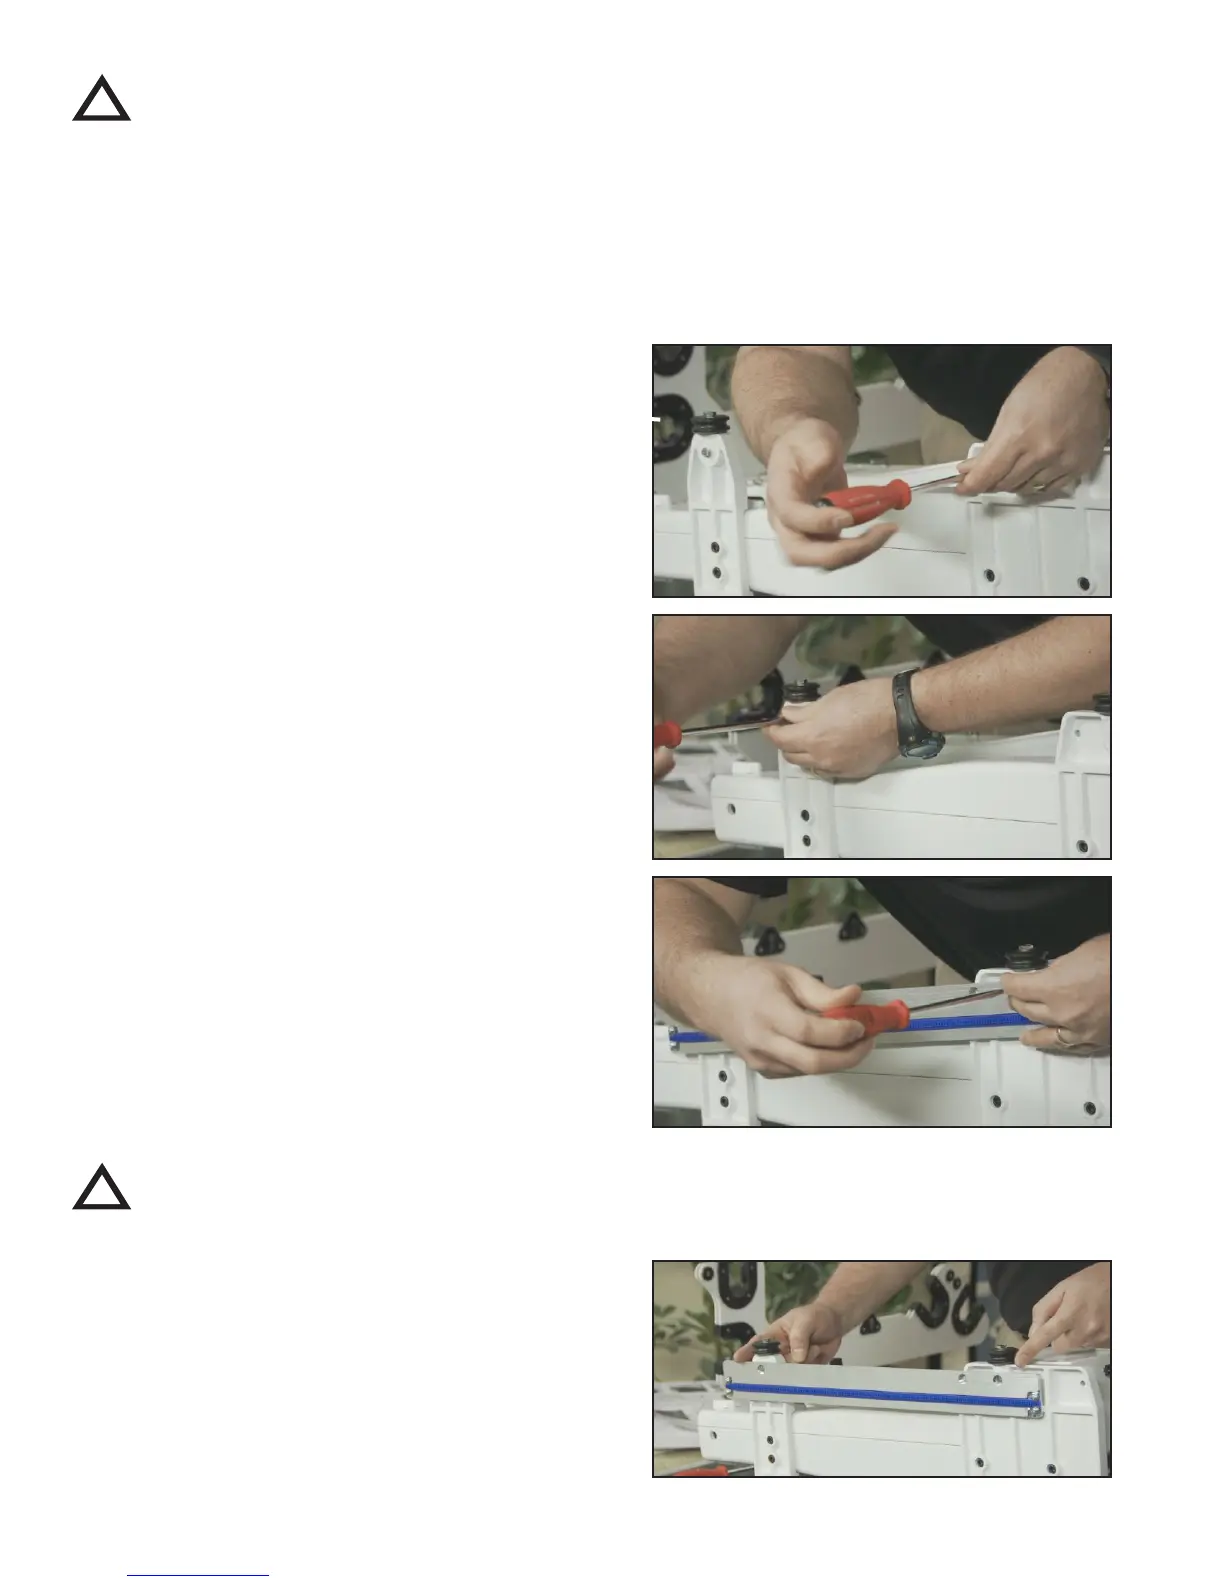
2. Aach the Y-Rack to the boom of the front and rear
base plates. The blue Flexirack should be toward the
middle of the machine while the bolt holes should
be toward the outside. Use the screws that were
removed from the front and rear base plates (or use
the two smallest screws in the Base Plate Repair Kit
[see Parts List, item D] if your machine had no screws
here).
CAUTION: Be careful not to over-ghten the screws as the base plate holes will strip easily. In case
of accidentally cross-threading or stripping one of the base plate holes, an emergency repair kit
(see Parts List, item D) has been provided.
!
!
!