09/01/13www.HandiQuilter.com Design Menu | 5.13
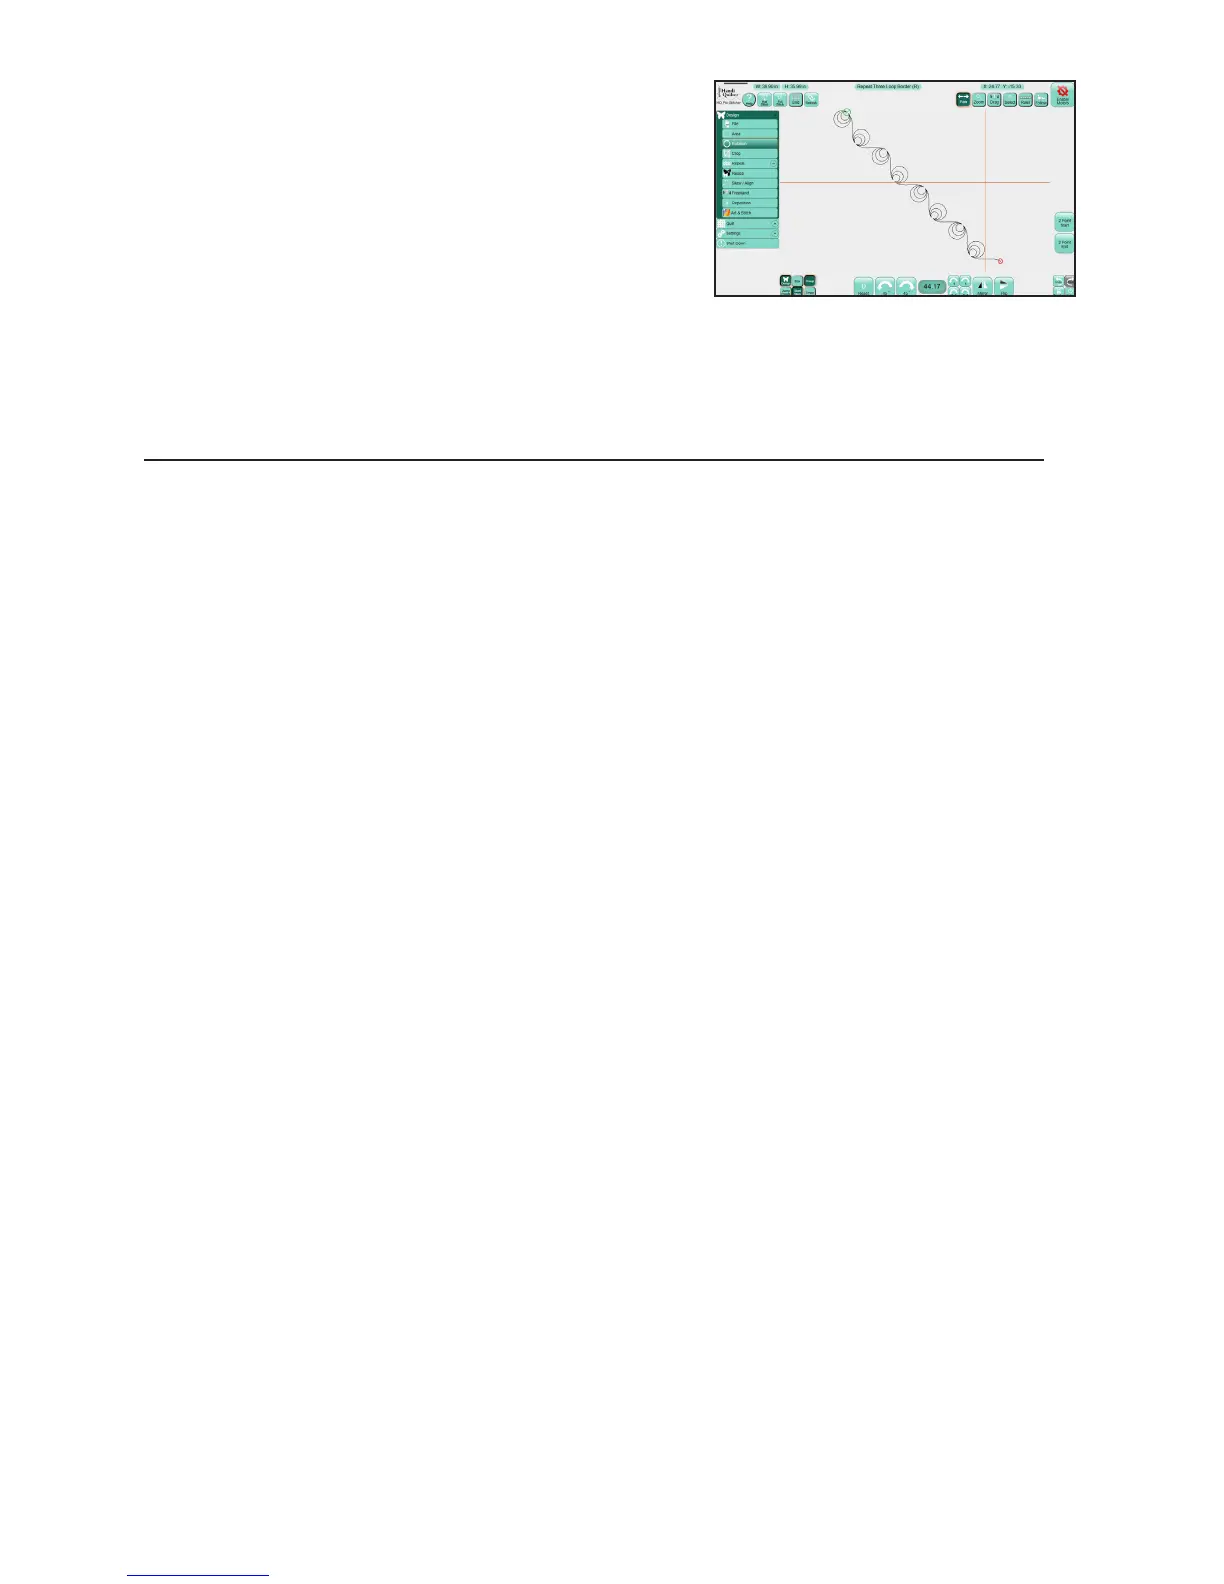
3. Select 2 Point End. The design rotated to match the angle
created by the two points selected in steps 1 and 2
The rotaon angle appears in the number box and the design rotates to match the angle, 44.17 degrees in
this example.
Machine Quilting Tip: Use 2-Point rotation to quilt sashing in an on-point quilt
Create an area that represents the sashing to be quilted. Load the design and make design
changes, such as resize and create repeats. The design will be horizontal on the screen. Then
use 2-Point rotaon to rotate the design to match the quilt. Posion the machine’s needle
along the angled sashing seam line and select 2-Point Start. Move the machine’s needle to a
spot along the same seam line and select 2-Point End. The design rotates to match the angle
you dened.
To ne tune the angle of rotaon
• Redene either the start point or the end point as necessary by moving the quilng machine to a
new locaon and pressing either 2 Point Start or 2 Point End, depending on which end of the line
needs to be reposioned.
NOTE: A start point on the le followed by an end point on the right (i.e. a straight line with start
on the le and end on the right) is a 0° rotaon, or no rotaon. A start point on the right and an
end point on the le (i.e. a straight same line, but with the start and end points reversed) is a 180°
rotaon, or in other words, the design will be upside down.
!