09/01/13www.HandiQuilter.com Installaon | 3.17
If you have an HQ Studio Frame
The HQ Studio Frame may already be adjusted to the ideal height for the HQ Pro-Stcher carriage. Aer
following the assembly instrucons below, if the idler pole (the lower pole toward the back of the frame) rubs
on the free arm of the quilng machine, adjust the side arms to the next higher posion check again and
adjust if necessary. The ideal height allows just the p of a nger between the idler pole and the machine.
Installaon of the X-Rack and Y-Rack
To install the X-Rack
1. Make sure the front white track is mounted to the table with the 3M Command Strips (see Parts
List, item T) that have been provided (unless the front track is already mounted to the table). Use the
carriage as a guide to make sure there is no binding once the front track is mounted to the table.
2. Remove the blue 12-foot Flexirack (see Parts List, item
A) and the HQ Pro-Stcher carriage (see Parts List,
item E) from the box.
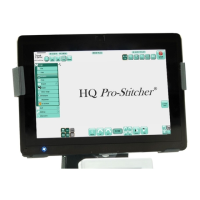
3. Place the HQ Pro-Stcher carriage on the frame.
Starng at one end of the table, begin mounng the
blue Flexirack to the front of the table while aligning
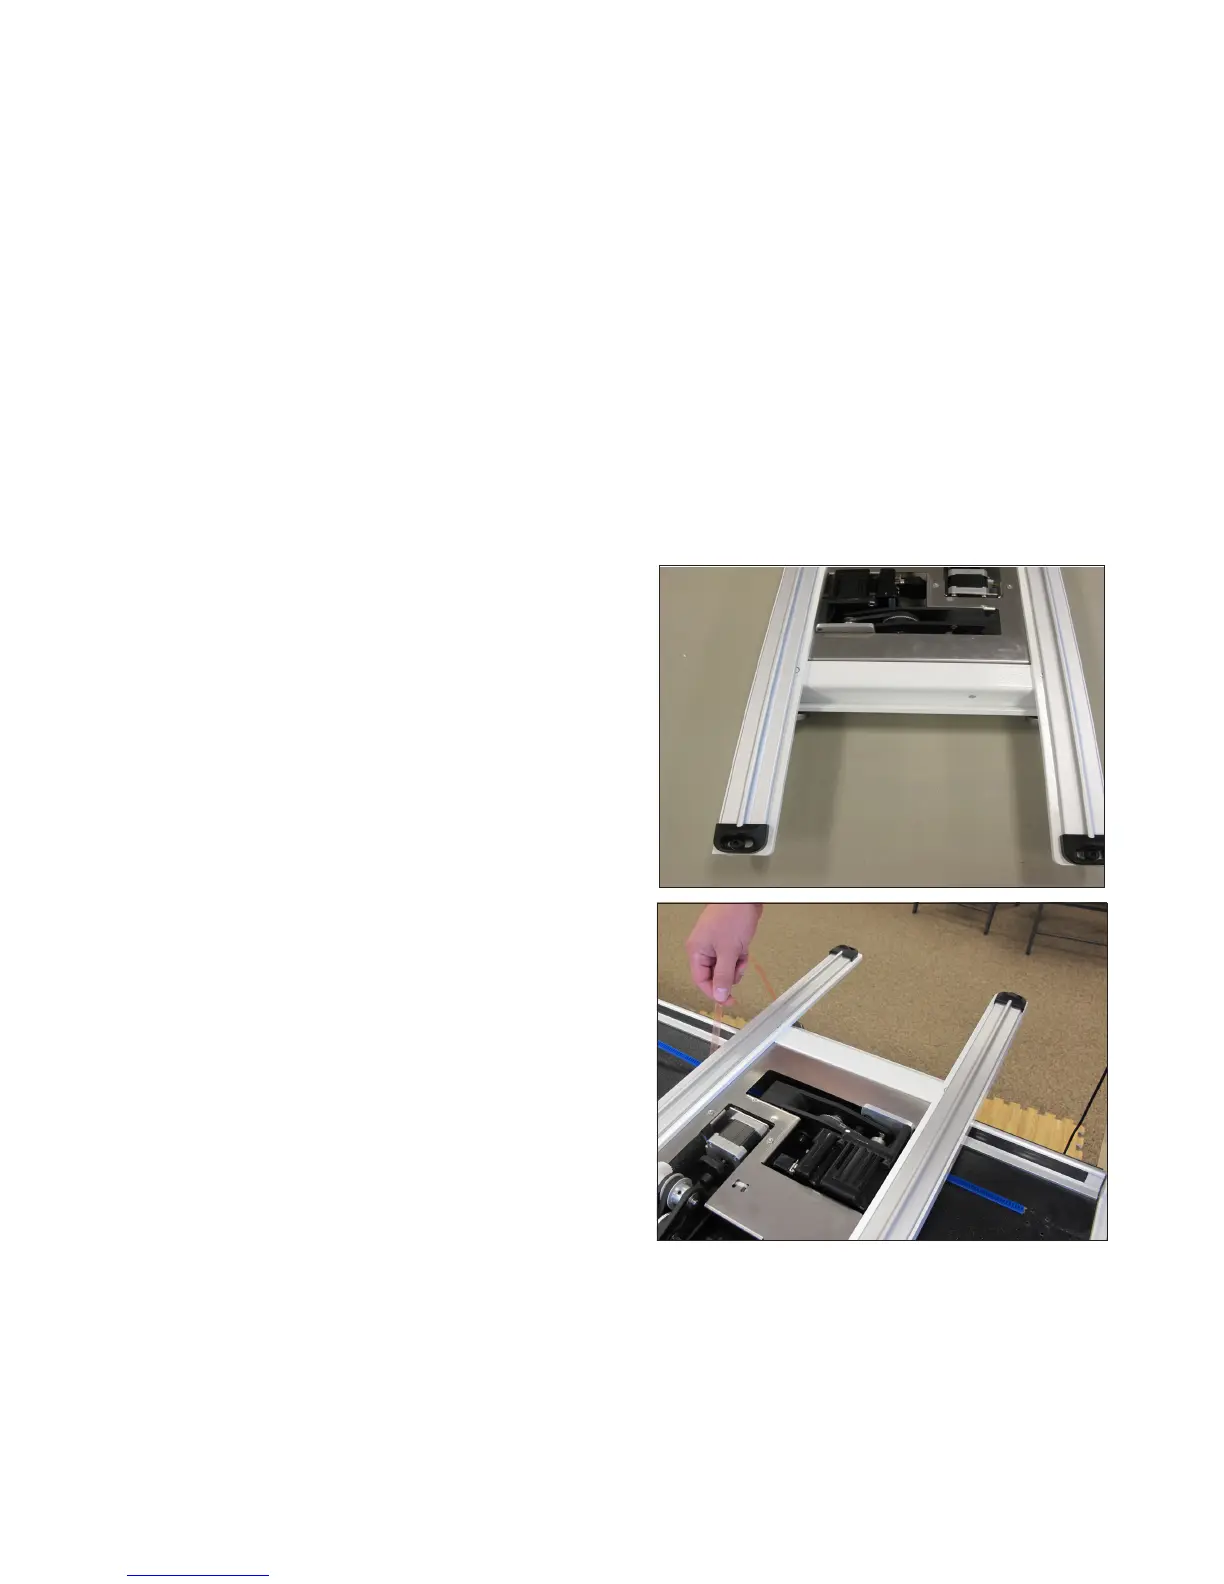
it to the front white gear on the carriage. Peel back
just a few inches of the pink protecve layer of the
tape. Posion the blue Flexirack by aligning it to the
white gear as you move down the table. Press down
on the blue Flexirack to sck it rmly to the table.