Powermax30 AIR Service Manual 808850 149
6 – Power Supply Component Replacement
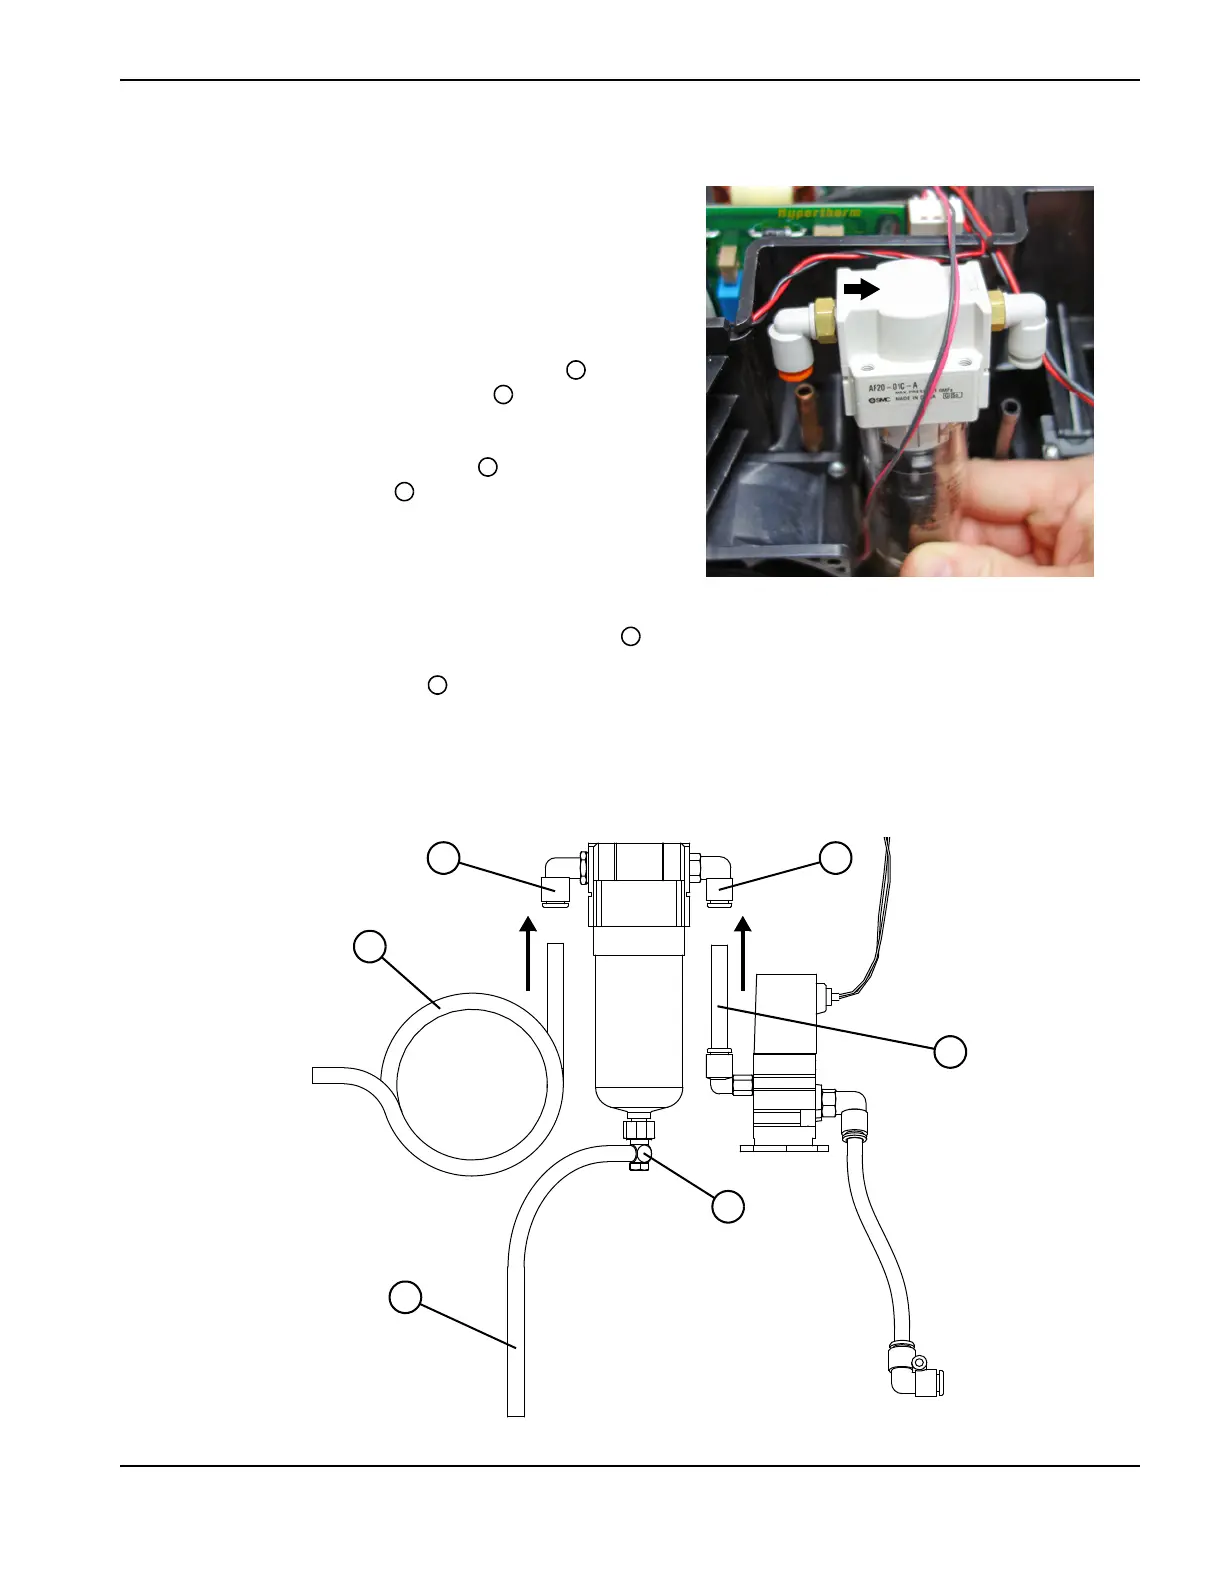
Install the air filter assembly
1. Orient the new air filter so the arrow on top of the filter
points to the front of the power supply. Position the air
filter behind the red-and-black wires from the fan.
Be careful not to trap the fan’s wires behind the filter
bowl when you install the air filter.
2. Push-to-connect the copper heat exchange coil into
the fitting on the left side of the air filter . (See How to
use push-to-connect fittings on page 133.)
3. Push-to-connect the gas supply hose into the fitting on
the right side of the air filter .
4. Make sure the top of the air filter is level. If the top of the
filter is angled up to the left or to the right, check both
fittings to make sure the hose and coil are properly seated.
5. Make sure the fitting at the bottom of the air filter bowl points to the rear of the power supply.
6. Push one end of the drain hose onto the fitting at the bottom of the air filter bowl.
7. Push the other end of the drain hose into the hole in the bottom of the power supply. The hole is underneath the fan.
Figure 65
 Loading...


