102 Powermax30 AIR Service Manual 808850
6 – Power Supply Component Replacement
Detach and reattach the front panel
Several repairs are easier to make if you first detach the front panel from the power supply. For instructions on replacing
an old front panel with a new one, see Replace the front panel on page 166.
Detach the front panel
1. Set the power switch to OFF (O), and disconnect the power cord from the power source.
2. Remove the power supply cover. See Remove the power supply cover on page 98.
3. Loosen the strain relief nuts on the torch lead and work lead .
4. Lay the power supply on its side.
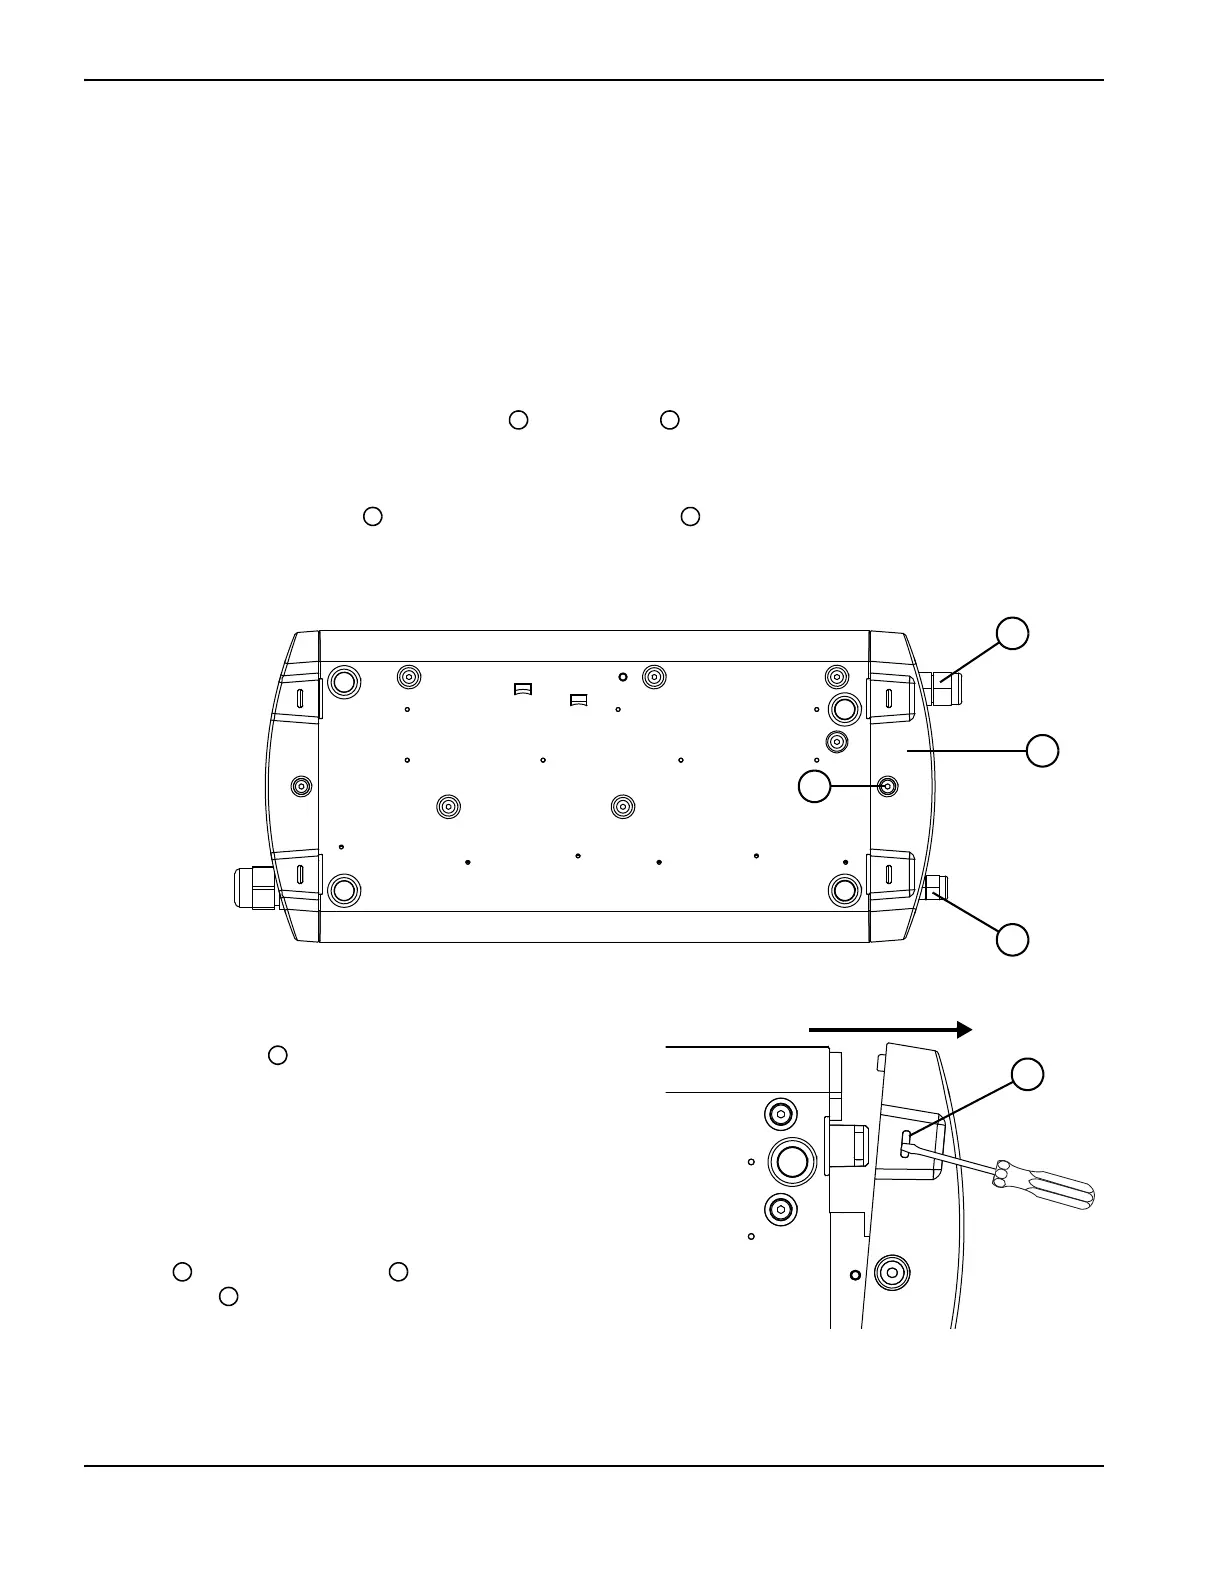
5. Remove the retaining screw from the bottom of the front panel .
Figure 26
6. Insert a blade screwdriver into the opening for
one of the snaps . While pushing up on the
tab inside the snap, pull the corner of the front
panel away from the power supply until it
detaches from the base.
7. Repeat the previous step on the other corner
of the panel.
8. Disconnect the control board’s ribbon
cable from the power board by folding
the latches back.
In Figure 27, the center panel is hidden in
the image on the left.
9. Gently pull the panel away from the power supply.