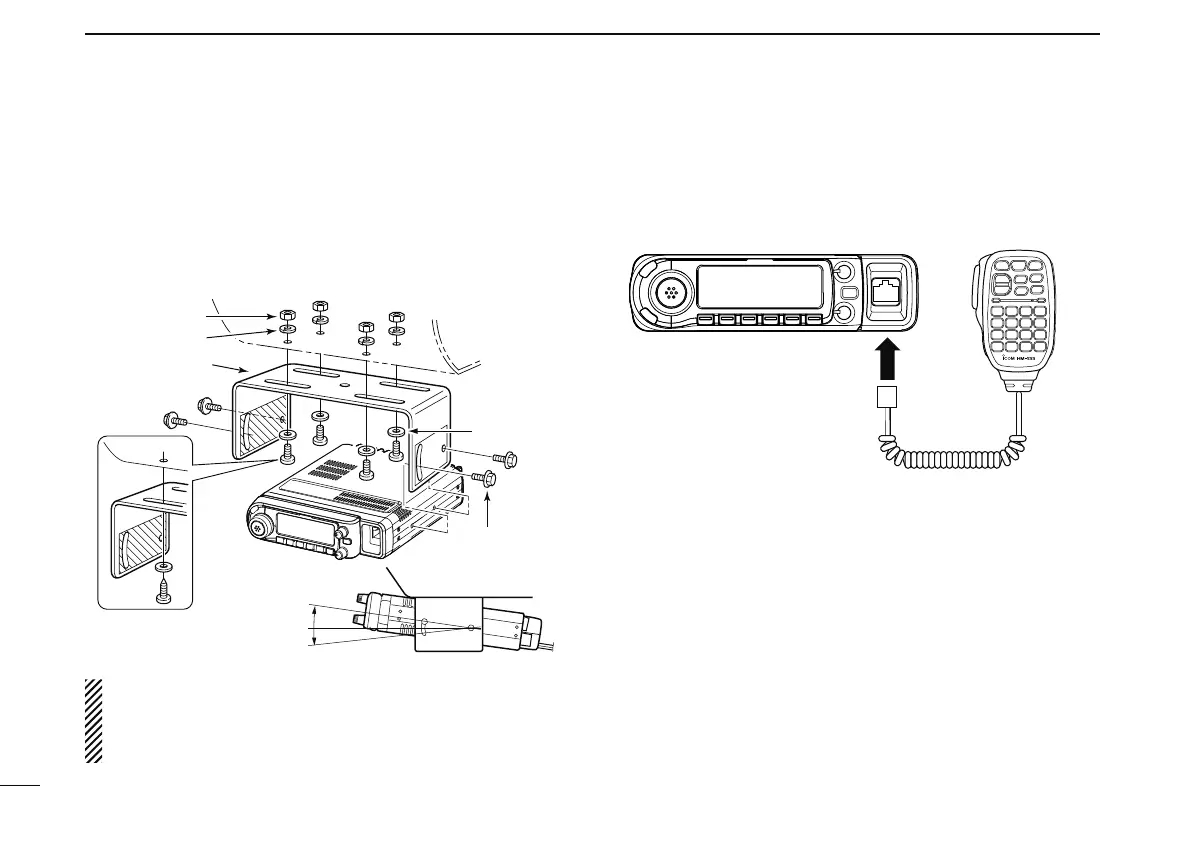
D Using the mounting bracket
q Drill 4 holes where the mounting bracket is to be installed.
• Approx. 5.5–6 mm when using nuts; approx. 2–3 mm when using
self-tapping screws.
w Insert the supplied screws, nuts and washers through the
mounting bracket and tighten.
e Adjust the angle for your suitable position.
Nut
Spring washer
When using self-tapping
screws
Flat washer
Mounting nut
Mounting
bracket
25°
IMPORTANT!
Detailed installation notes for Icom mobile transceivers
to be fitted into vehicles are available. Contact your Icom
dealer or distributor.
D Microphone connection
A microphone connector is available on the main unit front
panel. Connect the supplied microphone connector as illus-
trated below.
III
QUICK REFERENCE GUIDE