Intel
®
RAID Software User’s Guide 107
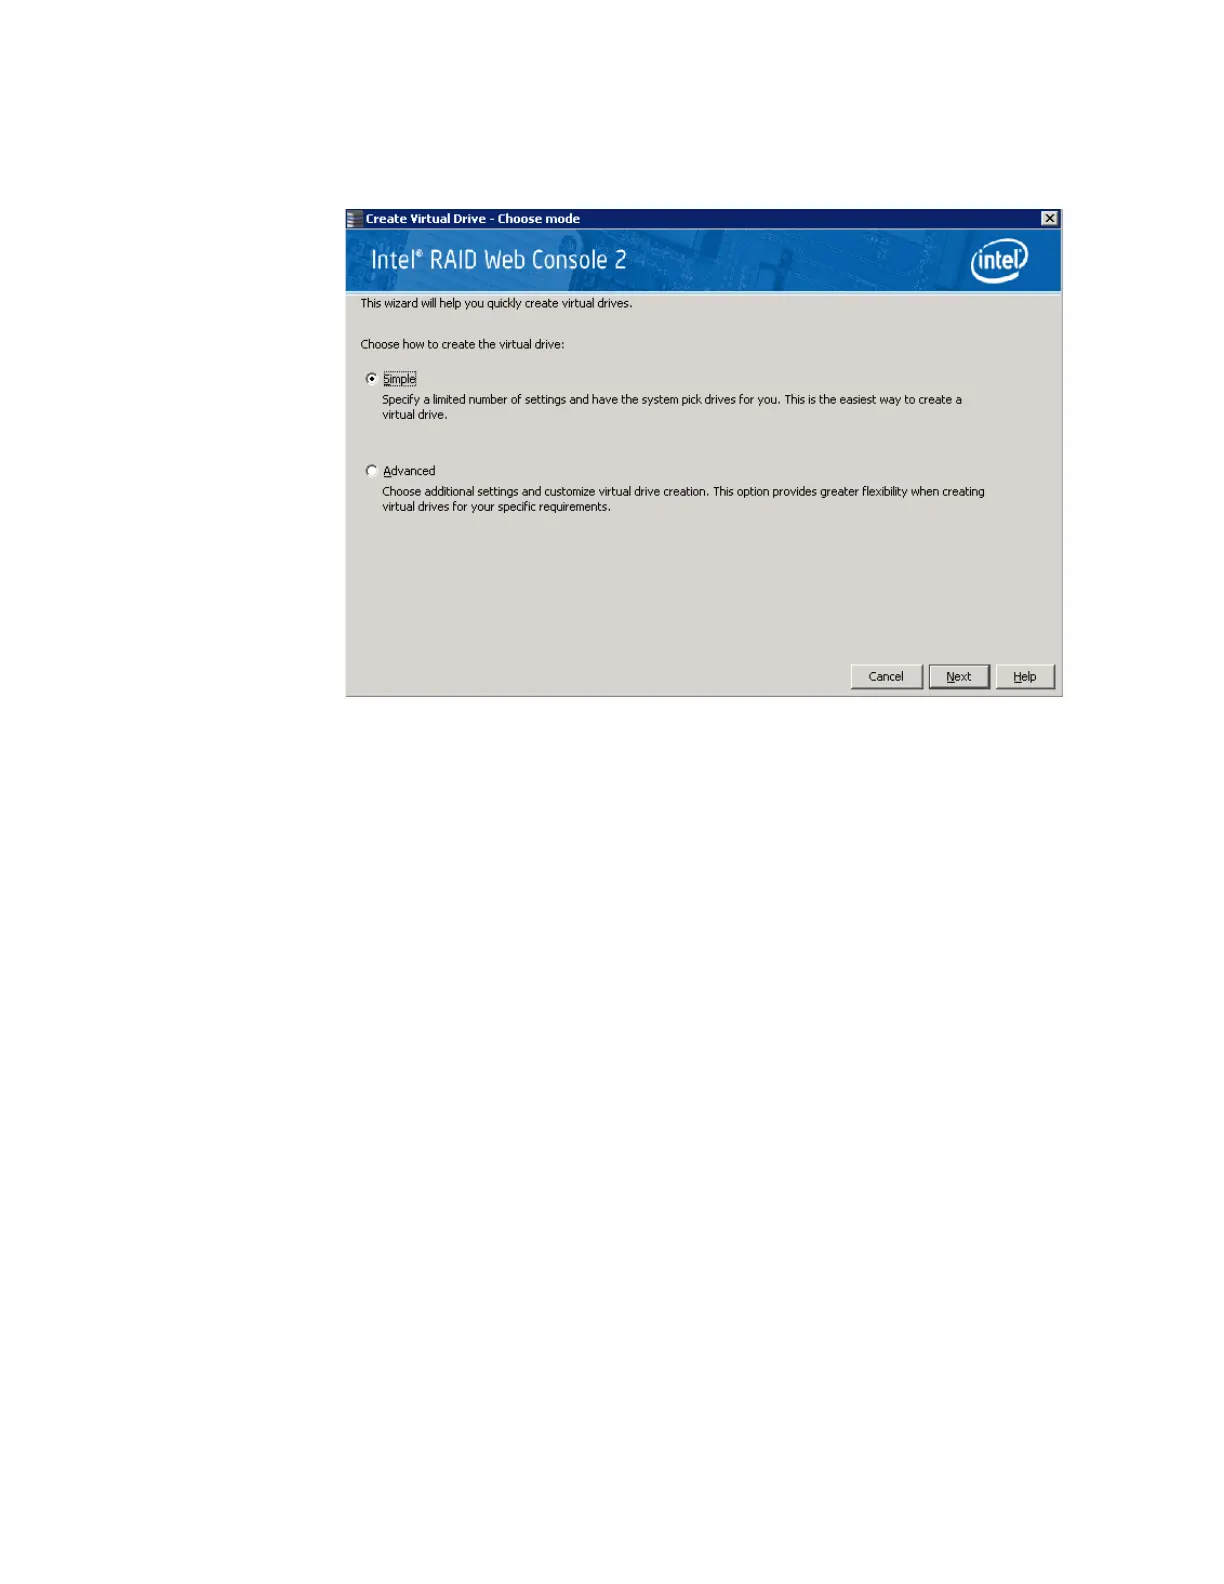
2. Click Simple and press Next.
The Create Virtual Drive screen appears, as shown in Figure 50.
Figure 50. Create Virtual Drive Screen
3. Select the RAID level desired for the virtual drive.
When you use simple configuration, the RAID controller supports RAID levels 1, 5,
and 6. In addition, it supports independent drives (configured as RAID 0). The screen
text gives a brief description of the RAID level you select. The RAID levels you can
choose depend on the number of drives available. To learn more about RAID levels, see
Chapter-2
“RAID Levels” on page 9
4. Click the box next to Assign a hot spare if you want to assign a hot spare drive to the
virtual drive. Hot spares are drives that are available to replace failed drives
automatically in a redundant virtual drive (RAID 1, RAID 5, or RAID 6).
Note: In the simple configuration procedure, you can assign dedicated hot spares to a
maximum of 16 arrays at one time. This is because the dedicated hot spares can
support only up to 16 drive groups. If you try to create more than 16 drive groups
at one time, dedicated hot spares will not be assigned to drive groups beyond the
first 16.
To create more than 16 drive groups with hot spares, you need at least 35 drives of the
same capacity.
5. Select the number of virtual drives that you want to create.
6. Select the capacity for the virtual drives.
Each virtual drive has the same capacity.
7. Click Next.
The Create Virtual Drive - Summary window appears, as shown in Figure 51. This
window shows the selections you made for simple configuration.