Intel
®
RAID Software User’s Guide 125
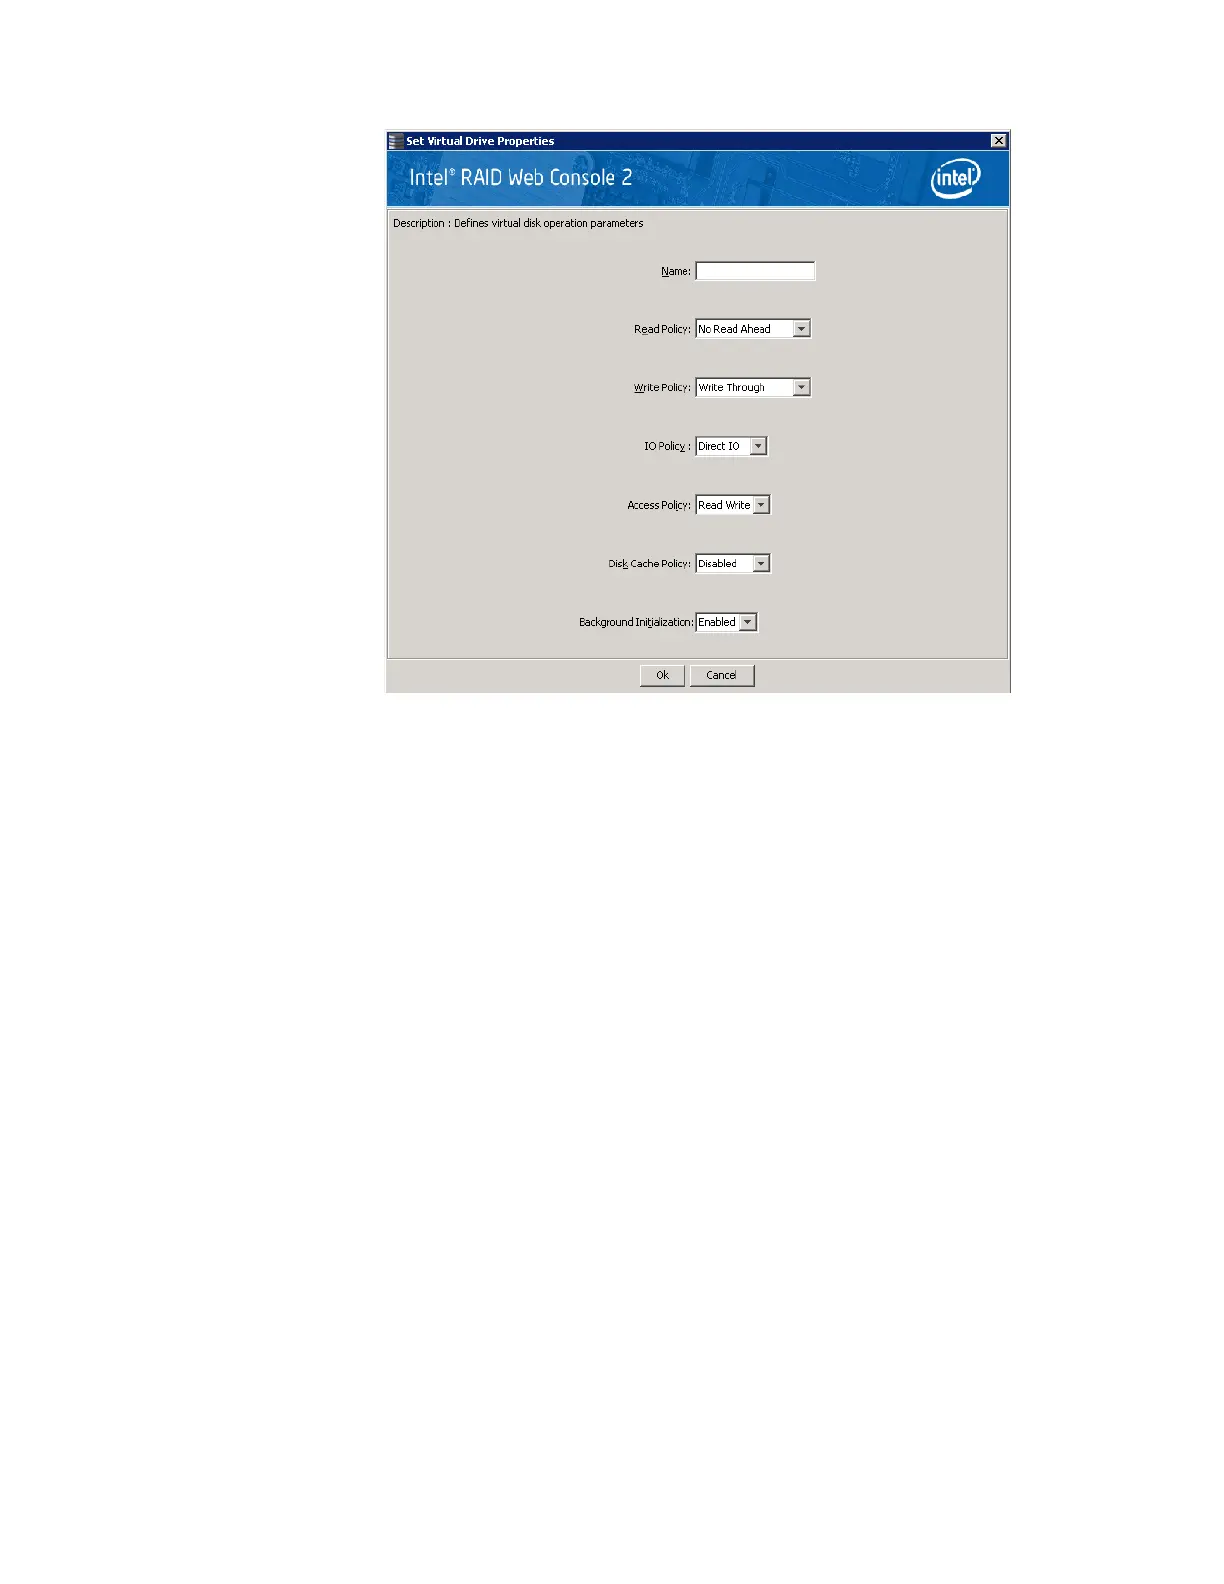
Figure 74. Set Virtual Disk Properties
2. As needed, change the properties in the pop-up window.
3. Click OK to accept the changes.
Deleting a Virtual Disk
Warning: Before you delete a virtual disk, back up the data on it.
You can delete one or more virtual disks. Before you can do this, you must be logged on to the
system in All Access mode. To delete a virtual disk, follow these steps:
1. Back up all user data on the virtual disk you intend to delete.
2. In the left panel, select the Virtual (or Logical) tab and click the icon of the virtual disk
(or drive) you want to delete.
3. In the menu, select the Go To -> Virtual Drive and click Delete Virtual Drive.
4. When the warning message displays, click Yes to confirm that you want to delete the
virtual disk.