122 Intel
®
RAID Software User’s Guide
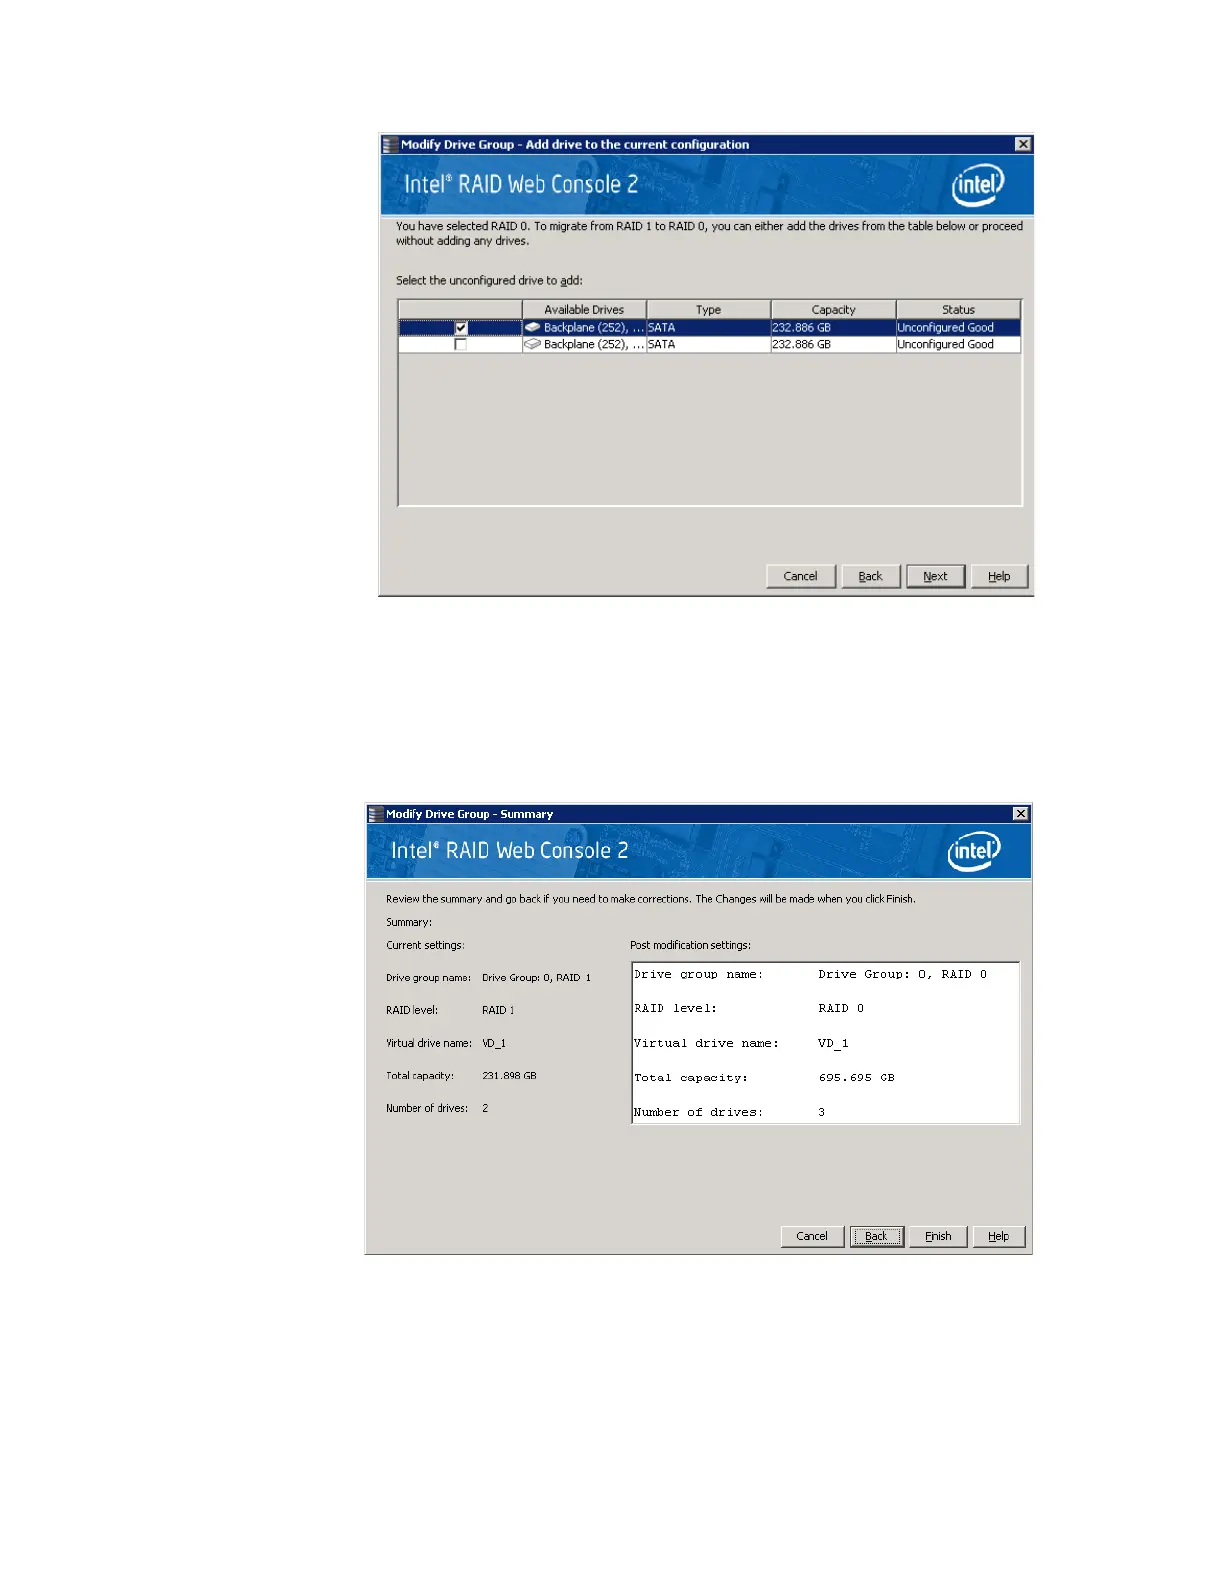
Figure 70. Selecting Drives to Add
3. In the panel, check the disk drives that you want to add to the virtual disk.
4. When you are finished adding disk drives, click Next. The next screen displays, which
allows you to review the summary and go back if you need to make corrections as
shown in
Figure 71.
Figure 71. Changing RAID Level
5. When everything is acceptable, click Finish to accept the new configuration.
A Reconstruct operation begins on the virtual disk. You can monitor the progress of the
reconstruction in the Group Show Progress window. Select Manage -> Show Progress.