controller while the router is running without turning o power to the router or disrupng roung
funcons. See Figure 72 on page 171.
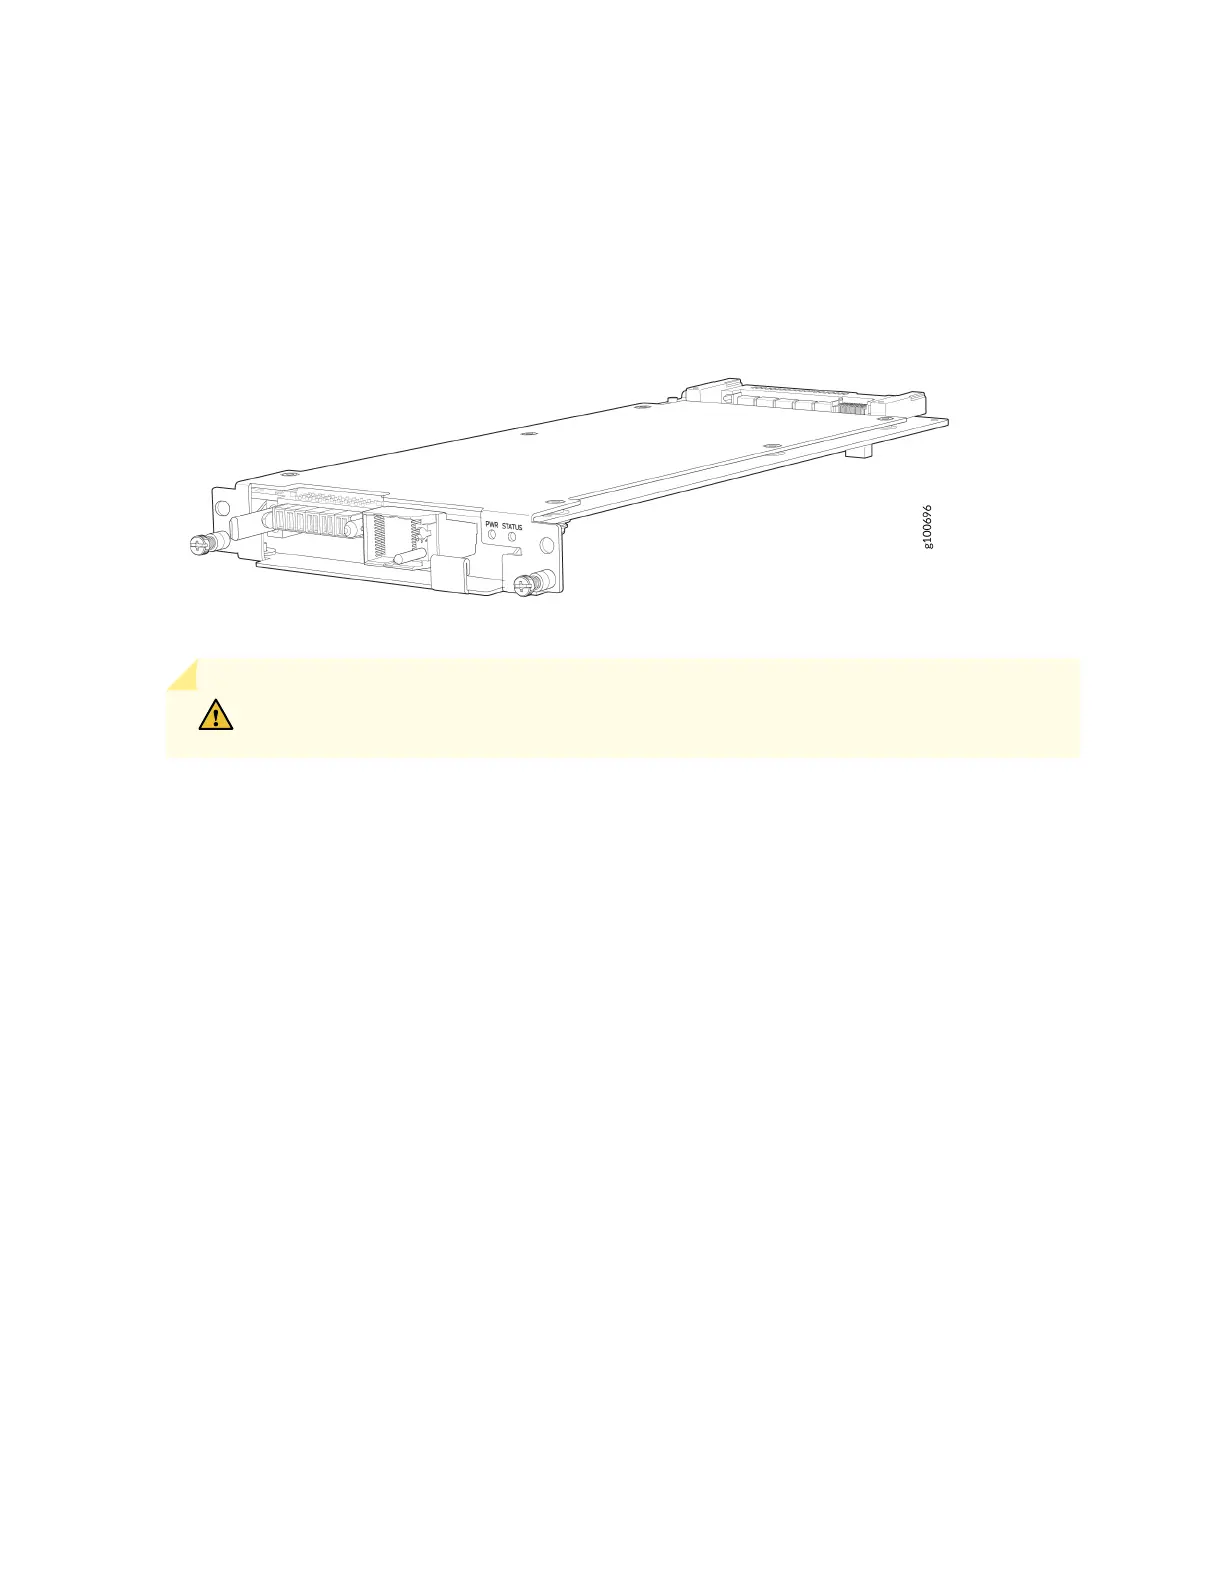
Figure 70: JNP10004-FTC2 Fan Tray Controller
CAUTION: Remove the fan tray controller only if you have a replacement controller
available.
To install a fan tray controller, you must rst remove the associated fan tray. With the fan tray removed,
you can install the fan tray controller horizontally above the Switch Fabric Boards (SFBs) at the top of
the chassis.
Before you install a fan tray controller:
• Ensure that you have removed the associated fan tray and fan tray controller. See Figure 69 on page
168 and "Remove an MX10004 Fan Tray Controller" on page 170.
• Review how to prevent ESD damage. See "Prevenon of Electrostac Discharge Damage" on page
263.
• Ensure that you have the following parts and tools available to install a fan tray controller in an
MX10004:
• Electrostac discharge (ESD) grounding strap
• Replacement fan tray controller (JNP10004-FTC2)
• A Phillips (+) screwdriver, number 1, for the capve screws (oponal)
To install a fan tray controller:
1. Remove the replacement fan tray controller from the anstac bag.
169