Step2.Removethecleaningpadfromitspackageandunfolditcompletely.
Step3.Usethecleaningpadtowipethethermalgreasefromthebottomoftheheatsink.
Note:Makesurethatallofthethermalgreaseisremoved.
Step4.Useacleanareaofthecleaningpadtowipethethermalgreasefromthemicroprocessor;then,
disposeofthecleaningpadafterallofthethermalgreaseisremoved.
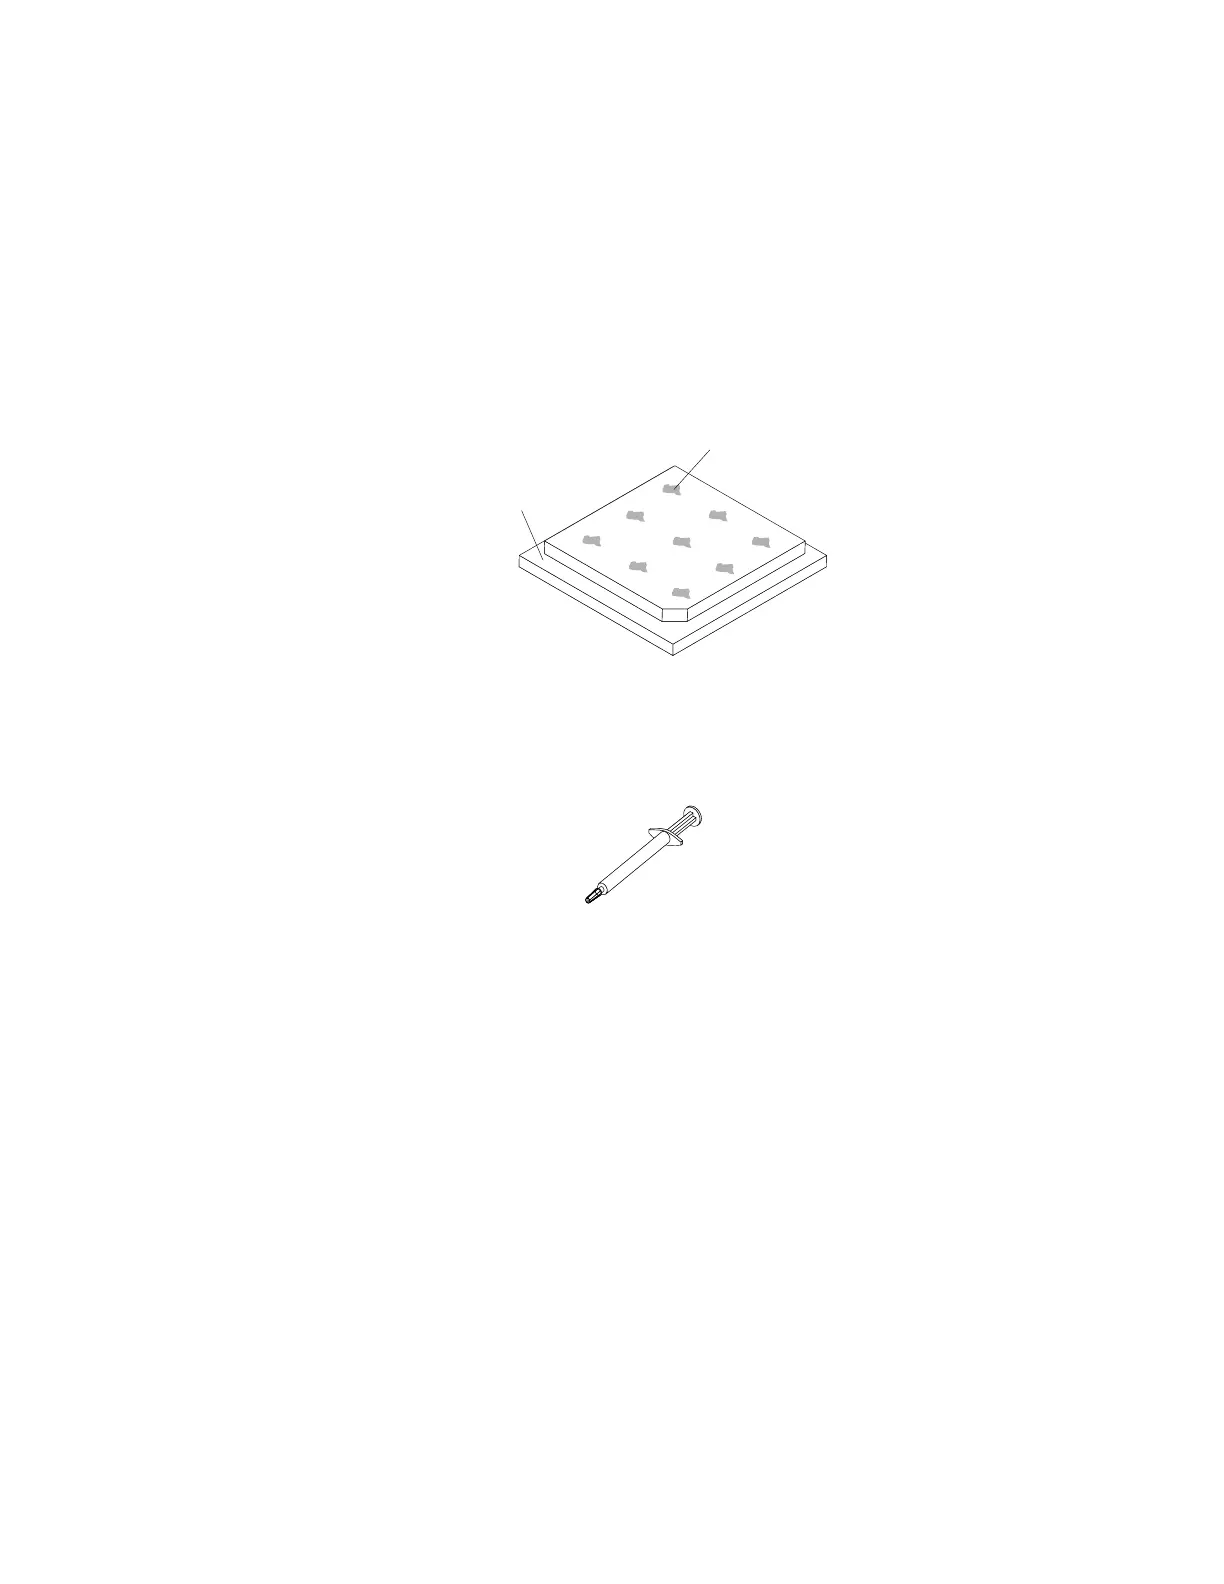
Step5.Usethethermal-greasesyringetoplace9uniformlyspaceddotsof0.02mleachonthetopof
themicroprocessor.Theoutermostdotsmustbewithinapproximately5mmoftheedgeofthe
microprocessor;thisistoensureuniformdistributionofthegrease.
Microprocessor
0.02 mL of thermal
grease
Figure83.Thermalgreasedistribution
Note:Ifthegreaseisproperlyapplied,approximatelyhalfofthegreasewillremaininthesyringe.
Figure84.Syringe
Step6.Installtheheatsinkontothemicroprocessor.
Removingthepowerinterfaceboard
Usethisinformationtoremovethepowerinterfaceboardfromtheserver.
Readthesafetyinformationin“Safety”onpagevand“Installationguidelines”onpage75.
Ifyouarereplacingaservercomponentorinstallinganoptionaldeviceintheserver,youneedtoslidethe
serveroutfromtherackenclosure,turnofftheserverandperipheraldevices,anddisconnectthepower
cordsandallexternalcables.
Toremovethepowerinterfaceboard,completethefollowingsteps.
Step1.Removethefancagecover(see“Removingthefancagecover”onpage82).
Step2.Removethesystemmanagementboardcover(see“Removingthesystemmanagementboard
cover”onpage84
).
Step3.Removethesystemfan(see“Removingasystemfan”onpage88).
Step4.Removethefancage(see“Removingthefancage”onpage105).
138LenovoThinkServersd350ServerType5493,LenovoThinkServern400EnclosureType5495InstallationandServiceGuide